
photoshop如何绘制图形阴影
发布时间:2017-06-05 13:35
如果图像需要更真实一点,我们最好用photoshop绘制阴影。很多刚学习的新手小伙伴可能还不知道,下面是小编带来关于photoshop如何绘制图形阴影的内容,希望可以让大家有所收获!
photoshop绘制图形阴影的方法
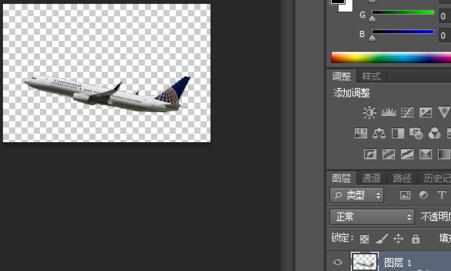
如图,使用photoshop打开需要处理的图片

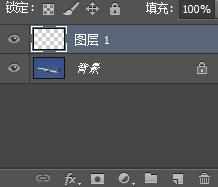
如图,新建图层1
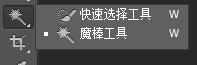
如图,选择使用魔棒工具
如图,使用魔棒工具选择背景图的空白区域
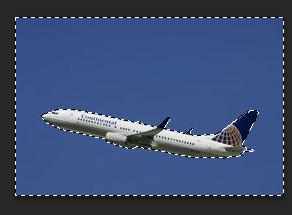
如图,对选区进行反选,选中飞机部分
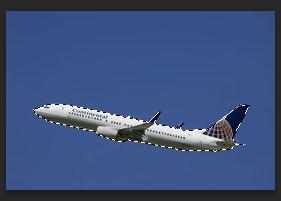
如图,复制飞机选区到图层1
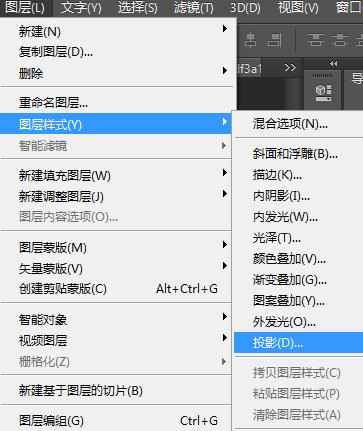
如图,选择“图层”--“图层样式”--“投影”
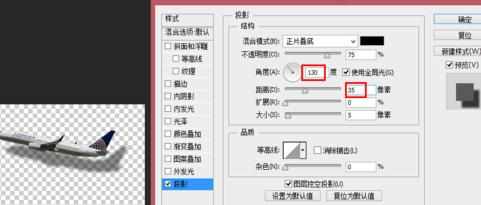
如图,设置图层样式为角度130度,距离为35像素
如图,最终达到如图所示的阴影效果

photoshop如何绘制图形阴影的评论条评论