
怎样使用photoshop制作高光
发布时间:2017-06-08 13:58
相关话题
高光效果是一个好的图片中一定要有,如果没有得话我们可以用photoshop制作,但是很多同学还不太清楚。那么接下来下面是小编整理的一些关于怎样使用photoshop制作高光,供您参阅。
使用photoshop制作高光的方法

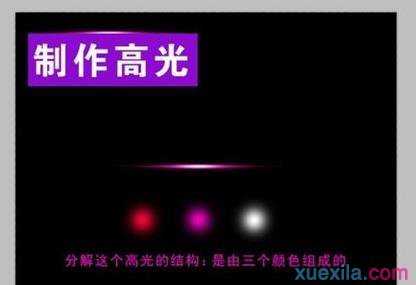
下面,来为大家分解下,这个高光的效果是如何构造的!其实,是很简单的,在分解这个高光中,是由三种颜色组成的,下面来制作给大家看看!
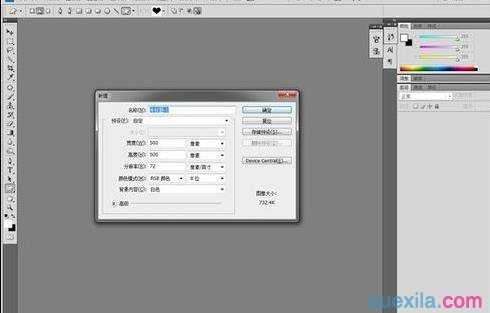
打开photoshop软件,新建一个500*500PX画布,如下图
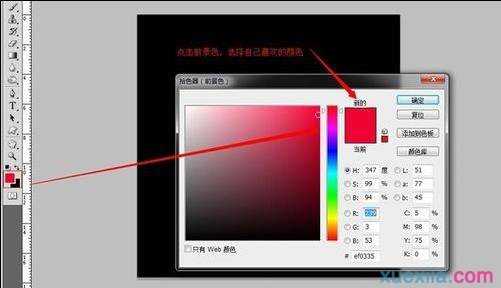
在工具栏下面找到前景色,点击前景色,选择我们喜欢的颜色,如下图
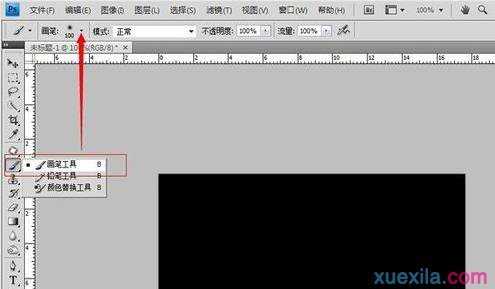
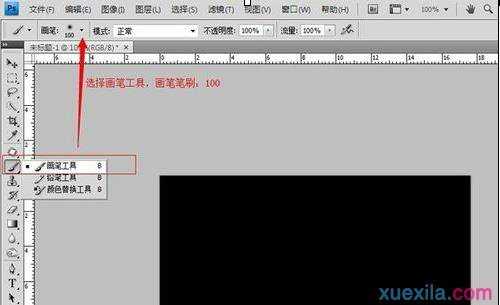
在工具栏中,选择画笔工具,把画笔的笔刷设置为:100
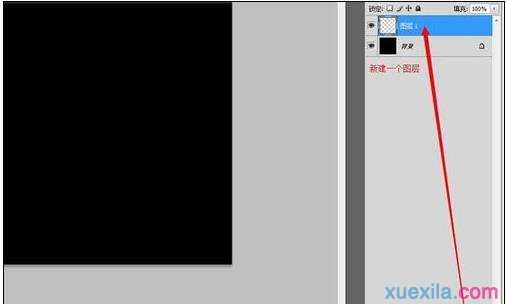
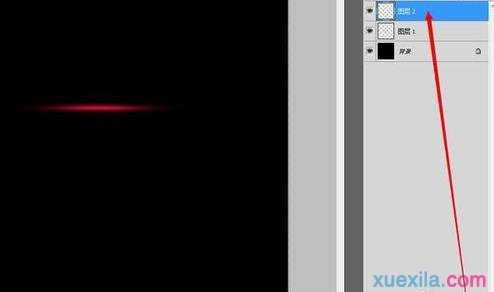
在图层面板,新建一个图层
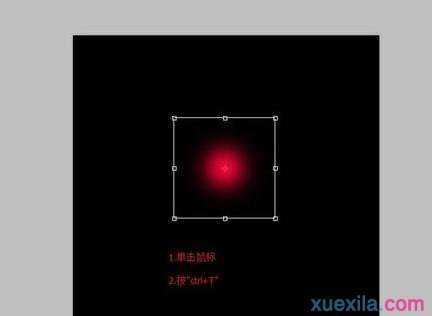
在画布上,单击鼠标,然后,ctrl+T,把刚刚画的圆选择,接着,把图形压扁
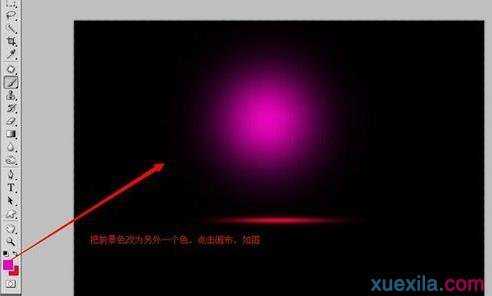
再新建一个图层
把前景色换成另一个颜色,在画布上画出一个圆,如图
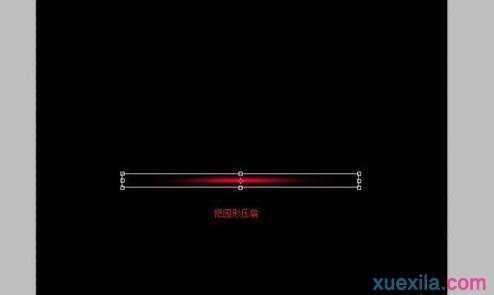
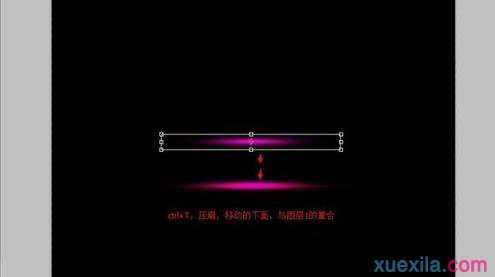
压扁圆形,往下移动,与之前的图形重叠,如图
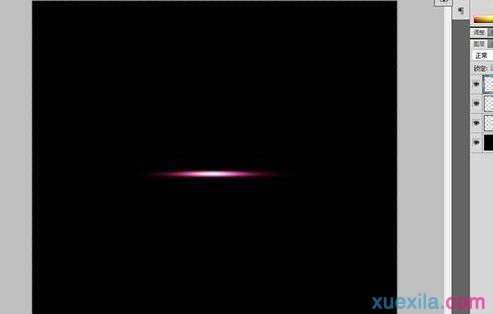
接着,再以同样的方法,做出另一色,这里就用了白色
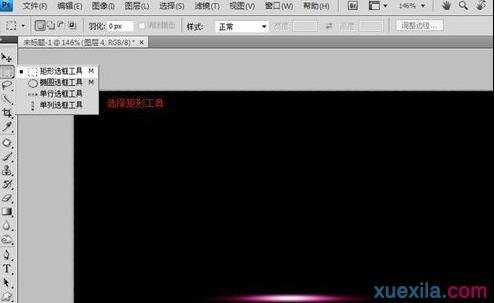
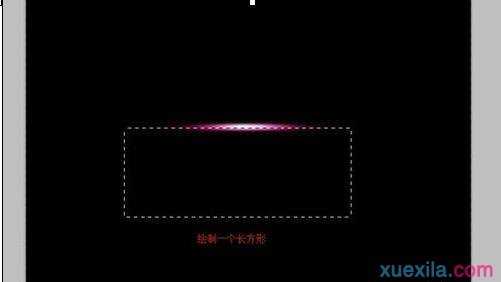
回到工具栏里,选择矩形选框工具,在面板上绘制一个长方形,如图
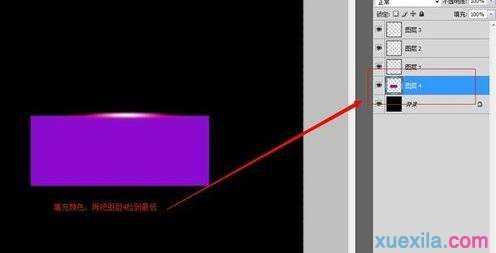
新建一个图层,填充好颜色,把图层拉到底部,如图所示
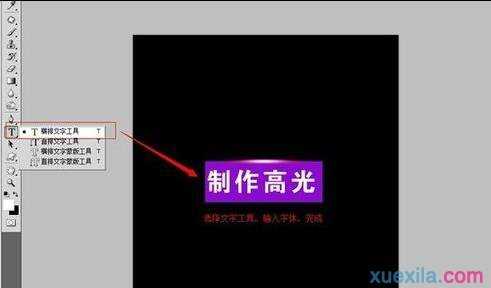
选择文字工具,输入文字,完成
怎样使用photoshop制作高光的评论条评论