
ps滤镜怎么给图片添太阳光
发布时间:2017-06-01 09:39
太阳光肯定是图片中必不可少的,如果没有可以用ps来添加。那么大家知道ps滤镜怎么给图片添太阳光吗?下面是小编整理的ps滤镜怎么给图片添太阳光的方法,希望能帮到大家!
ps滤镜给图片添太阳光的方法
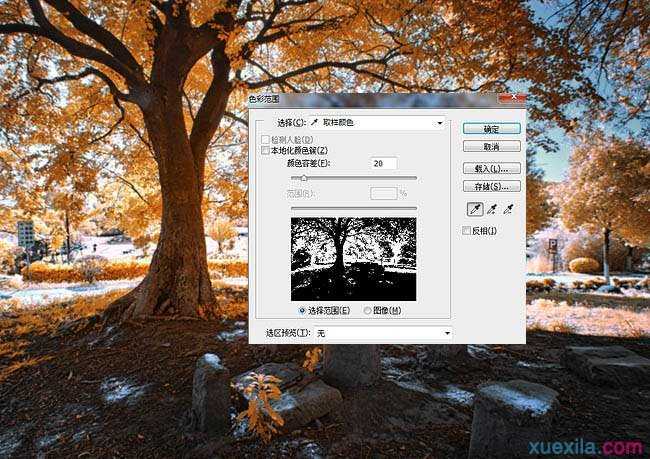
一、菜单“选择”→ “色彩范围”,把容差的数值设置大一点100以上,然后用吸管吸取高光颜色。
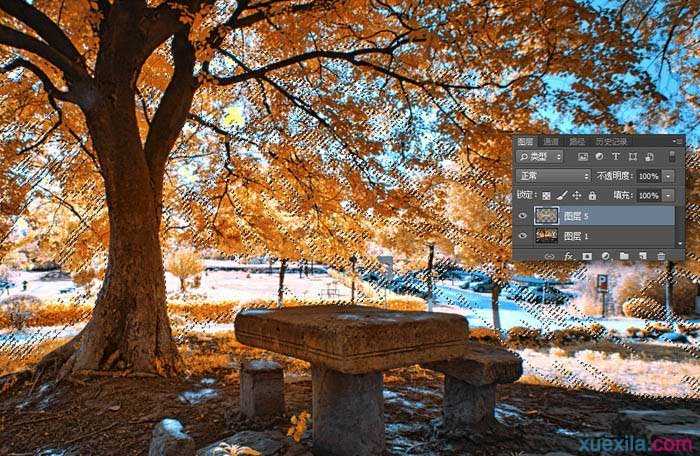
二、复制选区到新图层。
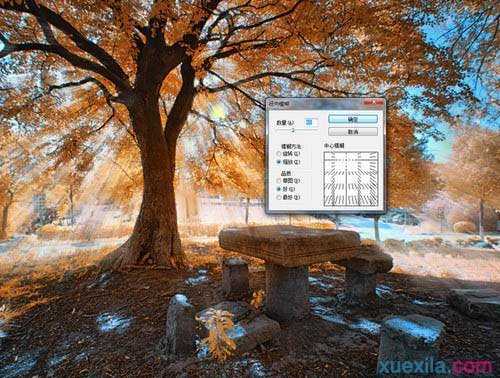
三、“滤镜”→“模糊”→ “径向模糊”方向和大概参数如下。选择的范围不同,所产生的模糊和效果就会有偏差。
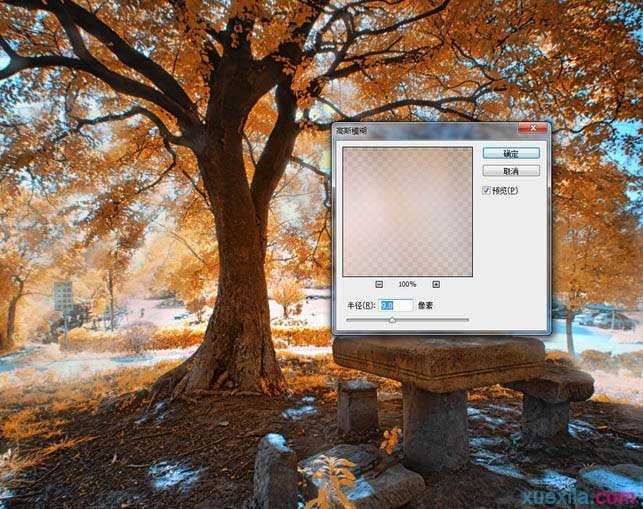
四、为了产光源再加柔和,执行 “滤镜”→ “模糊”→ “高斯模糊”。
五、按住CTRL点击当前图层,再次载入选区,然后添加曲线调整图层,将区域提亮。
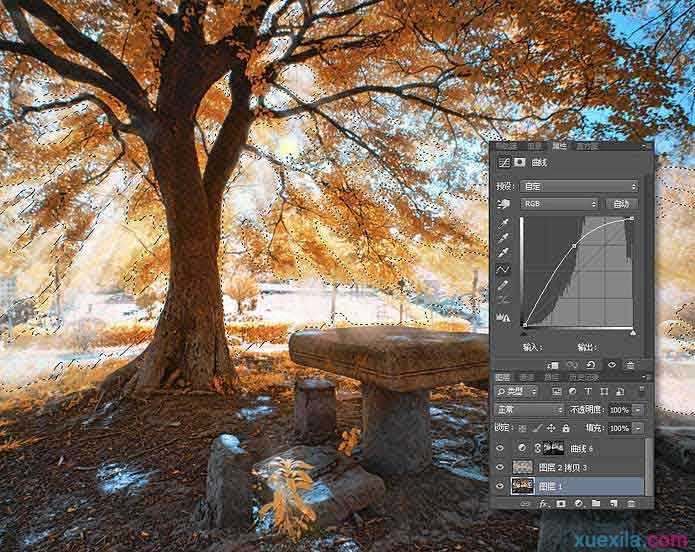
六、ctrl+alt+e盖印图层 执行 “高斯模糊”,然后将图层叠加改为“滤色”,透明度20%。再增加一个曲线调整图层提亮光源部份,蒙板处理如图。

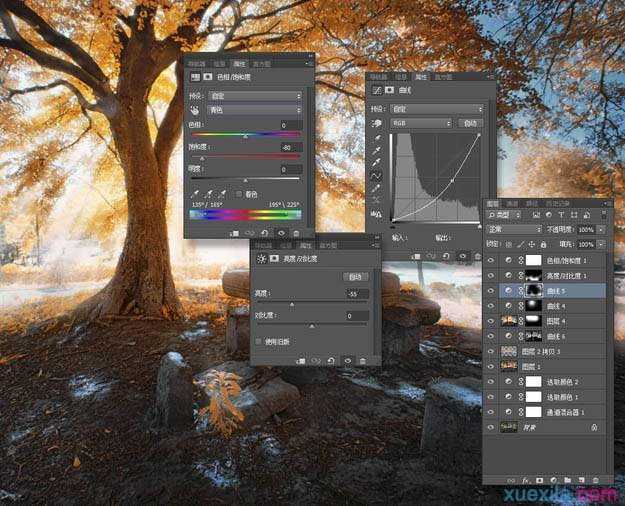
七、新建一个“曲线调整图层”及“亮度对比度调整图层”将地面及周边进行压暗处理,参数和蒙板如图,最后降低青色降和度,让画面主体再加突出。
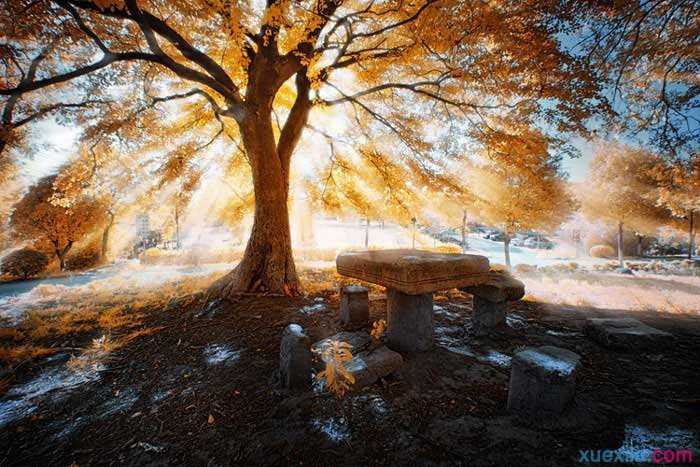
最终效果:
以上就是利用ps的滤镜效果给照片添加唯美太阳光效果的具体步骤,希望能帮到大家,谢谢大家的阅读。
ps滤镜怎么给图片添太阳光的评论条评论