
Photoshop CS6油画滤镜打造油画效果
发布时间:2016-12-02 10:20
相关话题
今天我们用Photoshop CS6中文版的油画滤镜打造油画效果,教程很简单,新手都会,下面跟小编来了解一下吧!
Photoshop CS6油画滤镜打造油画效果的方法
1.按【Ctrl+O】键打开一幅素材图像文件。

2.在Photoshop CS6菜单栏选择“滤镜”-“油画”,打开“油画”对话框。
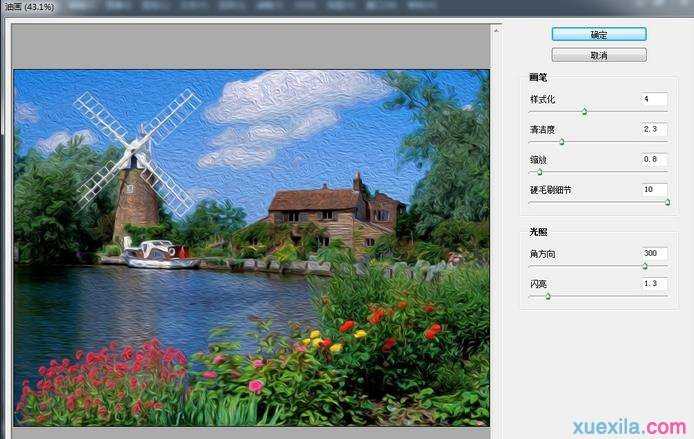
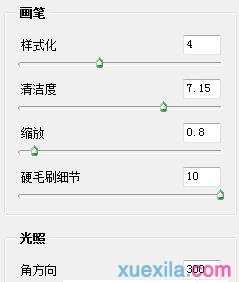
3.设置Photoshop CS6“油画”对话框右侧的参数值。
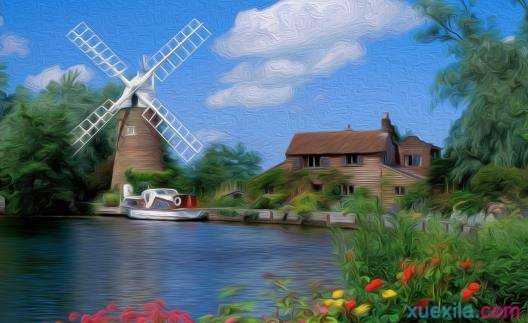
4.单击“确定”按钮,Photoshop CS6使用油画滤镜打造油画得到最终效果图。
Photoshop CS6油画滤镜打造油画效果的评论条评论