
word怎么生成索引目录的两种方法
发布时间:2016-12-20 15:55
相关话题
目录,就是一个能够让我们很好了解到这个文档你们的一些大概方向及演示。能够帮我们快速整理好我们需要的东西。那么下面就由小编给大家分享下word生成索引目录的技巧,希望能帮助到您。
word生成索引目录方法一:
步骤一:新建word文档,当然小溪这里是以WPS word文档来举例说明了。

步骤二:打开wps word文档,在上面随便输入文字,建立索引目录。将那些字定义为标题1;

步骤三:其次如果你需要标题1下有多个目录的话,将要定义为子目录的话设置为标题2或者标题3以上。

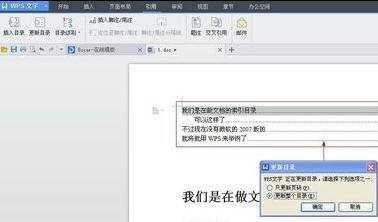
步骤四:确认好要进行索引的话,在要放置目录处空出一个位置。点击引用会看到工具栏下有一个插入目录,点击确定一个大纲目录就出来了


步骤五:当然如果你在更细一些内容及一些文字上的描述后,你觉得这个目录不够准确的话,你可以点击更新目录或者更新目录页数。这是一个完整的目录就已经显示在你眼前。

word生成索引目录方法二:
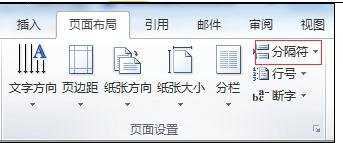
步骤一:打开需要设置的word文档,切换主界面到“页面布局”,在“页面布局”下的“页面设置”中找到“分隔符”

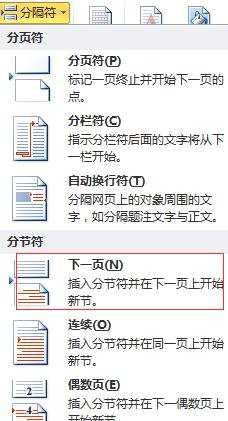
步骤二:点击“分隔符”下方的小三角形,将出现如下的下拉目录,选择“分节符”中的“下一页”
步骤三:点击“下一页”,即可在原文章的上方出现一张空白页,在空白页中输入“图索引”

步骤四:将主界面切换到“引用”一栏,在“引用”栏目下的“题注”中找到“插入表目录”,点击此处


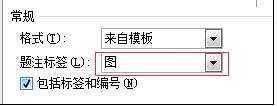
步骤五:点击“插入表目录”,将出现如下界面,在如下界面的“题注标签”中选择“图"
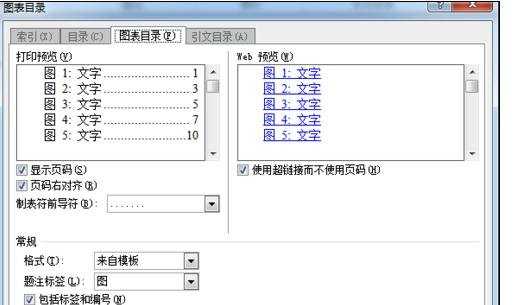
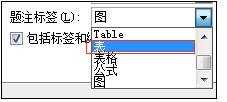
步骤六:如果是想生成表索引,那就在”题注标签“的下拉目录中选择”表“,这样就可以改变索引的类型了
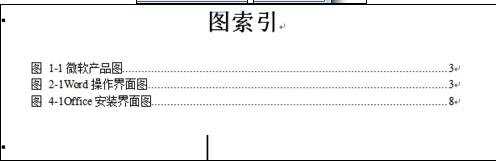
步骤七:选择”图“的标签后,点击”确定“,之后即可在原先的空白页中显示图表的目录,成功设置好图索引的图目录
word怎么生成索引目录的两种方法的评论条评论