
photoshop如何抠图复制图层
发布时间:2017-05-26 11:00
大家知道photoshop如何抠图复制图层吗?其实方法很简单的,下面由小编告诉大家photoshop如何抠图复制图层,快跟我一起来学习吧。
photoshop抠图复制图层的方法
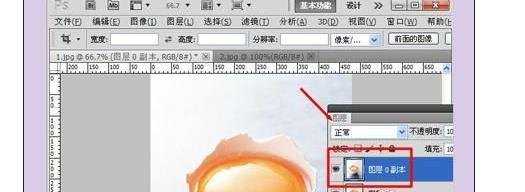
第一步:打开素材一,复制图层。
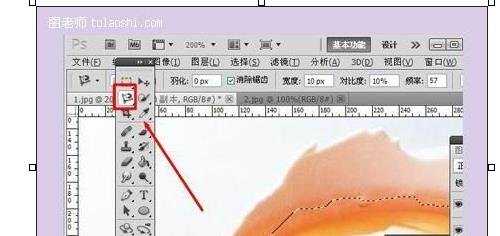
第二步:在工具栏选择磁性套索工具,在图片中将蛋黄部分选中。
第三步:在图层选择栏下面点击新建图层,然后将背景颜色选择为黑色。将框选中的部分填充黑色。

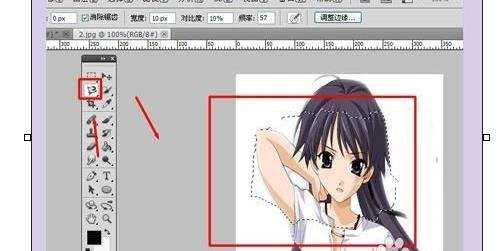
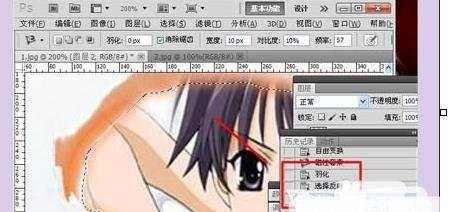
第四步:打开第二张素材,在左侧选择磁性套索工具,选中需要使用的部分。
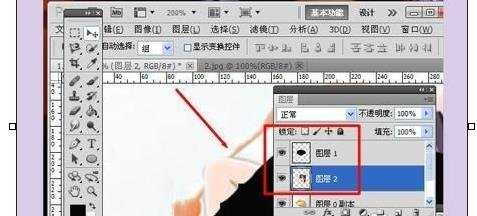
第五步:新建一个图层,将选择好的漫画人物部分拖进第一张素材中。
第六步:将图层二拖至到图层一下面,激活图层二,选用磁性套索工具沿着图层一的边缘框选,鼠标右键,选择羽化,半径设置为5。
第七步:按ctrl+shift+i反选,按delete键,将多余的部分删除。打开选择,点击取消选择。
第八步:打开选择,点击取消选择。

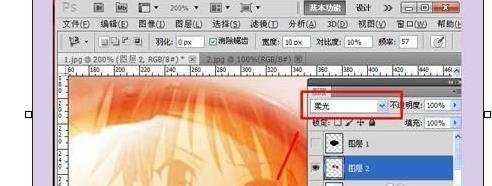
第九步:将图层模式选择为柔光,将图层合并。
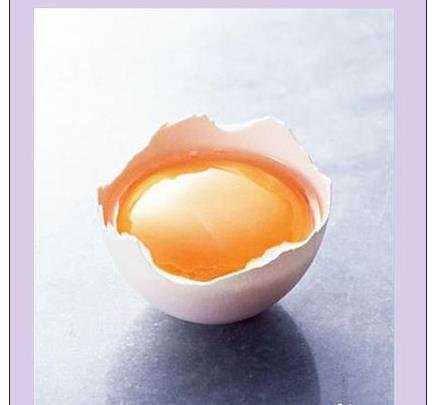
最终效果。
photoshop如何抠图复制图层的评论条评论