
word多张图片排版教程
发布时间:2017-03-22 12:23
在工作当中,我们经常会使用到办公软件office系列,尤其是Word。在对文档进行编辑的过程中,肯定避免不了插入多张图片、表格、形状、文本框等。但是由于图片、表格、形状、文本框如果正常的编辑的话,经常会按回车符所在的位置排列,不能让我们随心地进行排版编辑。有没有什么方法技巧呢?现在小编就和大家分享一下。
word多张图片排版的步骤:
以一个空白的Word文档为例,打开后,我们可以先点击“插入”,看到有个选择“形状”。

点击“形状”下的小三角,可以看到弹出的选项列表,选择最后一个“新建绘图画布”。

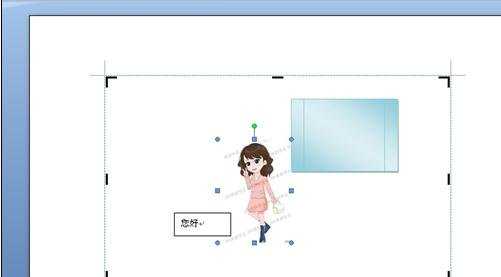
点击“绘图画布”后,界面弹出一个绘图画布。

点击绘图画布选中后,可以随意插入图片、文本、形状等了。点击“插入”可以选择插入一张图片。选择插入准备加入的图片。


接着可以点击插入形状。给形状设置大小,颜色等。


接着。也可以在形状中添加文字,制成文本框。

这时候,可以随意移动这些形状、图片、文本的位置,而且此文档在重新打开后,不影响已经固定下来的排版样式。
word多张图片排版教程的评论条评论