
如何使用photoshop的功能处理模糊
发布时间:2017-06-05 18:13
相关话题
当大家觉得自己的相片拍的模糊,可以使用photoshop里面的功能处理。但是很多同学还不太清楚。那么接下来下面是小编整理的一些关于如何使用photoshop的功能处理模糊,供您参阅。
使用photoshop的功能处理模糊的方法
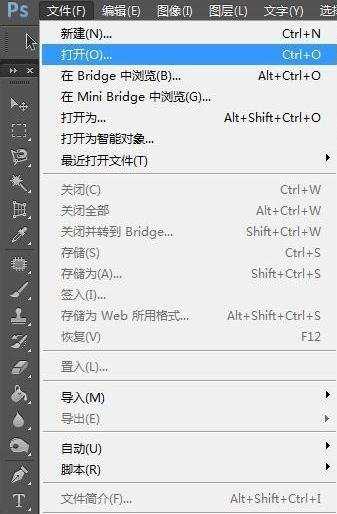
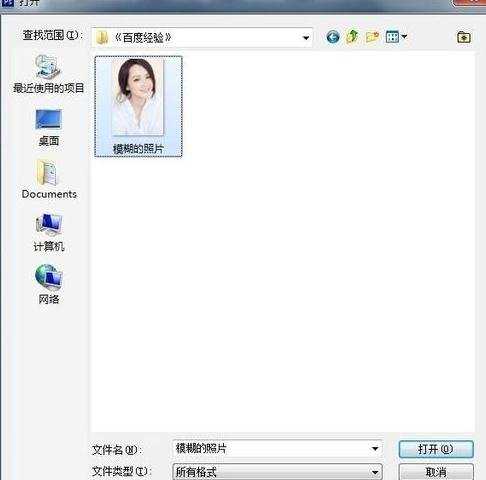
在菜单栏—文件—打开照片,快捷键:Ctrl+O,如图所示:
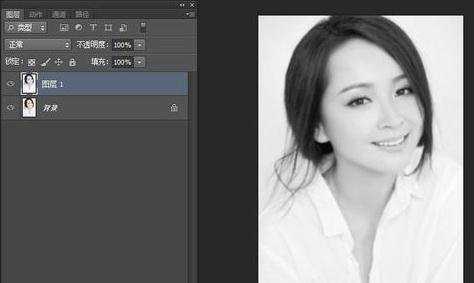
在背景图层中复制一个出来,得到图层1,快捷键:Ctrl+J,(新手要养成备份的习惯)如图所示:
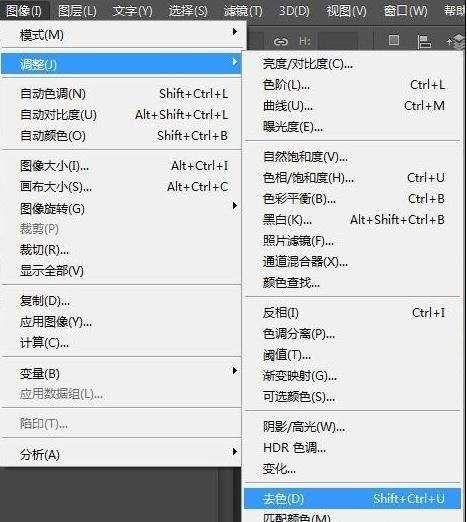
在菜单栏—图像—调整—去色,也可以快捷键:shift+ctrl+u,如图所示:
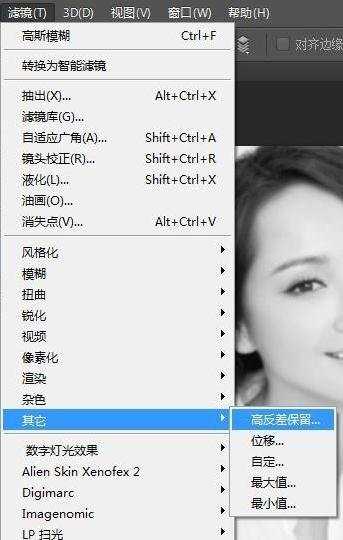
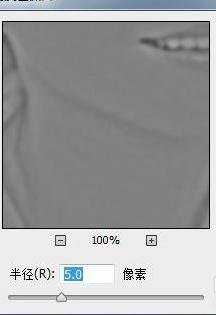
在菜单栏—滤镜——其他—高反差保留半径为:5,如图所示:

在图层面板—图层1双击左键——图层样式—混合模式—叠加,向下合并快捷键ctrl+e,得到最终效果,如图所示:


如何使用photoshop的功能处理模糊的评论条评论