
photoshop爆炸发光字
发布时间:2016-12-02 08:36
爆炸发光字的效果看起来非常的酷,令人震撼,其实使用强大的PS滤镜即简单快速的制作出这种爆炸字发光效果图。不信?看这篇教程,简单的几次photoshop滤镜操作即做出了满意的效果。下面跟小编来了解一下吧!
photoshop爆炸发光字
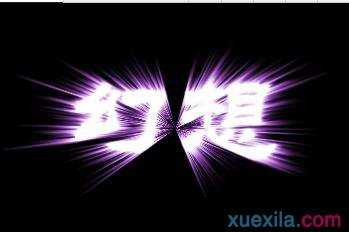
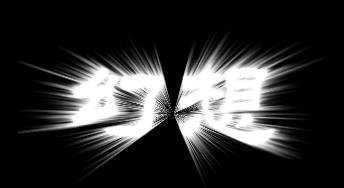
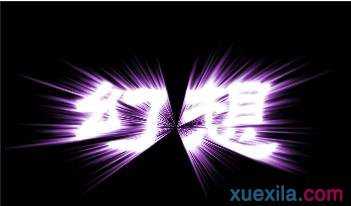
效果图:
打造教程:
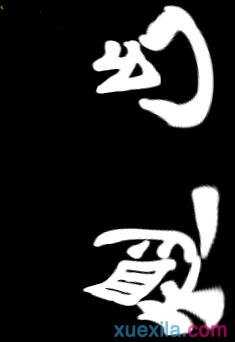
1,新建一350*250的文件,黑色背景。
2,用文字工具写字,字体色彩为白色

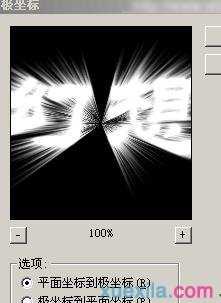
3,滤镜--扭曲--极从标,(设定为极坐标到平面)
4,顺时针90度
5,滤镜--风格化--风(风向从右)
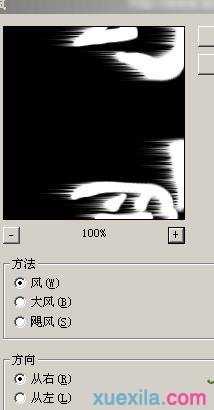
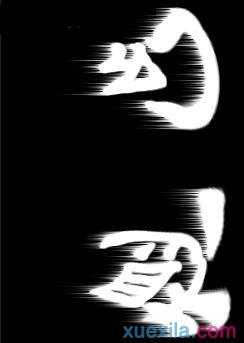
6,再运行第5步,之后把风的方向换一下(风向从左),再运行两次。
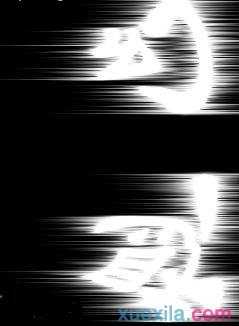
7,按逆时针旋转90度
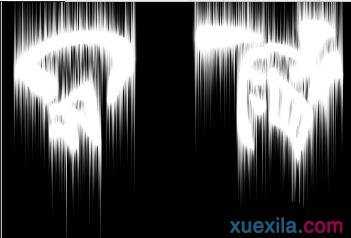
8,滤镜--扭曲--极从标,(设定为平面到极坐标)
9,更改一下色相饱与度
photoshop爆炸发光字的评论条评论