
ps制作雪花飘舞效果的教程
发布时间:2016-12-22 10:07
如何在PS中制作出雪花飘落的效果呢?下面是小编为大家整理的ps制作雪花飘舞效果的教程,仅供大家参考~
ps制作雪花飘舞效果的教程如下:
我们首先用PHOTOSHOP打开一张图片。

2在图层面板上新建一个图层。 按图层面板上的添加按钮即可。

3用油漆桶将该图层填充为黑色即可。

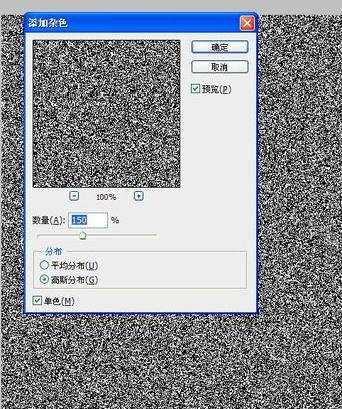
4执行滤镜-杂色-添加杂色。

5在弹出的窗口中,设定参数为150,高斯分布,单色,点确定。
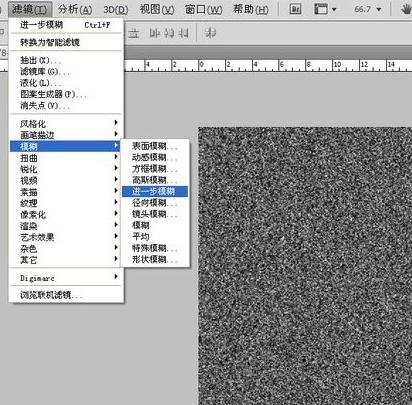
6执行滤镜-模糊-进一步模糊。
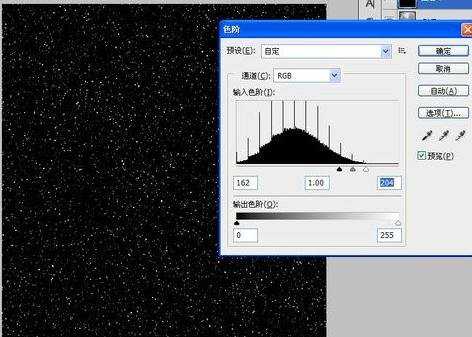
7按CTRL+L,进行调整色阶,参数为,162.1.204。
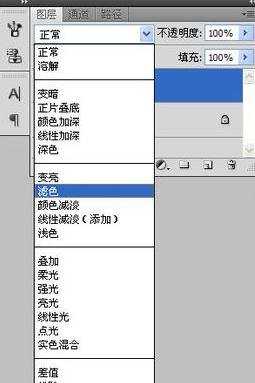
将该图层模式改为滤色。
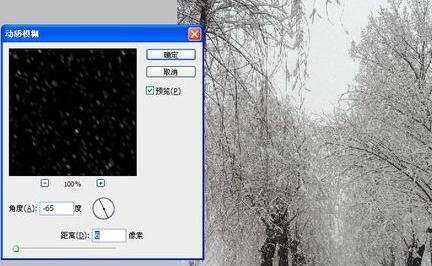
执行滤镜-模糊-动感模糊,角度-65.距离3。

复制雪花层,将原雪花层拖到添加按钮上。就多个雪花层副本。
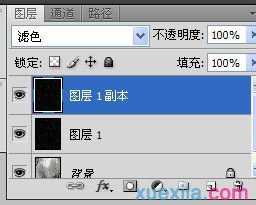
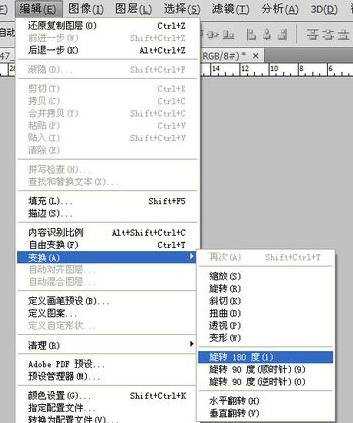
点中雪花层副本,选编辑-变换-旋转180度。
执行滤镜-像素-晶格化。

在弹出窗口中,大小设为4,点确定。

执行滤镜-模糊-动感模糊。角度-65,距离6。

在图层面板上,按SHIFT选中雪花俩层,右击选合并图层。

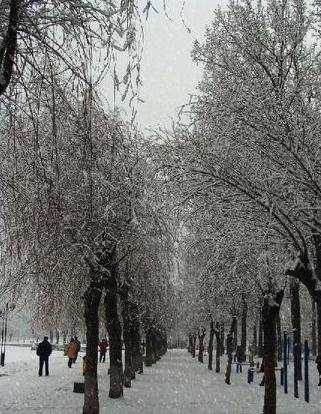
再将合并起来的雪花层混合属性改为叠加,不通明度改为53%。

最终效果如图。
ps制作雪花飘舞效果的教程的评论条评论