
Photoshop怎么制作素描效果
发布时间:2017-03-28 16:39
把一些人物照片转成素描效果的方法有很多,Photoshop就可以实现这一个功能,制作出素描效果。下面是小编整理的Photoshop制作素描效果的方法,供您参考。
Photoshop制作素描效果的方法
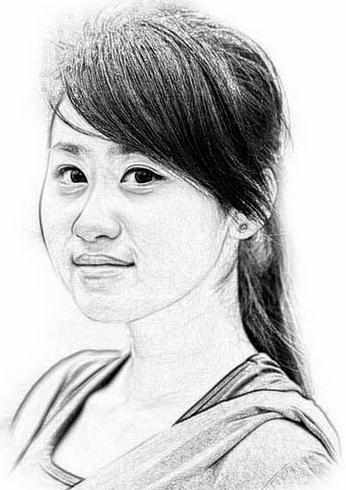
1.原图

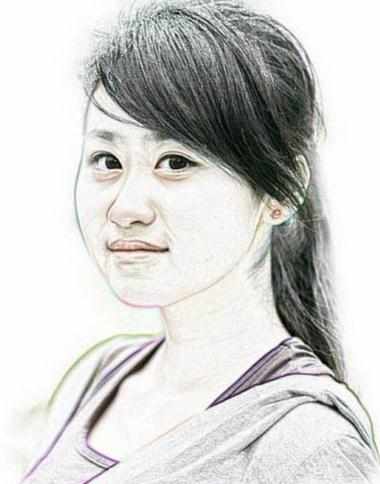
2.最终效果1
3.最终效果2
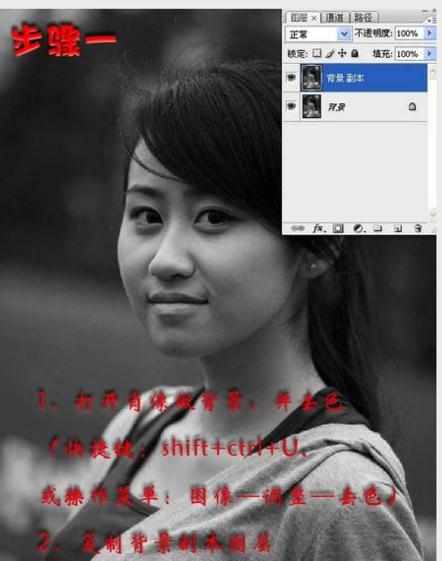
4.打开原图素材,按Ctrl + Shift + U 去色,然后把背景图层复制一层。
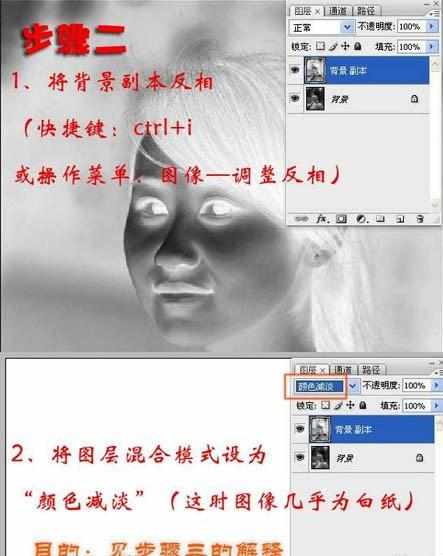
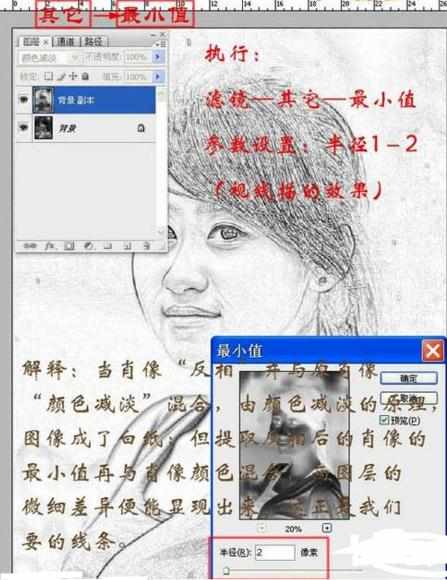
5.按Ctrl + I 把背景副本反相,图层混合模式改为“颜色减淡”。
6.执行:滤镜 > 其它 > 最少值,数值为1-2像素。
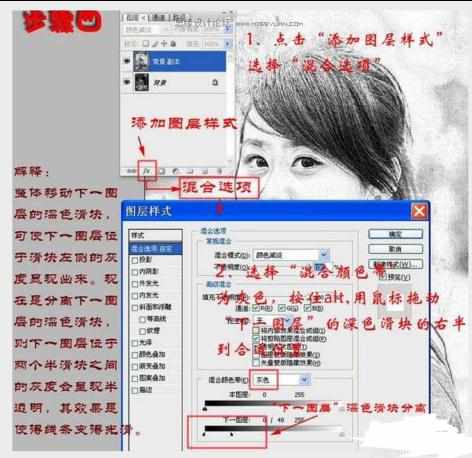
7.、点击图层面板下面的图层样式按钮,添加图层样式选择“混合选项”。选择混合颜色带中的灰色,按住Alt 键盘,用鼠标拖动下一层的深色滑块的右半到合适位置。
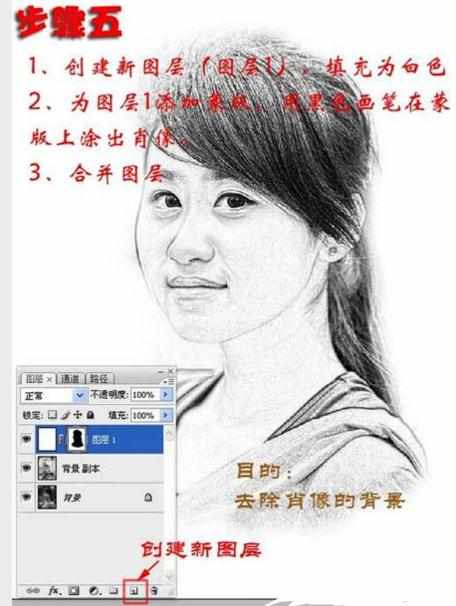
8.新建一个图层,填充白色,加上图层蒙版,用黑色画笔把人物部分擦出来。确定后合并所有图层,完成最终效果。
原作者:duanbiaowuhao
Photosho
Photoshop怎么制作素描效果的评论条评论