
Word中单独或者不连续设置页眉的操作方法
发布时间:2017-04-01 00:47
相关话题
在编辑word文档时,有时需要插入不同的页码形式进行编辑,这该如何实现呢,今天,小编就教大家在Word中单独或者不连续设置页眉的操作方法。
Word中单独或者不连续设置页眉的操作步骤如下:
打开word文档,总共有3页,是为了方便演示。
关键的一步,找到“页面布局”把鼠标点到这一页的最后文字后面。
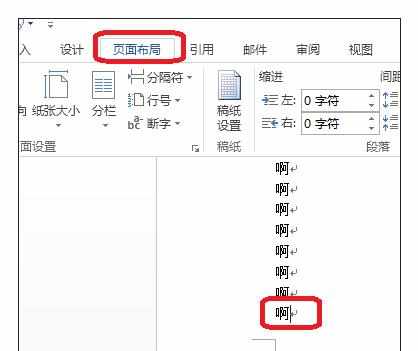
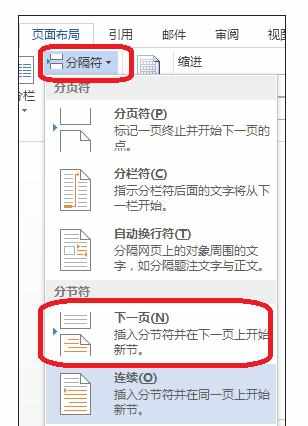
单击“页面布局”找到“分隔符”再找到“下一页”并单击,依次完成下面的页码操作。
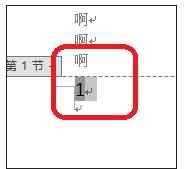
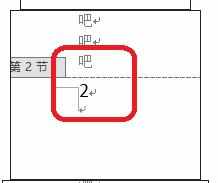
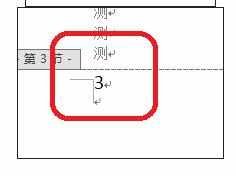
插入页码,这是3页均是一样的页码格式1、2、3、
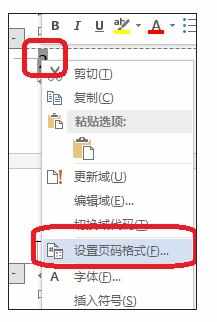
这时选中第二页的页码,右键单击,选择“设置页码格式”。
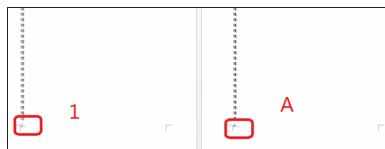
将其改为自己想要的类型,示例中第二页选择的是A,第三页选择的是I。

这时文档的页码编辑完毕。
Word中单独或者不连续设置页眉的操作方法的评论条评论