
photoshop游戏字体制作教程
发布时间:2016-12-19 17:48
相关话题
经常玩游戏的人们会知道游戏界面的文字很酷很炫,有时候在游戏缓冲阶段会观察这些文字打发时间。下面是小编为大家整理的photoshop游戏字体制作教程,仅供大家参考~
photoshop游戏字体制作教程如下:
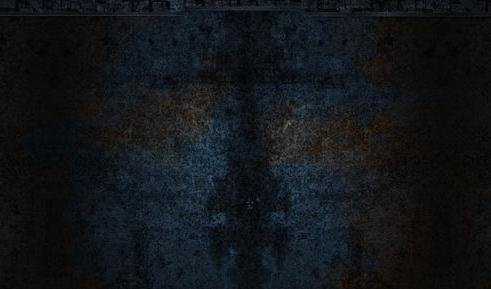
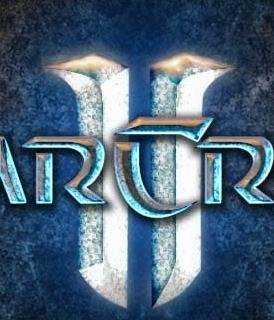
打开下图所示的背景素材。
选择文字工具,打上你想要的文字,为了突出效果最好是选择作者提供的字体。如果你还没有这款字体请点这里下载,字体颜色选择白色,效果如图2。

下面再来定义一款图案,后的图层样式会用到。打下图3所示的素材,选择菜单:编辑 > 定义图案,然后自己命好名即可。
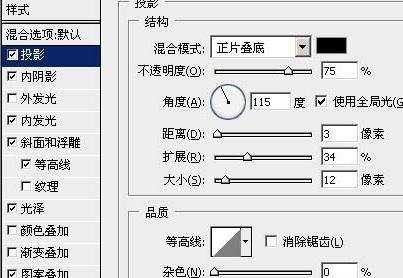
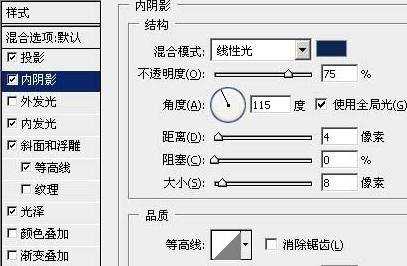
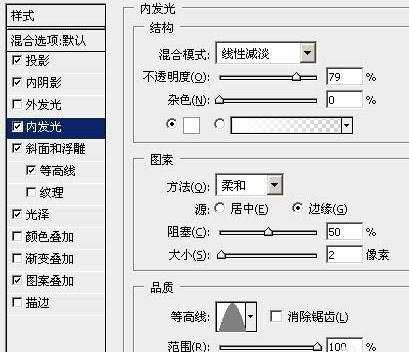
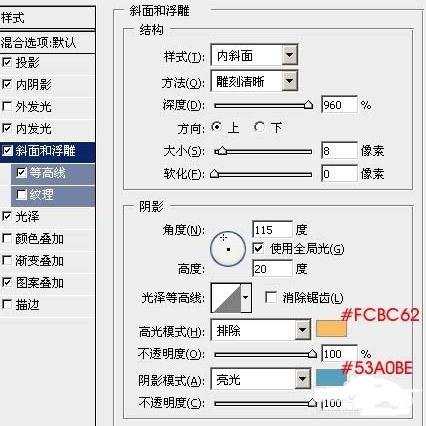
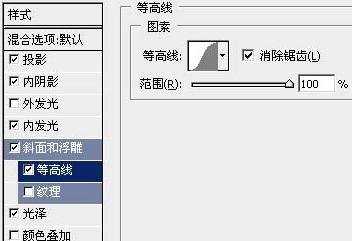
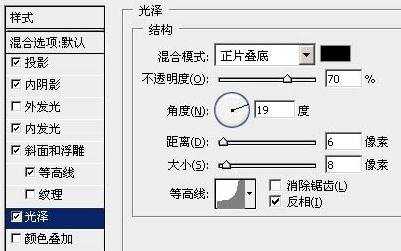
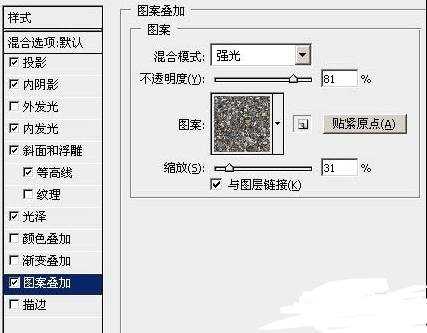
双击图层面板文字缩略图调出图层样式,参数设置如图4-10,效果如图11。其中图案叠加选择的图案就是上一步我们定义好的图案。
新建一个图层,用钢笔工具抠出图12所示的图形,填充白色。
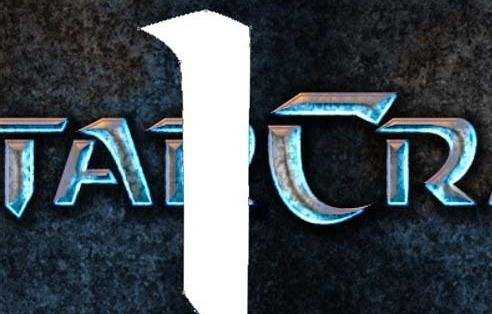
把白色图形复制一层,执行:编辑 > 变换 > 水平翻转,然后适当拉开一点距离,再把这两个对称的图形合并为一个图层,按Ctrl + [移到文字图层下面。回到文字图层右键图层面板文字图层缩略图,选择“拷贝图层样式”,回到刚才的白色图形层,右键选择“粘贴图层样式”,效果如图13。

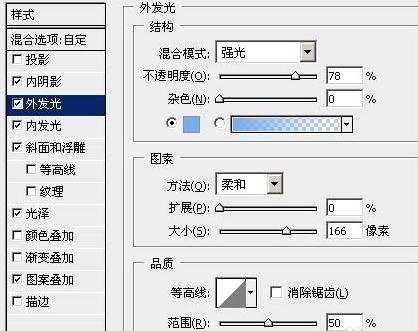
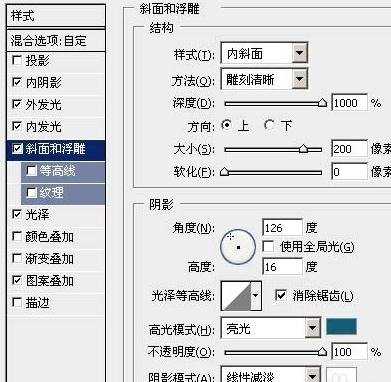
双击图层调出图层样式,把“投影”,“等高线”前的勾去掉,再分别点“外发光”,“斜面和浮雕”,“光泽”对参数进行修改,如图14-16,效果如图17。


把竖条复制一层,执行:滤镜 > 模糊 > 高斯模糊,数值为9,确定后把前景颜色设置为:##F8CA9D,新建一个图层,图层混合模式改为“变亮”,然后用画笔在两个竖条顶部涂抹加上高光效果,如图18。
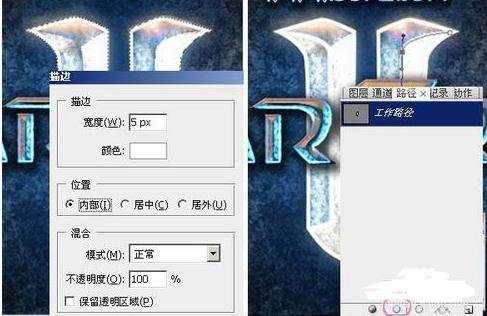
按住Ctrl点图层面板竖条缩略图调出选区,新建一个图层选择菜单:编辑 > 描边,参数设置如图19左,确定后,用钢笔工具把中间中心线路径抠出来,点路径面板选择画笔描边,同样描上白色,5像素的白线,确定后整体调整下细节,完成最终效果。

photoshop游戏字体制作教程的评论条评论