
photoshop制作花瓶的教程
相关话题
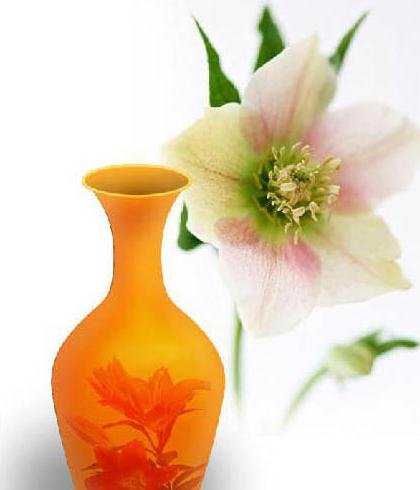
本教程介绍精美花瓶的制作方法。思路:先制作出花瓶的大致轮廓,然后上好色,调好光感。然后找一些鲜花素材来制作花纹。作品整体效果非常不错。下面是小编为大家整理的photoshop制作花瓶的教程,仅供大家参考~
photoshop制作花瓶的教程如下:
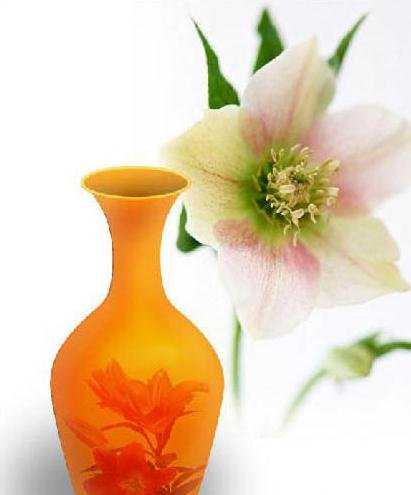
最终效果
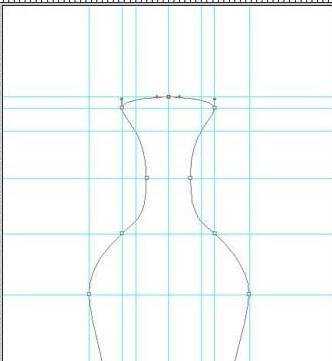
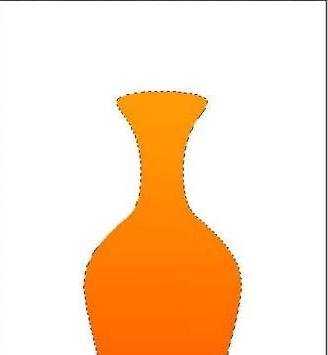
一、新建600*800,150p画布一个,先拉出如图1参考线,再用钢笔工具画出如图1形状。
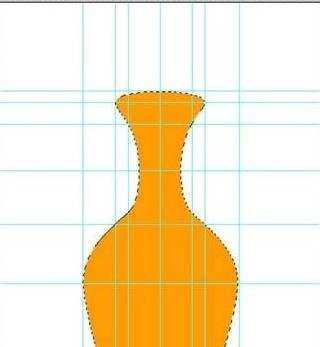
二、把前景色设为255,155,5 然后Ctrl+Enter将路径转换成选区. 新建一层后Alt+Delete 填充如图2。
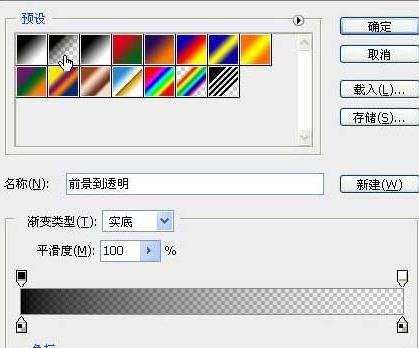
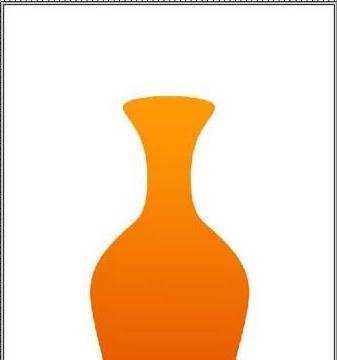
三、再新建一层,进行从上而下的透明到黑色渐变,改混合模式为柔光。
四、Ctrl+J复制渐变层,混合模式:正片叠底,不透明度:10%。
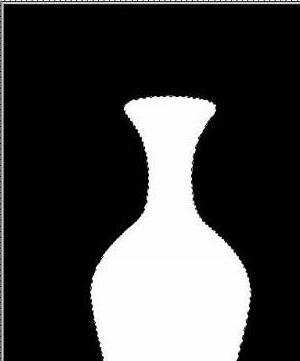
五、合并除背景层外的上面三层,按定Ctrl键,点图层1的缩略图,载入选区,打开通道面板,点下面的新建按扭,新建一个Alpha通道,在选区内填充白色。
六、滤镜/高斯模糊60。
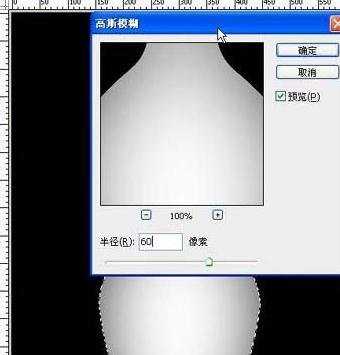
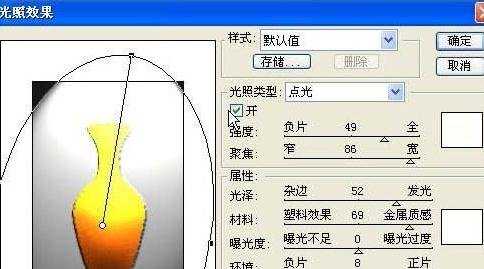
七、返回图层面板,Ctrl+J复制一层,滤镜/渲染/光照效果/设置如图9所示混合模式:正片叠底,不透明度50。
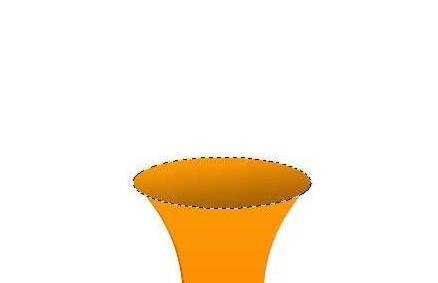
八、Ctrl+E向下合并图层。新建一层,用椭圆选择工具做出如图选区。设前景色255,155,5 背景色169,100,3进行如图9渐变。
九、新建一层,编辑/描边5像素,取消选区后加上图层样式。

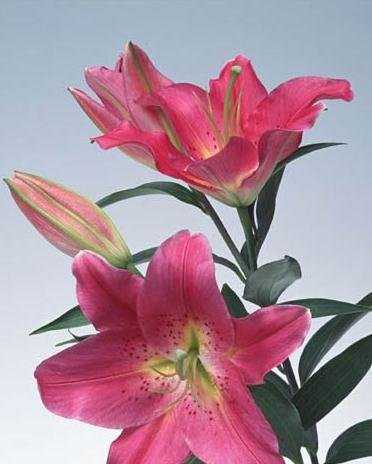
十、关闭背景层,合并可见图层。打开一张花草图片如图12,编辑/自由变换/按定Ctrl键,分别拉动四角进行调整(为了便于观察可先降低不透明度),使之适合花瓶。
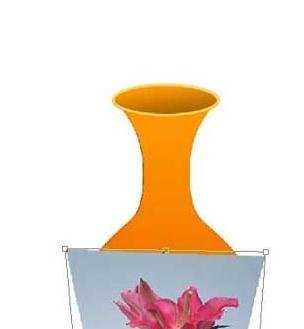
十一、确定后,改混合模式为柔光,再加上蒙板用100左右大小,不透明度30的软边黑色画笔在边沿细心涂抹,让它和花瓶融合,并将这层的不透明度降为70`80 。接着Ctrl+E向下合并图层,效果如图14。

十二、用加深减淡工具涂抹,做出高光阴影,加强立体感。
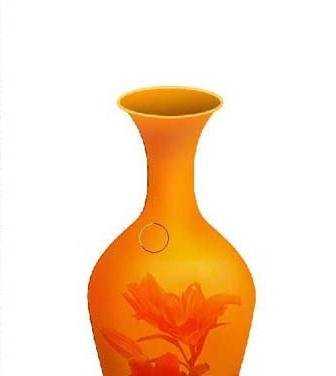
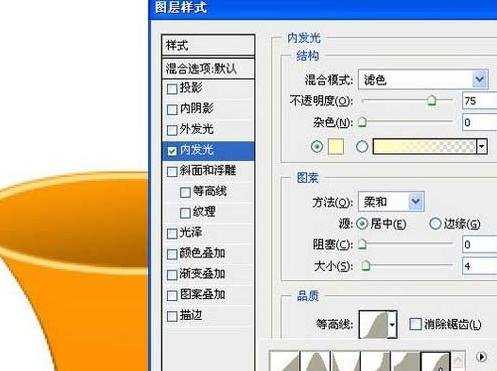
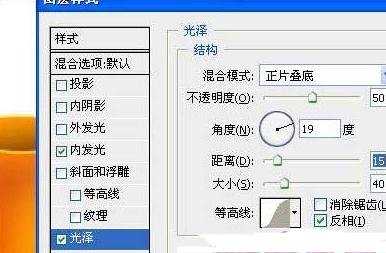
十三、加上内发光和光泽效果。

十四、其下新建一层,做椭圆选区,羽化30~40,填充黑色,改不透明度40。
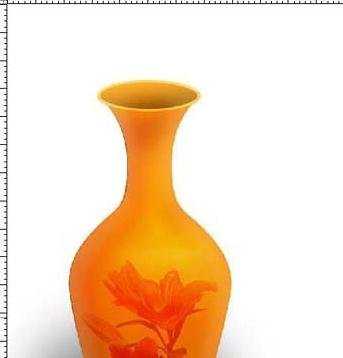
十五、导入一张花卉放在影子下面,最终如图。
photoshop制作花瓶的教程的评论条评论