
photoshop怎样制作材质素材
发布时间:2017-06-06 13:26
材质是一种photoshop中比较特殊的东西,因为photoshop的功能可以制作很多种材质。接下来就是小编精心整理的一些关于photoshop怎样制作材质素材的相关资料,供你参考。
photoshop制作材质素材的方法
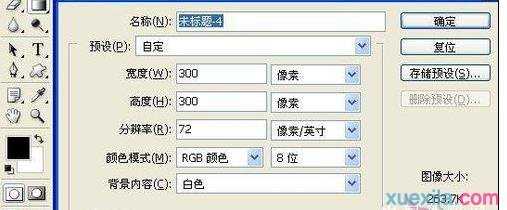
一、新建一个300*300的新文件,设置黑色前景,白色背景。
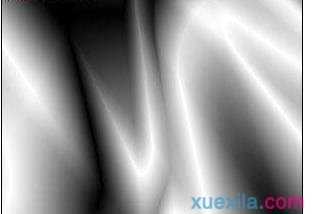
二、选择渐变填充工具,选择系统默认的前景到背景的渐变,模式选择差值。

三、在画布上随意拖动5到10步,效果如图(拉渐变的时候需要多换几个角度,随意的拉,效果自己满意为止。这一步很重要哦,直接影响到最终效果)。
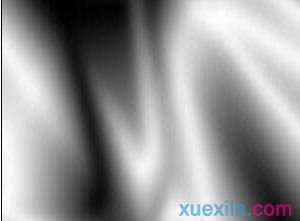
四、执行滤镜——模糊——高斯模糊,设置如图。
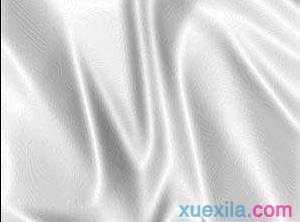
效果图:

五、执行滤镜——风格化——查找边缘,效果如图
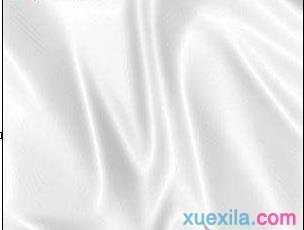
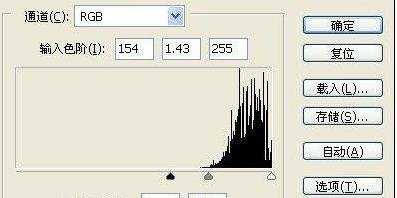
六、按Ctrl+L执行色阶命令,设置如图。
效果图:
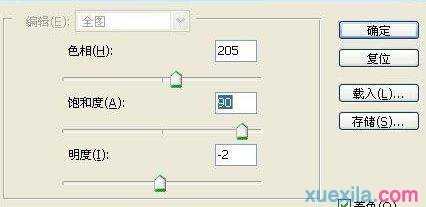
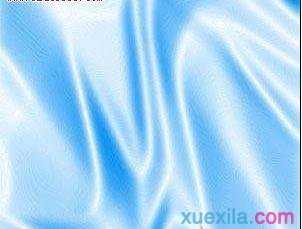
7七、按Ctrl+u执行色相/饱和度,勾选着色,设置如图(这一步可以随意调整,你喜欢什么颜色就调成什么颜色)。
photoshop怎样制作材质素材的评论条评论