
photoshopcs如何处理强光
发布时间:2017-02-11 11:19
相关话题
我们可以把强光照射的图片,理解为高光和原照片的叠加。那么大家知道photoshopcs如何处理强光吗?下面是小编整理的photoshopcs如何处理强光的方法,希望能给大家解答。
photoshopcs处理强光的方法:
1.打开原图按Ctrl + J复制一层,把复制后的图层混合模式改为“差值”,然后把背景填充为黑色,再在背景图层上面新建一个图层,前景颜色设置为:#FFE8BF,然后使用画笔工具在暴光过度的地方涂抹,如图
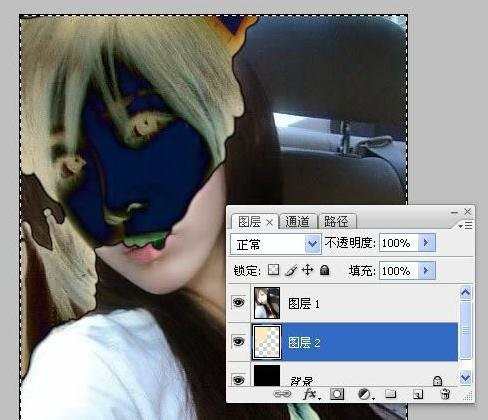
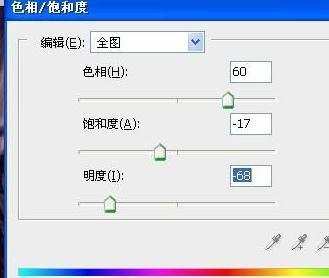
2.涂好以后,创建色相/饱和度调整图层,参数设置如下图
3.新建一个图层,按Ctrl + Alt + Shift + E盖印图层,使用图章或者涂抹工具把脸上的痕迹涂抹掉,效果如图

4.按Ctrl + J把涂好的图层复制一份,图层混合模式改为“滤色”,图层不透明度改为:60%,效果如图

5.合并所有图层,再整体修饰一下及锐化一下,完成最终效果

photoshopcs如何处理强光的评论条评论