
photoshop怎样制作扭曲文字
发布时间:2016-12-20 14:35
相关话题
扭曲字体,运用自由变换及混合选项等PS常用工具制作拥有立体质感的扭曲字体。制作简单,容易掌握,但重点还是通过本例了解工具的使用原理,从而在实际操作中能够举一反三。下面是小编为大家整理的photoshop怎样制作扭曲文字,仅供大家参考~
photoshop怎样制作扭曲文字如下:
01、按Ctrl+N,在弹出的新建对话框中设置宽度为3CM,高度为2CM,模式为RGB,分辨率为300像素/英寸,单击确按钮,创建一个新图像文件。

02、设置前景色为红色,按Alt+Del快捷键填充背景图层为红色。
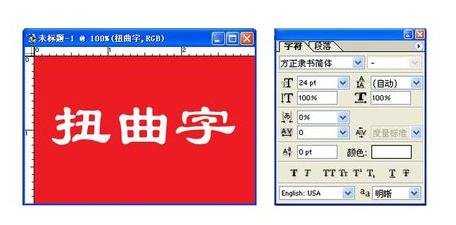
03、单击工具箱中的“文字工具”按钮,在字符面板中设置文字属性,字体为隶书,字号为“24pt”,颜色为白色,单击适当的位置,键入“扭曲字”三个字。然后单击工具箱中的“移动工具”按钮,把文字移动到合适位置,如图所示。
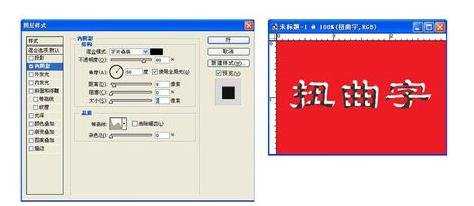
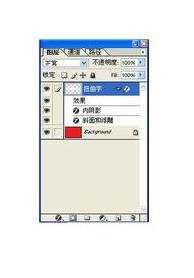
04、选择菜单栏中的图层-图层样式-内阴影命令,弹出对话框如图所示。设置混合模式为正片叠底,不透明度为80%,角度为50,距离为8,得到如图所示的效果。
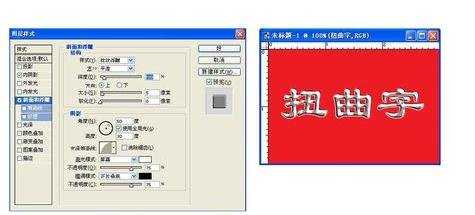
05、选择菜单栏中的图层-图层样式-斜面和浮雕命令,在弹出对话框中设置“样式”为“枕状浮雕”,在阴影中设置“光泽等高线”为Half Round,其他的接受默认值,得到如图所示效果图。
06、选择菜单栏中的图层-像素化-图层命令,将文字图层像素化。
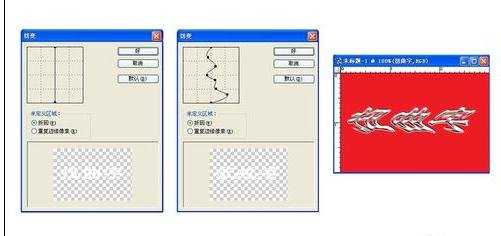
707、选择菜单栏中的滤镜-扭曲-切变命令,弹出切变对话框,如图所示。在方框中添加并调整扭曲拐点,如图所示。得到扭曲的文字效果图。
photoshop怎样制作扭曲文字的评论条评论