
photoshop建立的选区怎样保存
发布时间:2017-06-07 13:48
相关话题
在photoshop里面经常会用到选区,对于选区我们也可以进行保存。其实这个也不算太难,下面就让小编告诉你photoshop建立的选区怎样保存的方法,一起学习吧。
photoshop建立的选区保存的方法
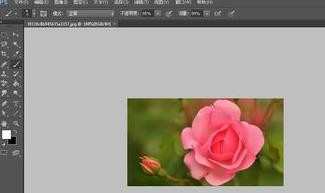
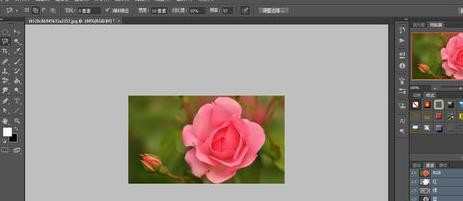
第一步:在ps中打开图片。
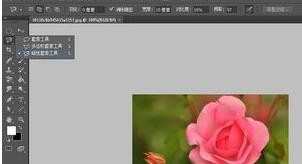
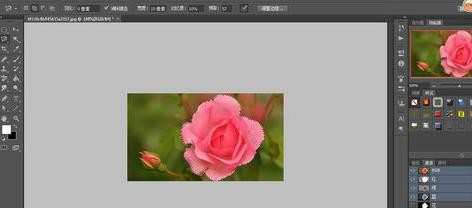
第二步:点击磁性套索工具。
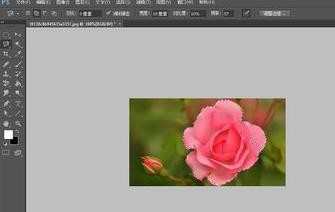
第三步:使用磁性套索工具在图片中勾勒出选区的外形。
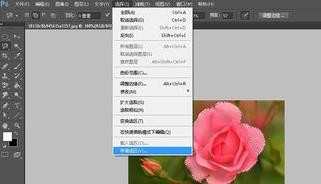
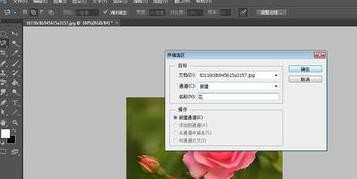
第四步:点击 选择-储存选区按钮。
第五步:在弹出的对话框里面,填写好参数。点击确定。这时候,选区就已经制作好了!
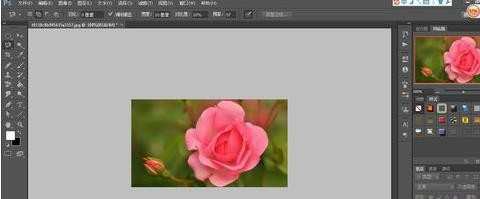
第六步:这时我们回到图层中,取消选区,然后再通道中按住ctrl,然后单击一下通道最下面的“花”(也就是新建的通道)。我们发现,消失的图层又恢复了!
photoshop建立的选区怎样保存的评论条评论