
如何设置wps网格线
发布时间:2017-02-14 16:43
相关话题
在wps文档里面常常会需要用到网格线,那么,如何对网格线进行设置呢?下面就让小编告诉你设置wps网格线 的方法。
设置wps网格线的方法:
我们先点击视图里面的网格线,这里我们只是把简单的一个网格线设置出来。
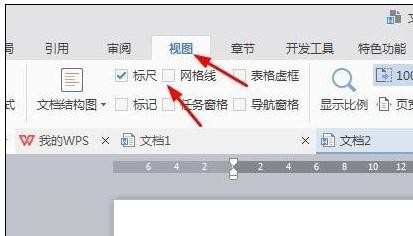
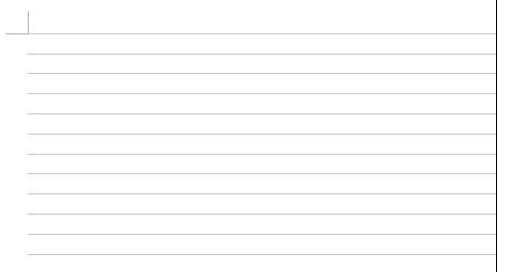
勾选之后的网格线是这样的,如下图所示这个有点像写作文用的纸张
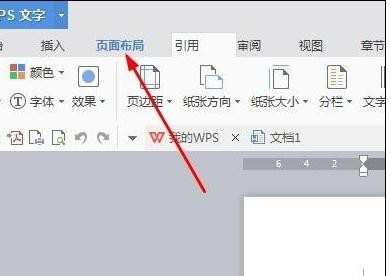
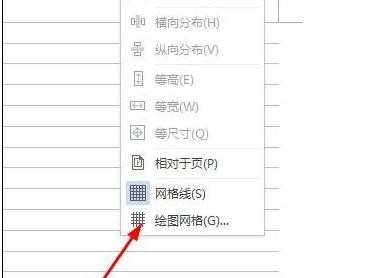
这个时候我们切换回到页面布局。
选择对齐,点击对齐倒三角。
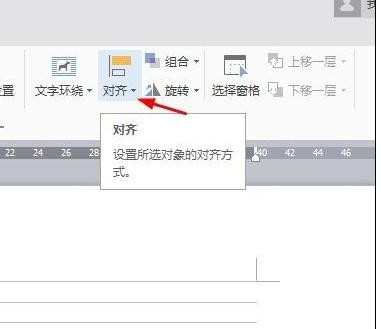
我们选择最后一个绘制网格。
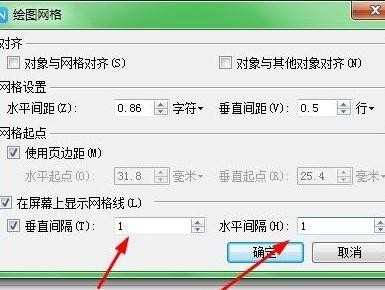
弹出的设置菜单,我们选择垂直间隔1,水平间隔1.
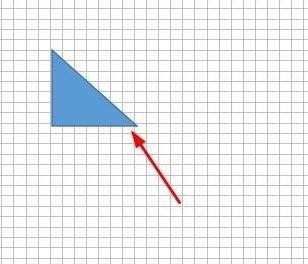
完成之后我们随意画一个多边形,插入形状里面直三角。

这个时候我们就可以对齐网格线画图。
如何设置wps网格线的评论条评论