
photoshopcs6如何制作连续图案
发布时间:2017-02-10 15:45
相关话题
photoshop定义图案后,可以使用油漆桶工具制作出连续的图案效果,并且可以在任何图片中使用。下面小编告诉大家photoshopcs6如何制作连续图案,一起来学习吧。
photoshopcs6制作连续图案的方法:
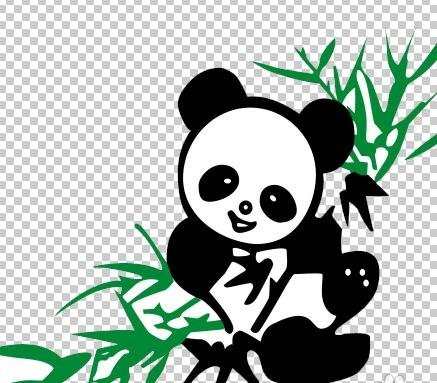
打开一张照片,使用魔棒工具在图像空白区域单击一下,按Ctrl+Shift+I键反向选择,如图:

按下Ctrl+J键,复制选区内容到一个新的图层,并删除背景图层,如图:
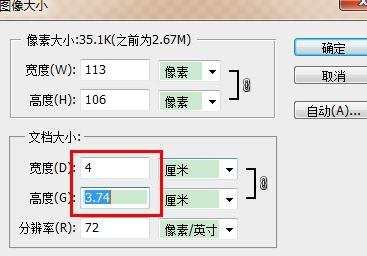
执行图像/图像大小命令,在弹出的窗口中设置图像的宽度为4厘米,如图:
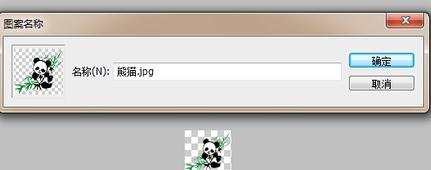
执行编辑/定义图案命令,在弹出的窗口中设置图案的名称,如图:
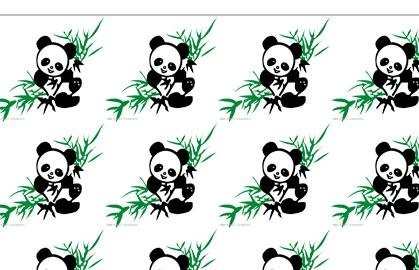
新建一个photoshop文件,选择油漆桶工具,并设置要填充的内容为图案,如图:

在背景层上单击一下,效果如图,怎么样,是不是很漂亮呢:
photoshopcs6如何制作连续图案的评论条评论