
photoshop水墨文字制作教程
发布时间:2016-12-19 17:41
相关话题
用ps制作简单的水墨文字时画笔来制作水墨字,操作上繁琐一点,不过非常真实。用滤镜制作相对来说要快很多,只是层次感没有纯手工的强。下面是小编为大家整理的photoshop水墨文字制作教程,仅供大家参考~
photoshop水墨文字制作教程如下:
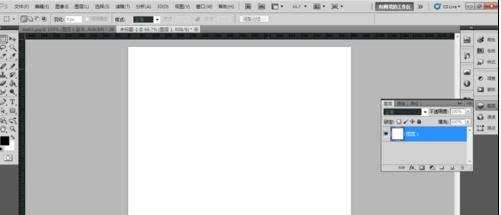
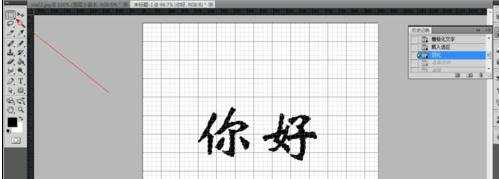
新建一个空白的图层,如下图所示。
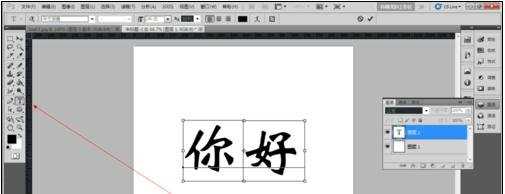
用文字工具在上面写上文字,如下图所示。
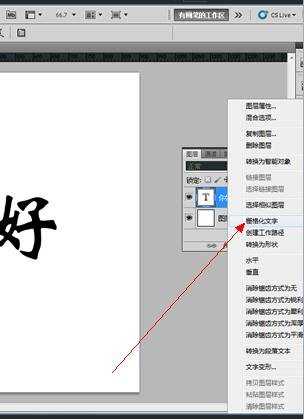
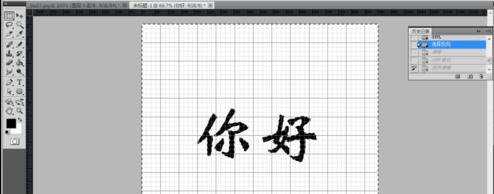
这个时候在文字上右击,删格化文字,如下图所示。
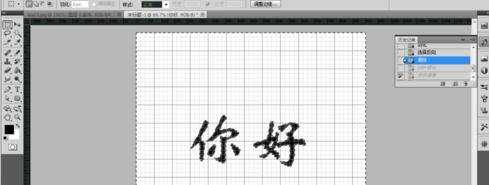
按下ctrl,同时点击你好图层前面的那个小的缩略图。
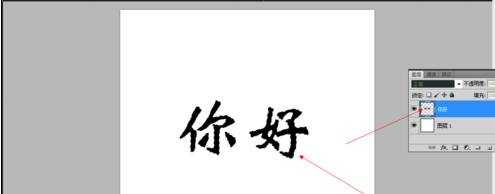
这个时候选择选区工具。
在文字上右击,选择反选。如下图所示。
这个时候按下delete进行删除。得到如下图所示的样子。
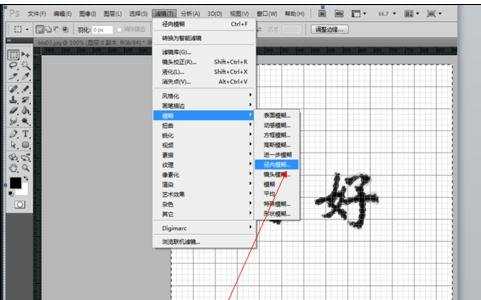
接下来进行usm锐化,在窗口中设置你想要的一些参数的值。
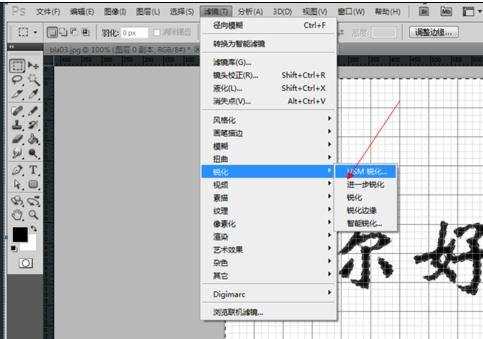
接下来再进行模糊的处理,还是一样,设置你想要的模糊的参数,
最后就是如下图所示的看到的这个样子了。

photoshop水墨文字制作教程的评论条评论