
photoshop铜字效果制作方法
发布时间:2016-12-19 17:43
铜字是一种很有质感的文字,厚重大气有底蕴,我们经常在一些宣传海报中可以看到,那么如何在PS中制作铜字呢?下面是小编为大家整理的photoshop铜字效果制作方法,仅供大家参考~
photoshop铜字效果制作方法如下:
在ps软件中,新建一个800*800的文档,背景色为白色,写上灰色的字体,如图所示

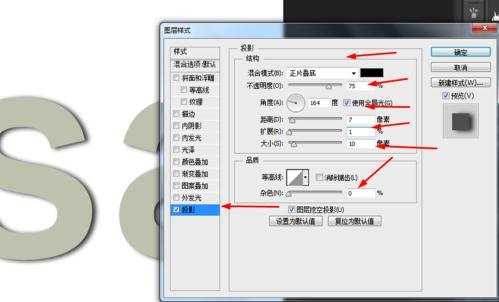
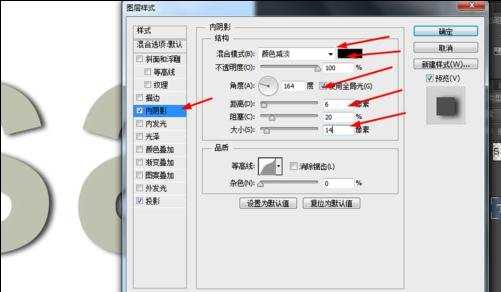
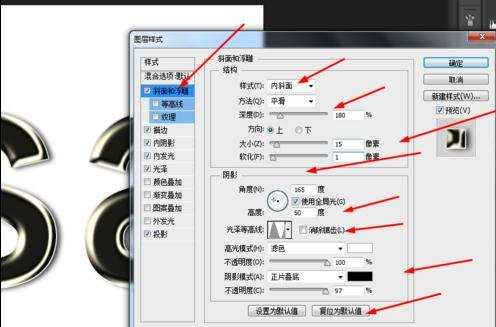
然后双击字体的图层添加图层样式,调整一下投影和内阴影,如图所示
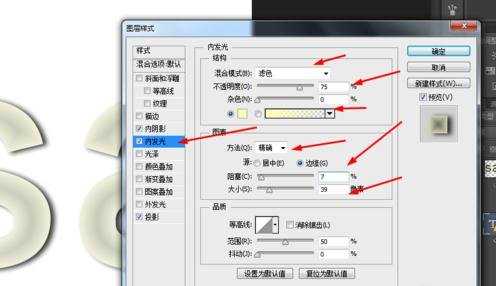
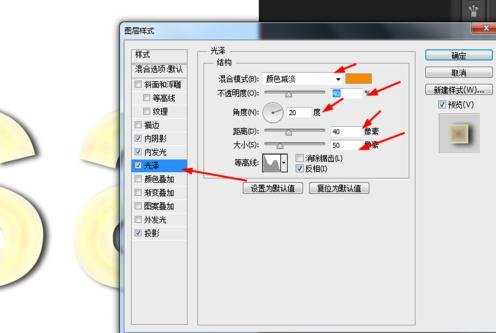
接着调整一下光泽,内发光,如图所示
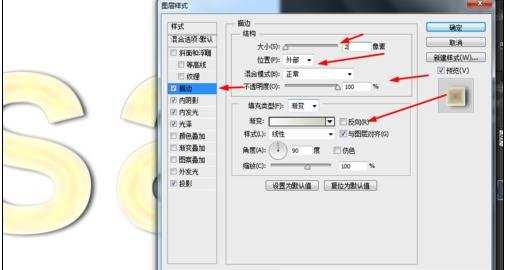
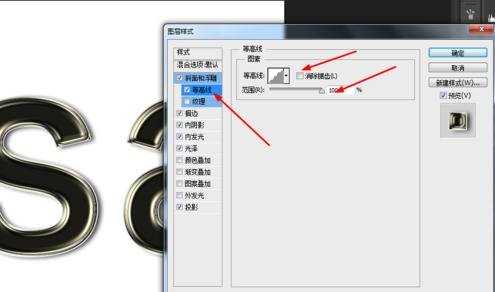
接下来再调整一下描边,斜面和浮雕,等高线,如图所示
按ctrl点击字体的图层生成选区,再新建一个图层填充铜色,如图所示
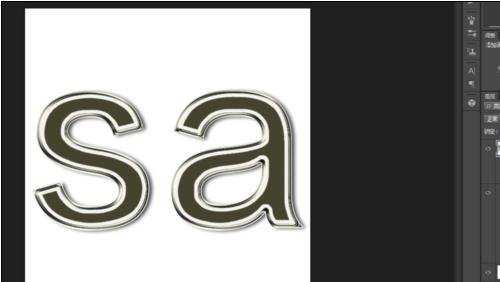
最后把图层1的混合模式改为正片叠加,不透明度改为60%,如图所示
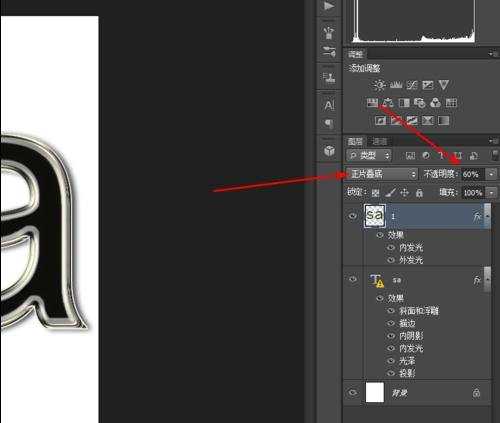
效果如下图所示

photoshop铜字效果制作方法的评论条评论