
photoshop画图怎样使用网格
发布时间:2017-05-27 15:46
hotoshop其实画图会用到网格,这种网格可以规范我们的图形。但是很多同学还不太清楚。那么接下来下面是小编整理的一些关于photoshop画图怎样使用网格,供您参阅。
photoshop画图使用网格的方法
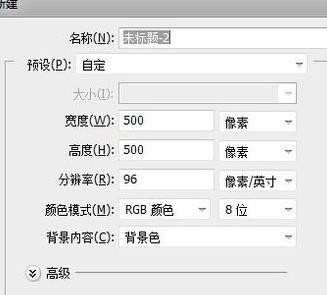
打开PS,新建一个背景或自己拉一个背景进来。
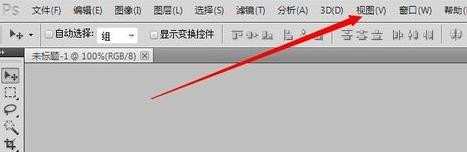
新建好后点击菜单栏上面的视图,如下图所示:
然后打开视图下拉出来的显示,如下图所示:
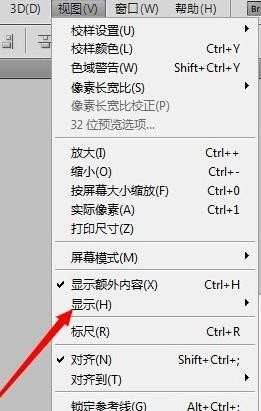
在显示的下拉中又会出现’网格‘,点击一下网格将会出来。

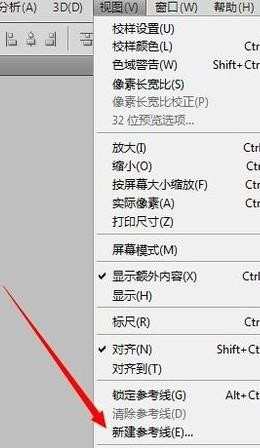
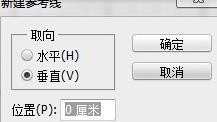
再加一个参考线能更加精准一些。在视图下新建一个’参考线‘。
参考线的设置需要看自己需求,我就随意设置吧。
下面图片上蓝色的那些就是参考线,而黑色的就是我拖动参考线的痕迹。

photoshop画图怎样使用网格的评论条评论