
photoshop图片处理
发布时间:2017-02-14 08:36
相关话题
在PS中可能图片处理用的非常多,那么大家知道图片怎么处理吗?下面是小编整理的photoshop图片处理的方法,希望能给大家解答。
photoshop图片处理的方法:
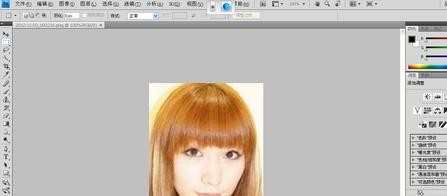
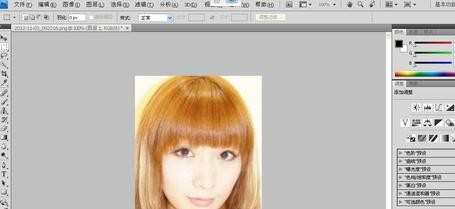
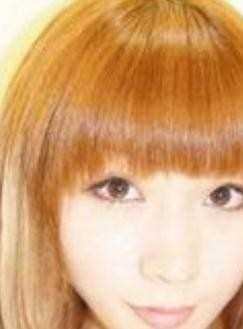
进入CS4,打开一张素材,如图:
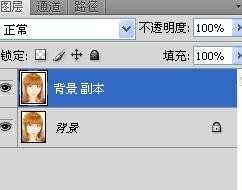
拖动“背景”图层到【图层】面板下方的【创建新图层】按钮上,复制副本。
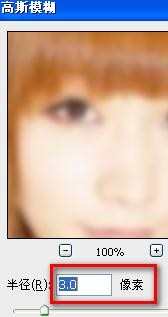
执行【滤镜】【模糊】【高斯模糊】命令,设置【半径】为:3像素。
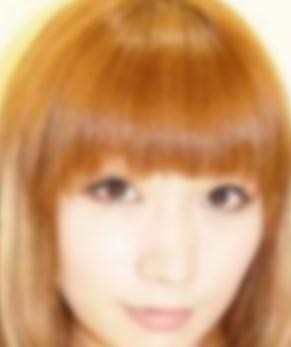
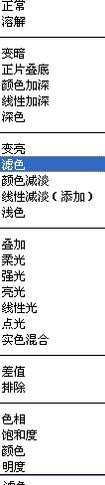
设置【图层】面板上的【图层混合模式】为:滤色,【不透明度】为:19%
按住【Ctrl+Shift+Alt+E】组合键,盖印可视图层,此时自动生成“图层1”
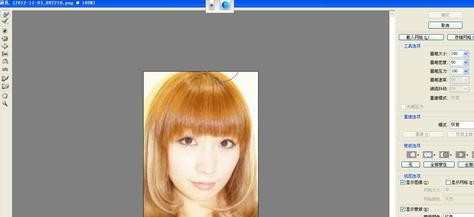
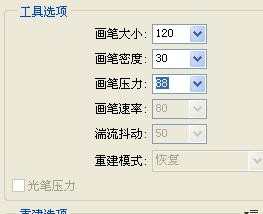
执行【滤镜】【液化】命令,选择【向前变形工具】,设置参数为【120.30.88】,在人的脸部进行处理,使其变小。是不是变瘦了呢。。
最后效果如下,是不是变瘦了呢。

photoshop图片处理的评论条评论