
怎样在photoshop中给照片润色
发布时间:2017-04-08 18:15
相关话题
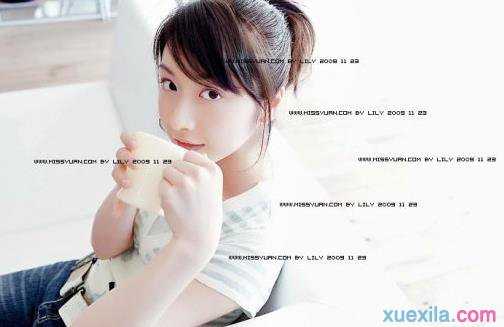
我们有时候看到拍出来的照片色彩非常不好,显示不了真实,这时候就要用到photoshop了。很多刚学习的新手小伙伴可能还不知道,下面是小编带来关于怎样在photoshop中给照片润色的内容,希望可以让大家有所收获!
在photoshop中给照片润色的方法
1、用Photoshop打开原图,解锁,复制一层得到图层1,然后执行:图像 》 调整 》 自动色阶,自动对比度,自动颜色,然后转入Portraiture滤镜进行磨皮和稍微把颜色调暗一些,没有这个软件的朋友可以去网上下载,操作完效果如图:

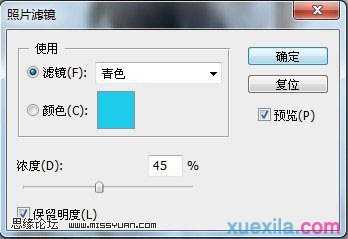
2、新建一个图层,按Ctrl + Alt + Shift + E盖印图层,得到图层2,建立照片滤镜调整层,参数如图:
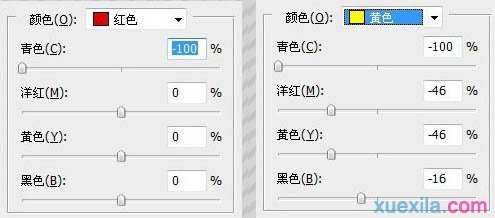
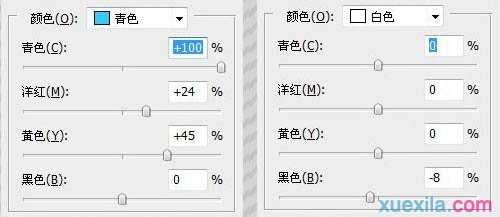
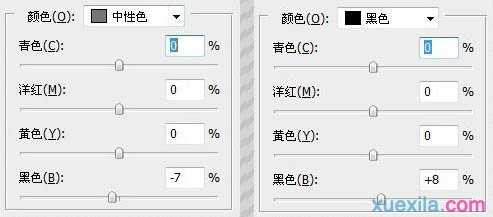
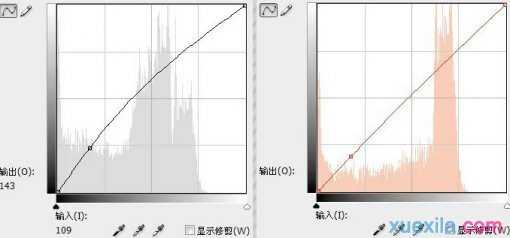
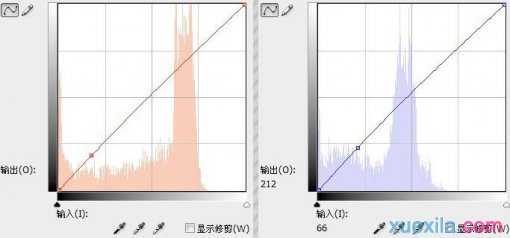
3、建立可选颜色调整层,分别调整红色、黄色、青色、白色、中性灰,黑色,参数及效果如下图:

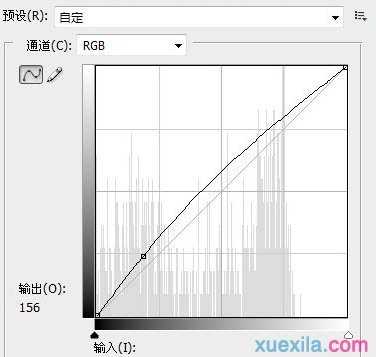
4、新建一个图层,盖印图层得到图层3,为了增加人物的红润效果,建立曲线调增层,参数如图。人物部分需要用不透明度低一些的画笔来擦拭图层蒙版。可以见最后截图:

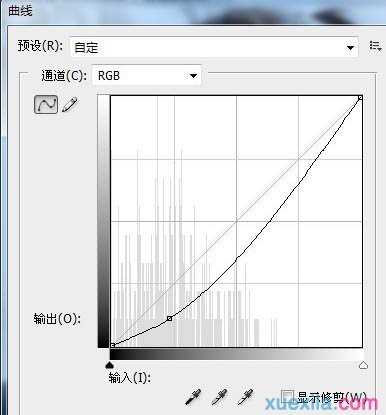
5、新建一个图层,盖印图层得到4,3lian素材,用套索工具选择右眼,建立曲线调整层,参数如图:
6、再用套索工具选择右眼的眼珠,建立曲线调整层,参数及效果如下图:

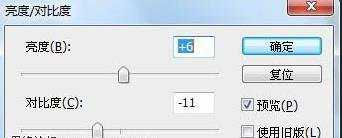
7、创建亮度/对比度调整图层,参数设置如下图,确定后盖印图层,完成最终效果。
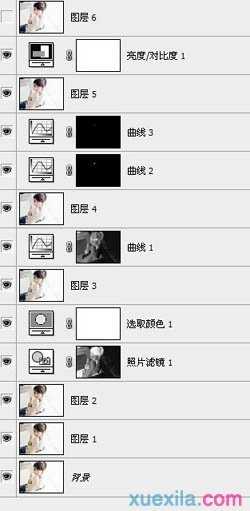
图层参照及最终效果:
怎样在photoshop中给照片润色的评论条评论