
photoshop怎样扣字体
发布时间:2017-05-11 18:28
相关话题
有时候我们不知道图片上文字是什么字体,想把字体给抠出来,懒得去写了。下面是小编带来关于photoshop怎样扣字体的内容,希望可以让大家有所收获!
photoshop扣字体的方法
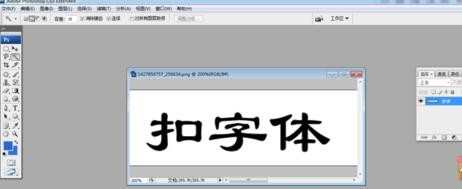
首先打开PS软件,把需要的抠的文字拉入ps中,把需要抠的图片放大。因为是简单的抠文字,所以咱们的图片选择也是相对简单的。
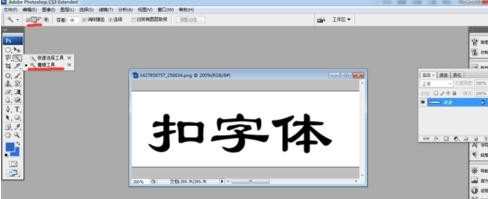
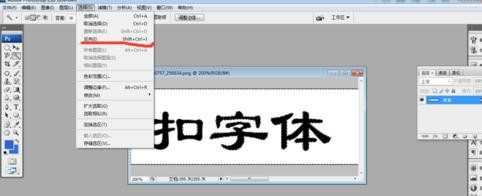
然后选择PS中的魔棒工具,注意的选项已经用红线标注。
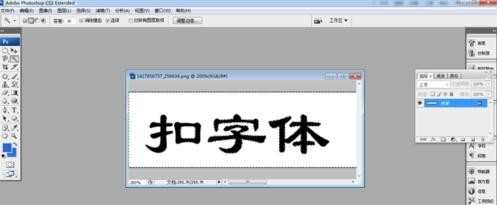
利用魔棒工具,三次五除二就选好了,此刻出现了蚂蚁线。你会发现边框也被选出来了是不是,接下来就是见证奇迹的时刻了。
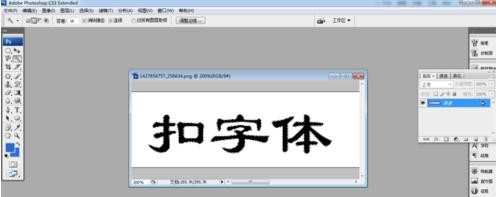
接下来点击选择——反向,也可以用快捷键:shift+ctrl+I ,咱们的字体就抠出来了。
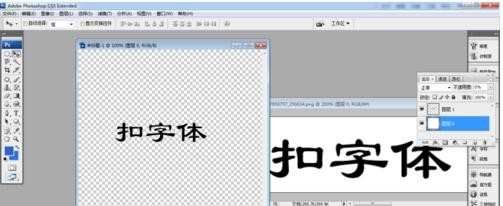
最后新建一个透明的图层,把咱们刚刚抠出来的字体拖进去就OK了,是不是很简单。
photoshop怎样扣字体的评论条评论