
word页眉线怎么去掉
发布时间:2016-12-11 13:57
相关话题
在word中插入页眉时,会自动出现一条直线,这条直线是什么呢?其实它是word默认状态下插入的边框。那么下面就由小编给大家分享下去掉word页眉线的技巧,希望能帮助到您。
去掉word页眉线的步骤如下:
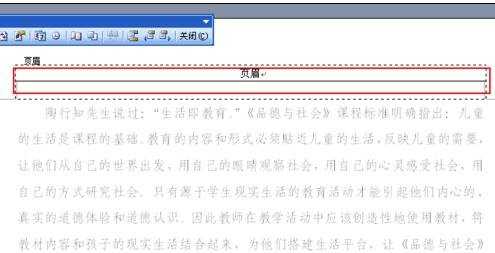
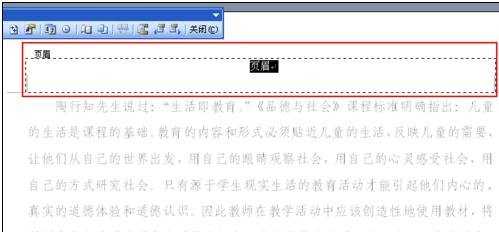
步骤一:首先我们看插入页眉时,出现的直线。“视图”----“页眉和页脚”,就会自动出现一条直线了。
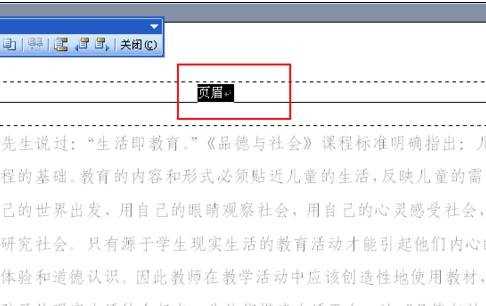
步骤二:选择页眉里的文字。
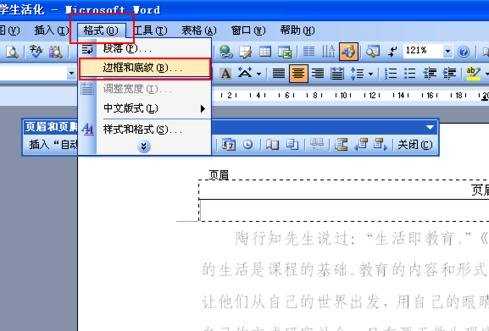
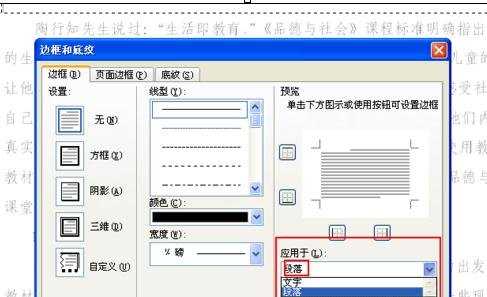
步骤三:单击“格式”菜单,选择“边框和底纹”
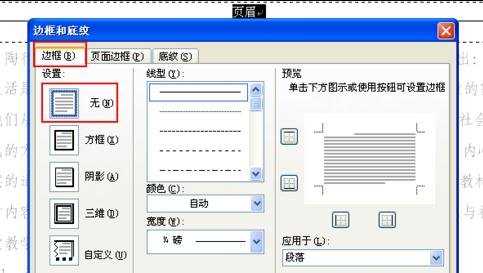
步骤四:在打开的“边框和底纹”对话框里,选择“边框”选项卡,然后在“设置”选项里选择“无”,单击“确定”。
步骤五:这时候,再看页眉里,那条直线已经不见踪影了。
步骤六:提示一点:在“边框和底纹”对话框的,右下角有个“应用于”选项,注意一定要选择"段落“,而不能选择”文字“。
word页眉线怎么去掉的评论条评论