
photoshopcs6自定义图案
发布时间:2017-02-10 15:46
相关话题
有时候PS中图案没有我们想要的,那就需要我们自己做了,下面小编告诉大家photoshopcs6自定义图案,一起来学习吧。
photoshopcs6自定义图案的方法:
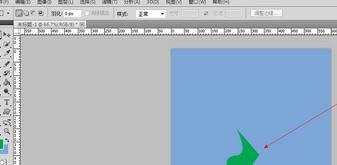
如图所示的一个图案。
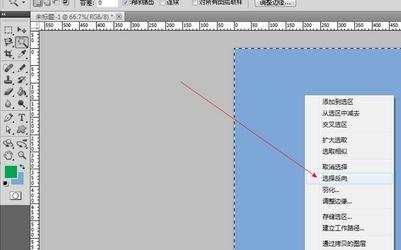
选择魔棒工具,选中图形以外的部分,如图所示。

再在图中右击。如图所示。选择选择反向。如图所示。
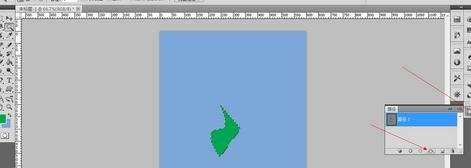
成功的选择后,打开路径这一个小窗口,如图所示。在窗口菜单中右以找到它。如图所示。
作出如上图所示的选择,如图所示。选择下方的第四个。如上图。再作出如下图所示的选择。
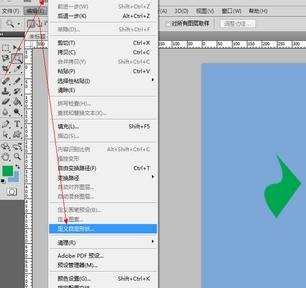
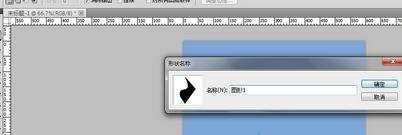
给你的图形命名。如图所示。
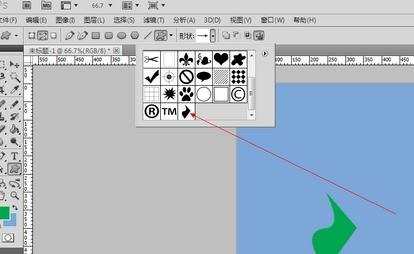
好了现在在图形中就可以看到你自定义的图形了。如图所示。
photoshopcs6自定义图案的评论条评论