
photoshop如何使用抠图功能
发布时间:2017-03-01 17:24
相关话题
大家都知道PS的抠图功能非常强大,那么大家知道photoshop如何使用抠图功能吗?下面是小编整理的photoshop如何使用抠图功能的方法,希望能给大家解答。
photoshop使用抠图功能的方法
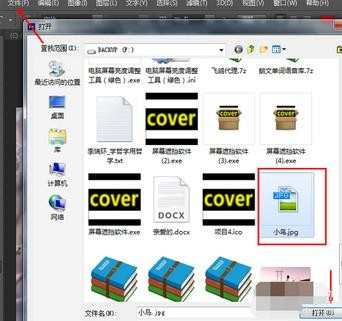
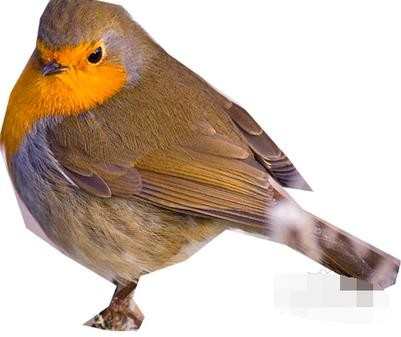
1.打开ps,打开要修改的图片。文件---打开就可以了。
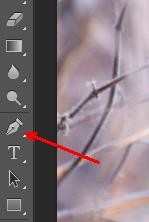
2.如果并不追求完美的效果,而只是想快速一些,就选择快速选择工具,如图所示。
3.然后用鼠标左键在图片上想抠出来的区域拖动,直到选择好想选择的区域之后,点击ctrl+c组合键复制。然后新建一个空白图片。

4.在此空白图片上粘贴,就出现了刚才抠出来的图片了。
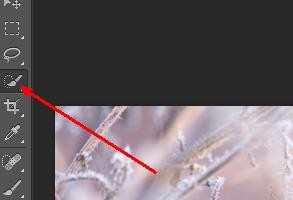
5.如果想得到更完美的抠图效果 ,可以使用钢笔工具 ,如图所示。
6.用钢笔工具在图像的边缘定出若干个点(相对来说,点数越多,抠图效果越好),如图所示,确定完成之后按crtl+回车键转换成选区,然后复制,新建空白图片。

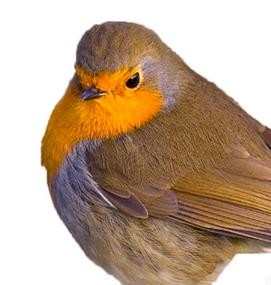
7.在空白图片中粘贴,刚才抠出来的图便出现了(此处只是大致抠图)。
photoshop如何使用抠图功能的评论条评论