
photoshop制作尾巴文字的教程
发布时间:2016-12-20 13:47
相关话题
利用Adobe Photoshop软件自带的“动感模糊”、“切变”滤镜和自由变换工具,轻松制作飘逸的尾巴字,其实也可以称为秀发字,下面是小编为大家整理的photoshop制作尾巴文字的教程,仅供大家参考~
photoshop制作尾巴文字的教程如下:
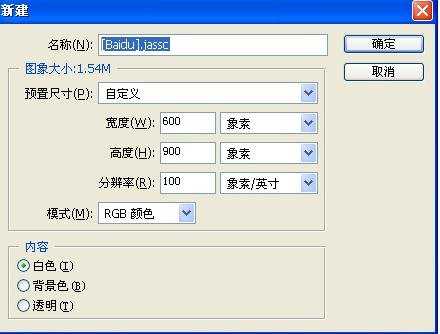
点击菜单栏“文件”→“新建”,设定宽度、高度,模式为“RGB颜色”。
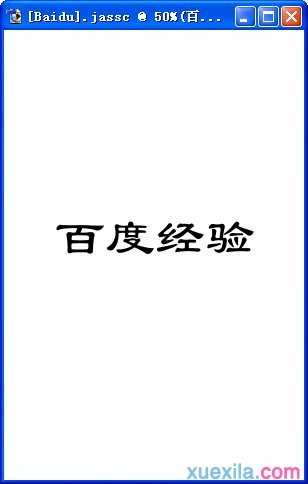
2点击工具箱上的文字工具。

3在画布上输入文字。
4按住Ctrl键,点击图层管理器上的文字图层。

5画布上的文字轮廓被选中。

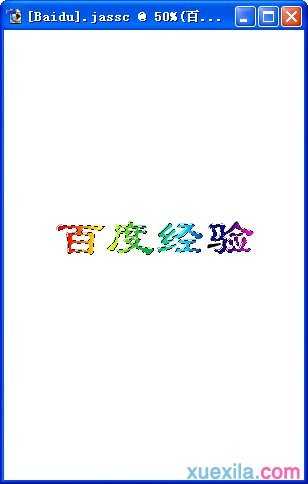
6点击工具箱上的渐变工具。

7选中彩虹渐变。

8在画布上按住鼠标左键,拖拉,得到如下渐变效果。
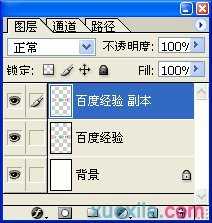
复制文字图层为副本。
点击菜单栏“滤镜”→“模糊”→“动感模糊”,“角度”设定为-90,“距离”设定为195。
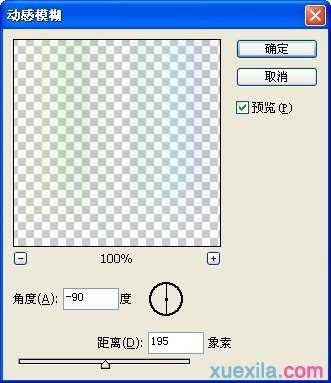
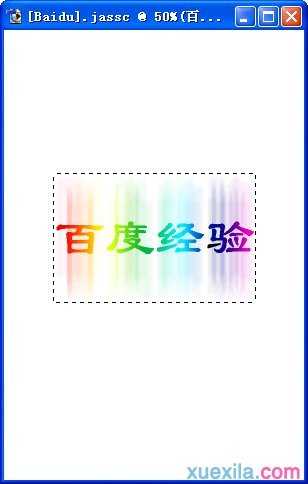
点“确定”后的效果图。

在文字上绘制如下大小选区。
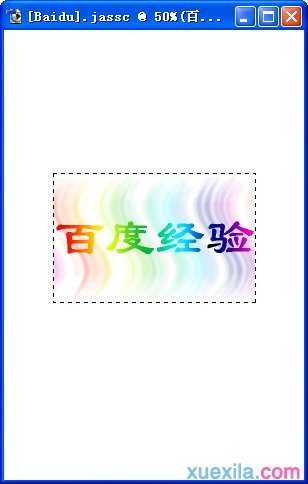
点击菜单栏“滤镜”→“扭曲”→“切变”,曲线如下,“未定义区域”设定为折回。

点“确定”后切记不要取消选区。
按键盘上的Ctrl+T键,画布上出现自由变换框,在框上按鼠标右键,点“扭曲”。

调整选区如下。

点击菜单栏“图像”→“修正”,默认设置就可以,点“确定”。
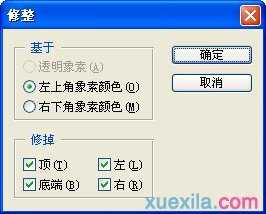
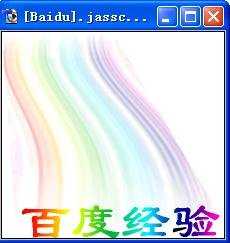
最终效果图。
photoshop制作尾巴文字的教程的评论条评论