
photoshop制作边框
发布时间:2017-02-16 08:30
相关话题
在PS中制作边框的方法非常多,那么大家知道photoshop制作边框吗?下面是小编整理的photoshop制作边框的方法,希望能给大家解答。
photoshop制作边框的方法:
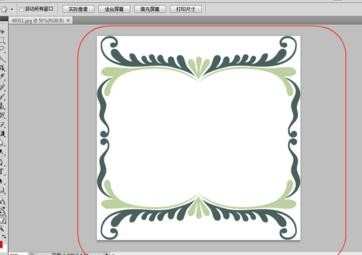
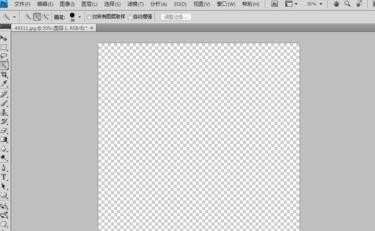
这里打开一幅边框素材图。
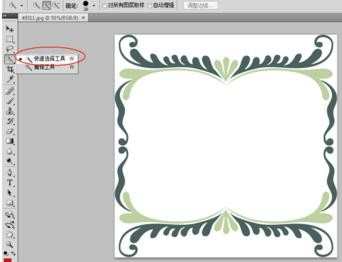
用快速选择工具,选定边框内部的白色空白区域。
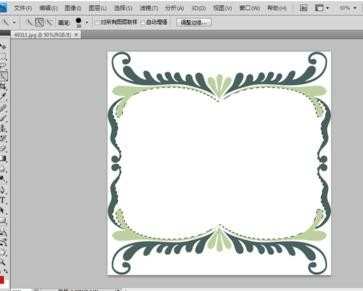
点击模板工具的像素模板,然后让空白区域被遮盖。(如果是边框变透明了就点击一下反相)
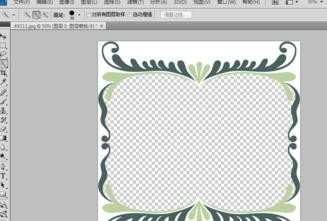
在边框的下面新建一个图层,将边框图层先隐藏。
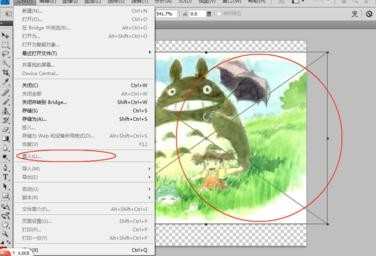
在文件中选置入命令。在新建图层中置入一张图片。调整其大小和位置。
将边框图层的属性调成可见,再次调整图像的位置让边框和图像的布局合理,然后再保存图片边框就完成了。
再来看看这种方法的效果图。

photoshop制作边框的评论条评论