
photoshop制作logo商标的教程
发布时间:2017-04-13 11:56
相关话题
商标现在说的就是LOGO了,我们今天拿SWATCH手表的LOGO来举例。接下来就是小编精心整理的一些关于photoshop制作logo商标的教程的相关资料,供你参考。
photoshop制作logo商标的教程
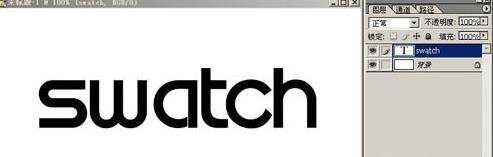
1、首先建立文字……(SWATCH这几个字的字体是专门找的!)
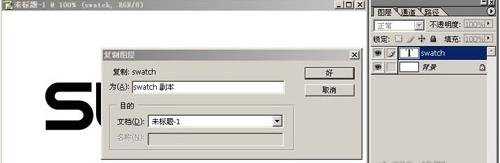
2、复制一层,并且删格化图层……
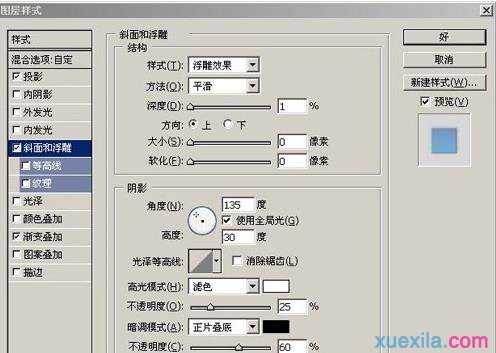
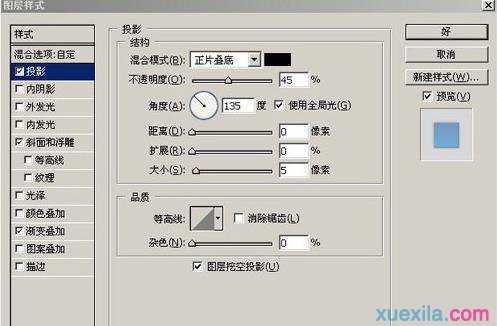
3、给图层定义上述样式,参数大家自己调整吧,不过变化幅度还是小点为好,发现“新视觉”风格的东西非常注意细致!

4、处理好后的效果……

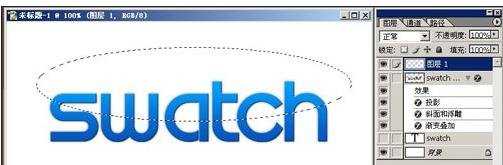
5、新建立图层,并建立椭圆型选区并羽化。
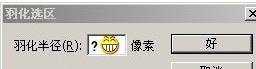
6、羽化值自己看着办啦……
7、设置前景色背景色如图,并施加渐变


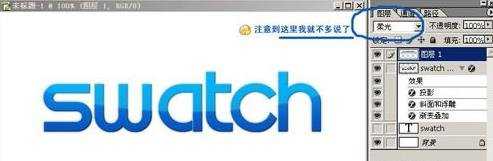
8、到这个样子,之后施加改变图层混合模式。

9、这样弧型的颜色分界就弄出来了……
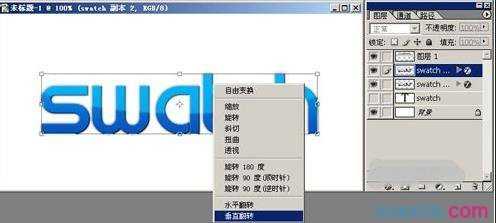
10、复制刚才做好的图层用来做倒影的(当然根据实际情况,有的时候倒影是多余的!)
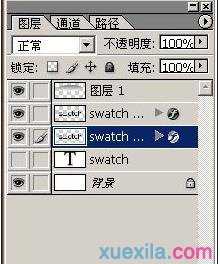
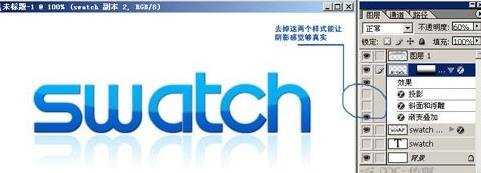
11、最后加个蒙板,自己调整一下透明度,倒影就做好了!
最终一个“个性”风格的LOGO就出炉了
photoshop制作logo商标的教程的评论条评论