
Photoshop如何制作旋涡效果_PS里怎么做漩涡效果
发布时间:2017-03-28 17:23
有时候一些旋涡效果图看似非常复杂,但其实我们在Photoshop中就能制作完成,下面是小编整理的Photoshop制作旋涡效果的方法,供您参考。
Photoshop制作旋涡效果的方法
首先我们打开ps,建立一个黑色的图层,再选择滤镜——渲染——镜头光晕,
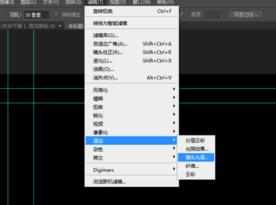
选择镜头光晕之后,我们看到光晕有三种选择,我们直接选择第一种就可以了,当然你也可以尝试其他的选择,

选择好之后,我们再次选择滤镜库,选择艺术效果,艺术效果里面有个塑料包装,

之后我们选择滤镜——扭曲——波纹,让它有个波纹的效果,参数如图所示,
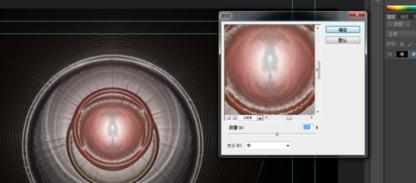
然后我们再次选择滤镜——扭曲——选择扭曲,参数如图所示,


效果制作差不多了,接下来就是调试了,在这里我选择的通道调色,

这是我调的最后效果,希望能够帮到大家!

Photoshop如何制作旋涡效果_PS里怎么做漩涡效果的评论条评论