
wps表格如何设置水印
发布时间:2017-01-03 14:20
相关话题
你知道怎么在wps表格中设置水印吗?下面小编就为你介绍wps表格如何设置水印的方法啦!
wps表格设置水印的方法:
打开或新建一工作表,如下图所示:
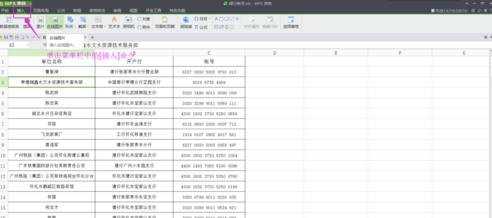
单击菜单栏中的[插入]命令,如下图所示:
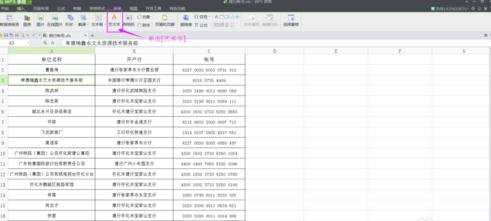
单击[插入]命令中的[艺术字],如下图所示:
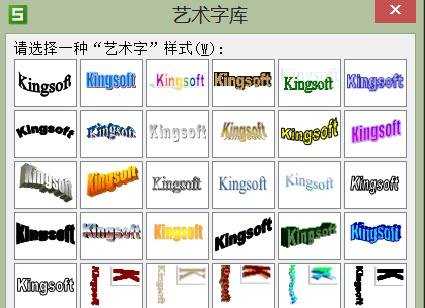
单击[艺术字]后,会弹出“艺术字库”的选择框,选择自己中意的艺术字体即可。“艺术字库”选择框如下图所示:
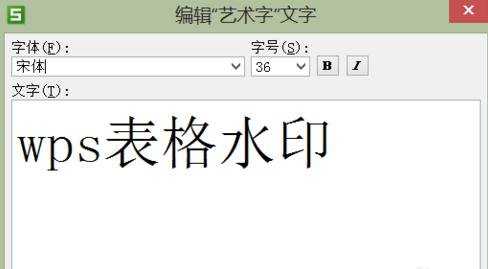
选定艺术字体后,单击[确定]按钮后,会弹出“编辑艺术字文字”的对话框,在弹出的对话框中分别设置好[字体]、[字号]、[文字],如下图所示:
字体、字号、文字分别设置好后,确认后的效果如下图所示,可是这效果肯定不理想,因为影响表格中的数据的显示,我们还需要对插入的艺术字体的格式进行设置才行。
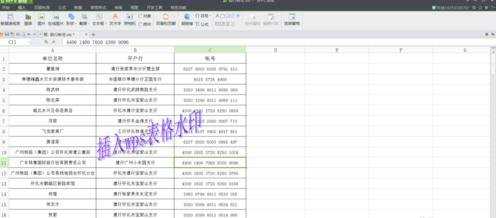
7 鼠标移到艺术字体上,单击鼠标选中艺术字体,如下图所示:

右击鼠标键,如下图所示,选择[设置对象格式]。
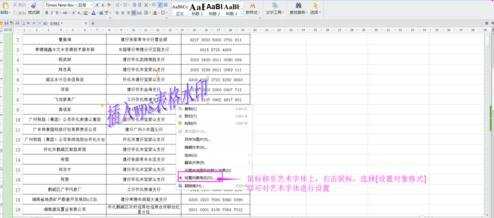
在[设置对象格式]的对话中,可分别对艺术字体的颜色与线条、大小、属性进行设置,设置好直接单击[确定]按钮,即可。

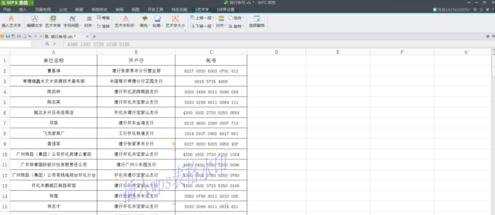
所有的设置都设置好后,最终效果如下图所示:
wps表格如何设置水印的评论条评论