
ps快速抠图步骤图解
发布时间:2017-01-12 13:17
在CAD中有个比较基础的应用就是抠图,下面小编告诉大家ps快速抠图步骤图解,一起来学习吧。
ps快速抠图步骤图解:
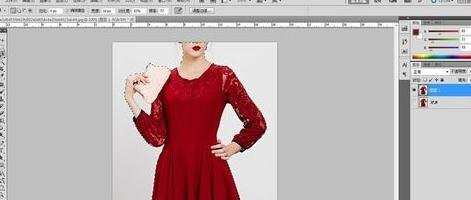
打开PS,将所需要处理的图片拖进PS里,进行处理。
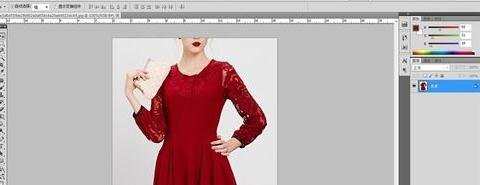
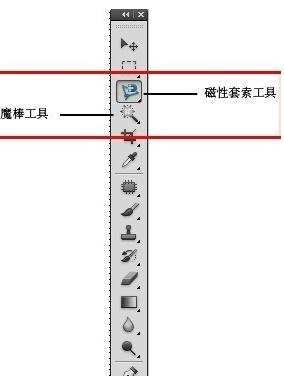
此次,小编演示两种PS快速抠图的方法。一个为魔棒工具,一个为磁性套索工具。
以图中所示图片为例,去掉模特后面的背景色,只留模特的形状。
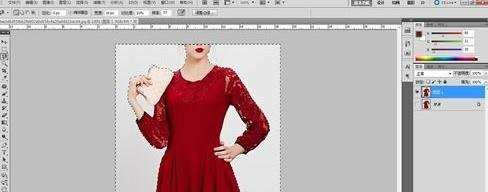
首先,选择磁性套索工具。在模特边缘点击鼠标左键,作为起始点。如图中所示。
使用工程中鼠标左键不用长摁,只需在起始点的位置点击一下即可。
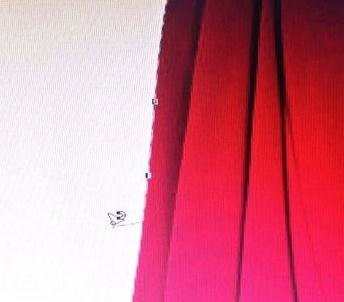
用磁性套索在四周沿模特边缘绘制一圈,期间切勿双击鼠标,不然只能重新绘制了。
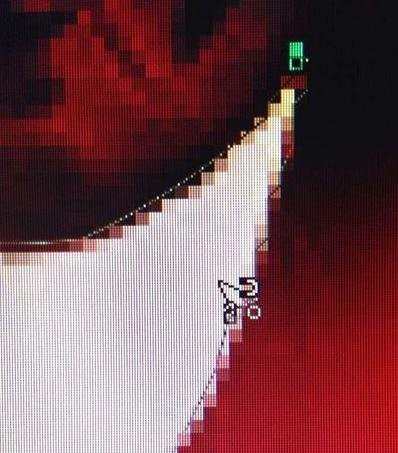
绘制到起始点时,鼠标会变成如图所示,会在右下角多出一个圆圈,表示完整封闭路径。
再用鼠标点击起始点,这样就变成一个完整选区了。
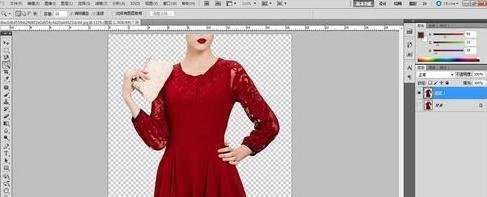
上面图片是将模特变成了选区,如果直接删除会将模特删除掉,这显然不是我们的目的。
利用快捷键ALT+SHIFT+I(反向选择),这时背景色就变成了选区,摁DEL键进行删除,这样一个模特就算是抠出来了。
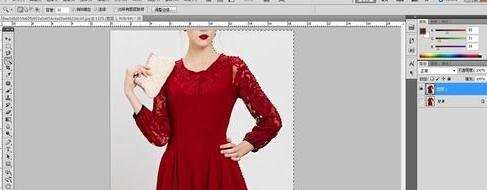
左手的位置只需再次进行磁性套索—反向选择—删除。
魔棒工具就相对来说更加简单了。
选择魔棒工具,在背景色上点击一下,就会把背景色变成选区,然后DEL删除掉即可。
ps快速抠图步骤图解的评论条评论