
photoshop如何绘制齿轮
发布时间:2017-03-06 09:27
相关话题
PS不仅仅处理图像功能强大,它还可以制作图形,那么大家知道photoshop如何绘制齿轮吗?下面是小编整理的photoshop如何绘制齿轮的方法,希望能给大家解答。
photoshop绘制齿轮的方法
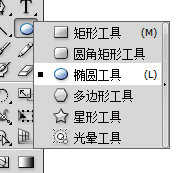
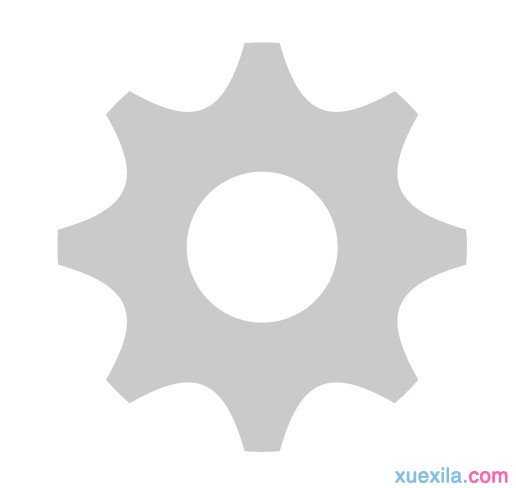
画圈圈! 画圈圈的时候你也可以祈祷什么,或者诅咒什么!你们懂得!
PS制作3D图标第二步:
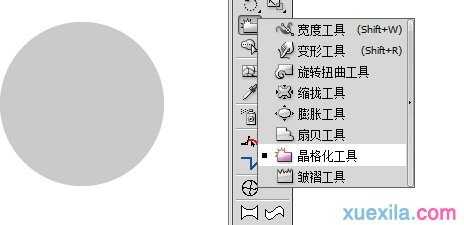
就是选择晶格化工具,使其变成一个长毛的蛋一样的物体,

PS制作3D图标第三步:
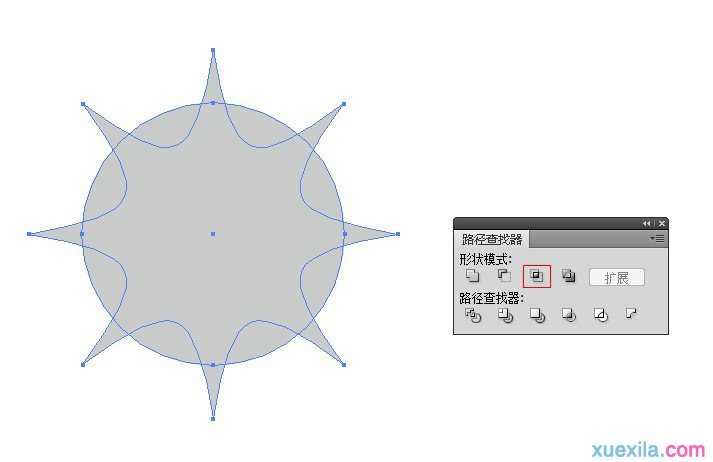
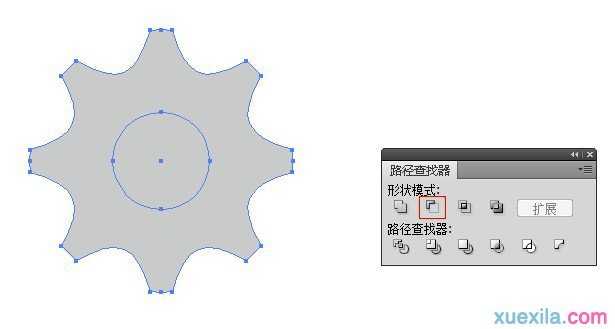
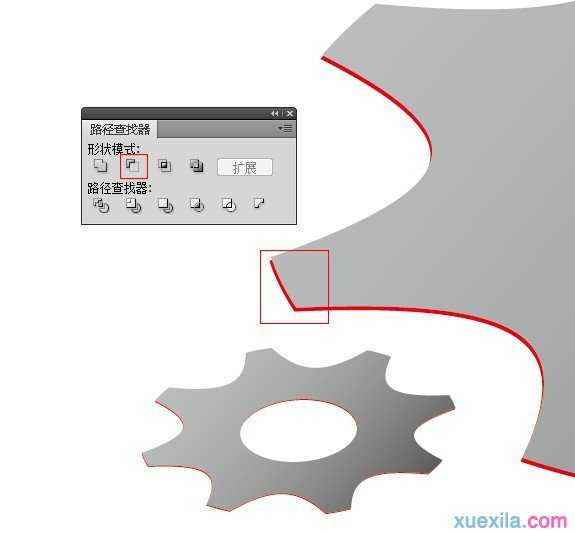
再画一个圈,并且再次诅咒什么的!然后点开路径查找器,各种“阉割”!使其残缺。并且中间,挖一个洞,同样也是在路径查找器里面.至于怎么切割,这都是基本的软件知识了~
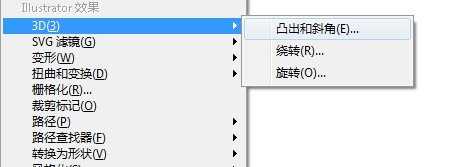
PS制作3D图标第四步:
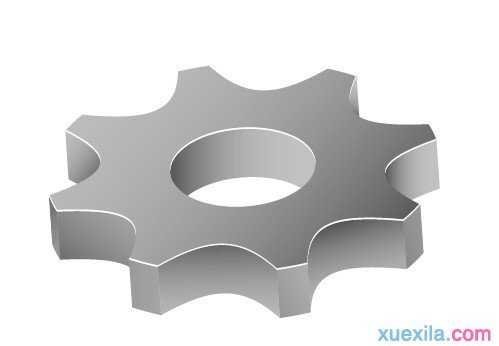
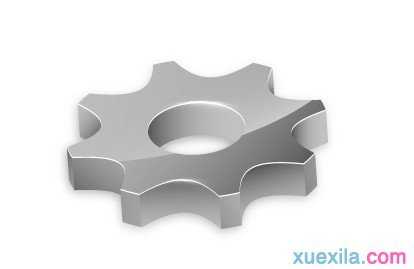
关键的来了··让这个有点菊花形状的东西,使他变成3D一样立体!使用AI-效果-3D-凸出与斜角工具
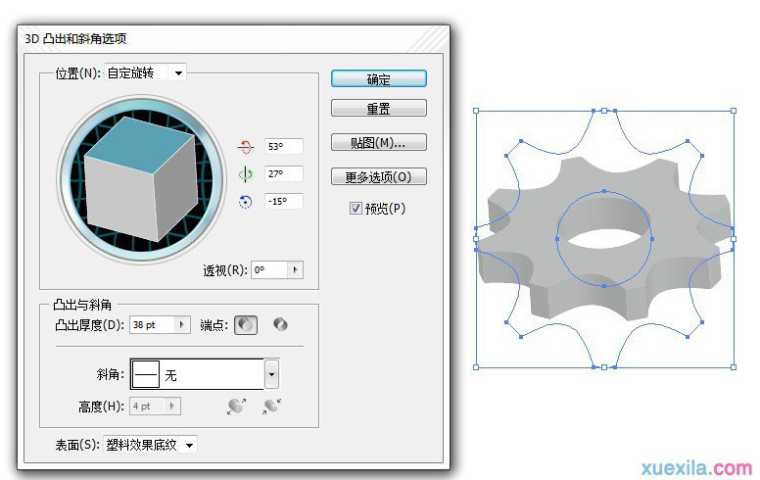
PS制作3D图标第五步:
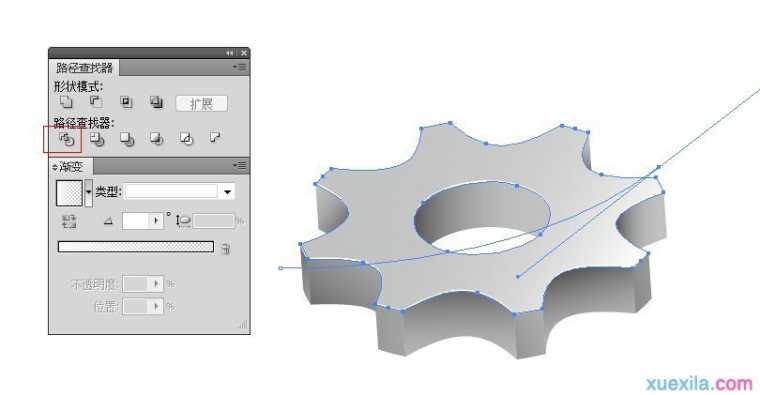
PS制作3D图标第六步:
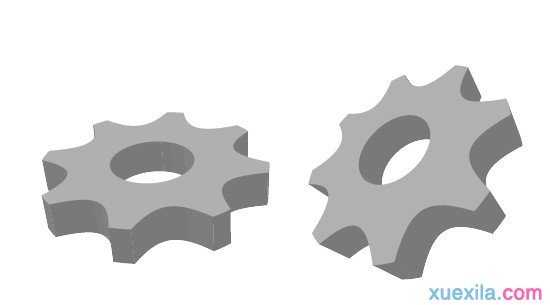
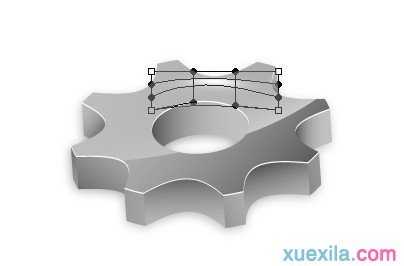
画出一道美丽的曲线——让他有点(折)射,或者反光的感觉~
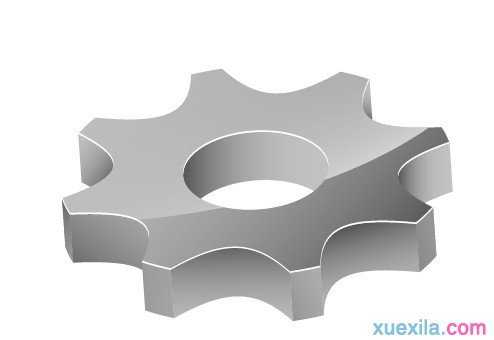
PS制作3D图标第七步:
然后是拖进PS,投影、高光的效果一起加上
PS制作3D图标第八步:
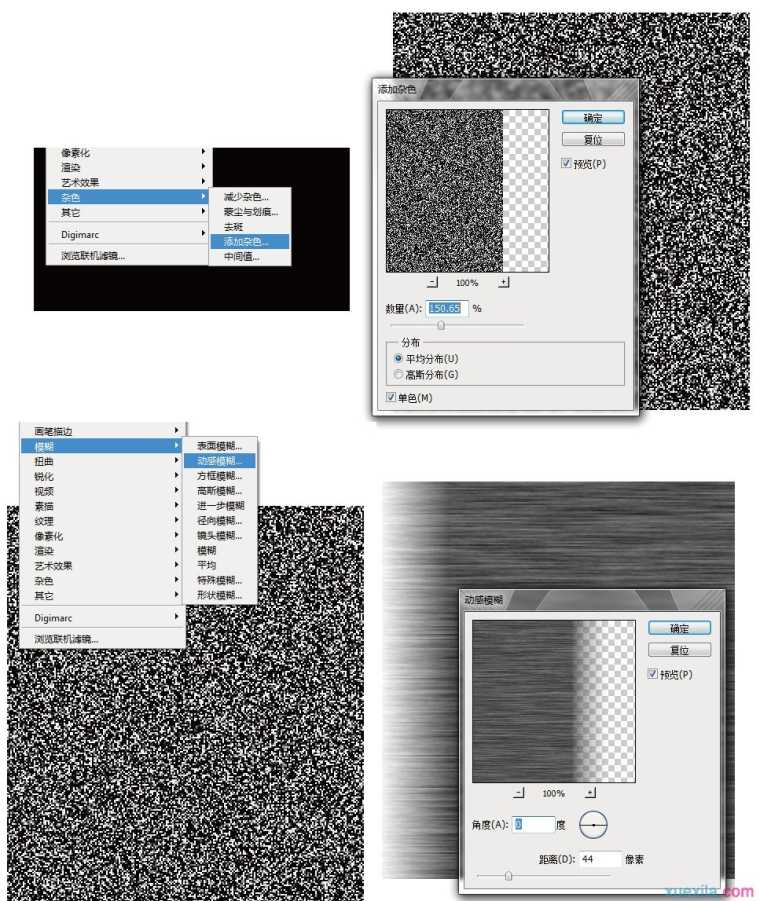
然后网上随便找一下,拉丝纹理,或者 PS做一个(建立一块黑的—滤镜—杂色—添加杂色/ 然后是 滤镜—模糊—动感模糊 )做出拉丝效果 并且叠加在这个3D齿轮上~~~
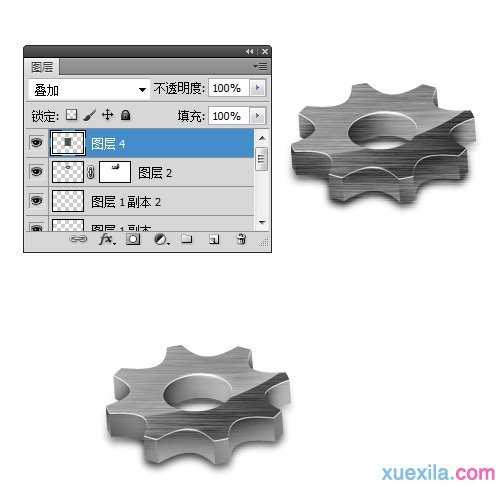
最后:
是把纹理贴上去·, 把多余的纹理擦掉~或者全留着也可以·只要你喜欢·一切都可以···(记得做完事情要擦干净!那样才不留痕迹~比较好···)
photoshop如何绘制齿轮的评论条评论