
photoshop制作工牌
发布时间:2017-02-16 11:18
PS能制作的东西超级多,我们拿我们平时戴的工牌举例吧,下面小编告诉大家photoshop制作工牌,一起来学习吧。
photoshop制作工牌的方法:
首先点击桌面上的PS图标(下图1),进入PS界面(下图2);

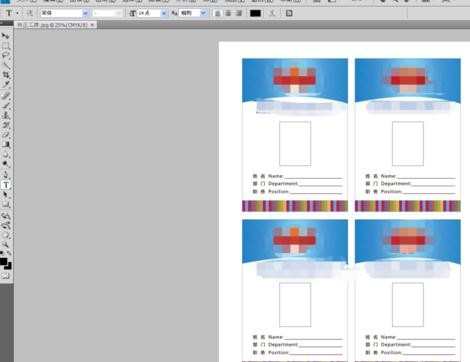
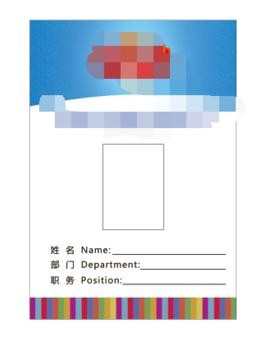
然后按Ctrl+O打开要用的工牌模版;
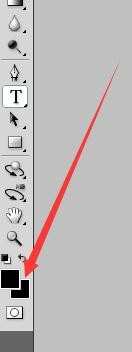
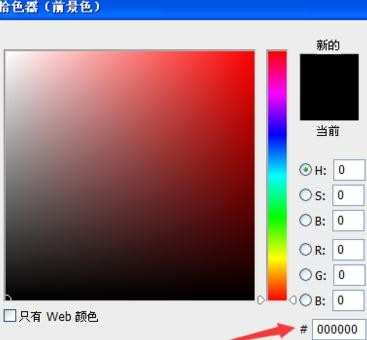
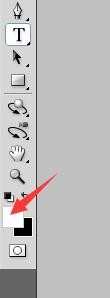
再设置背景色:点击下图1箭头所指的前图标,出现拾色器对话框,将下图2箭头所指的#的000000改为fffffff,前背景色就变成白色的(下图3),设置后背景色跟设置前背景色一样的步骤;
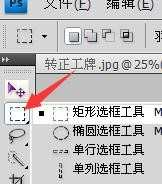
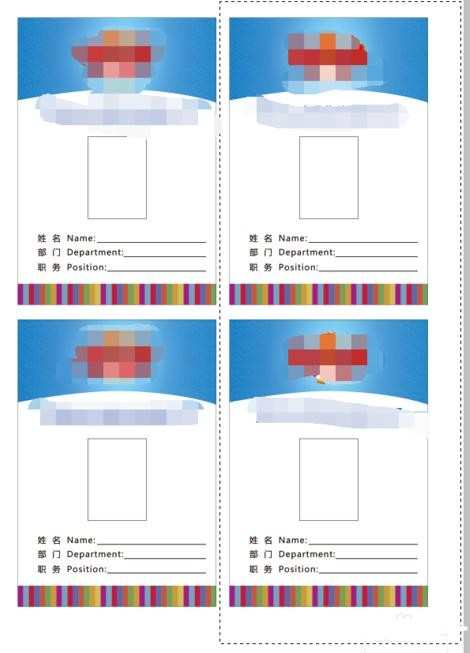
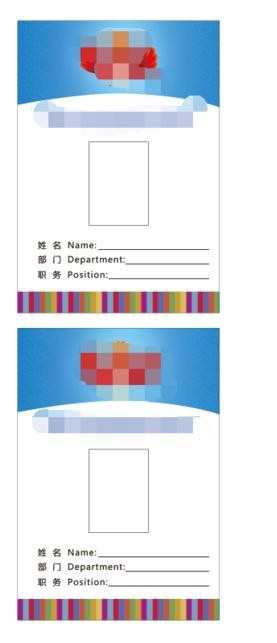
右键点击矩形选框工具,裁剪掉多余的模版(下图2:用选框工具选定要裁剪的图片,按下delete删除,在按Ctrl+D固定,出现下图3的效果;剩下的如前步骤),留下要的那张工牌模版(下图4);
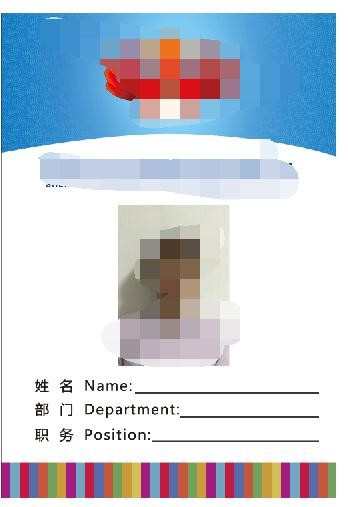
按下Ctrl+"+",放大模版,再按Ctrl+O打开员工图片,用选框工具选定图片,按Ctrl+C复制图片到模版,工作牌就完成了
photoshop制作工牌的评论条评论