
Photoshop透明背景制作教程
发布时间:2016-12-27 19:54
相关话题
我们有时候需要把一张图片进行处理,让它成为一张背景透明的图片,这样我们可以方便的使用在我们需要的地方,如何在Photoshop中制作一张背景透明的图片呢?下面是小编为大家整理的Photoshop透明背景制作教程,仅供大家参考~
Photoshop透明背景制作教程如下:
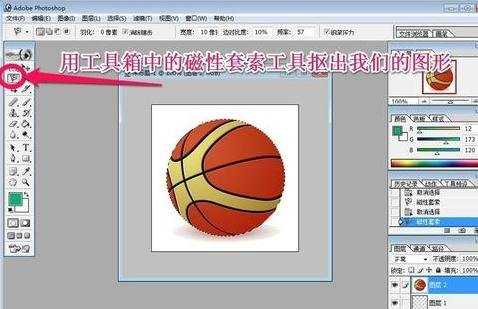
首先我们用photoshop软件打开电脑上的一张图片,小编用到的这张图片来自网络,在此表示感谢!

我们选择工具箱中的磁性套索工具,然后慢慢选择我们要扣取的图形!扣取的时候可以灵活使用各种扣取工具,进行仔细的扣取!图形扣出后,我们按下键盘的ctrl+c复制我们选择的区域!
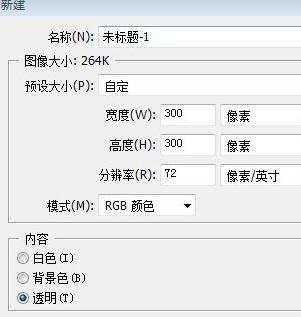
然后点击菜单中的文件-新建,我们新建一个背景透明的画布!并且设置好画布的大小!
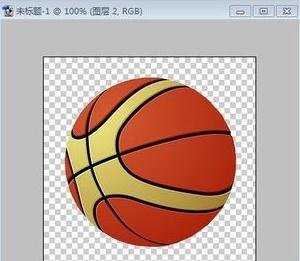
然后我们按下键盘的ctrl+v粘贴进来我们刚才扣取的图形!现在我们已经制作好了一个背景透明的图片!
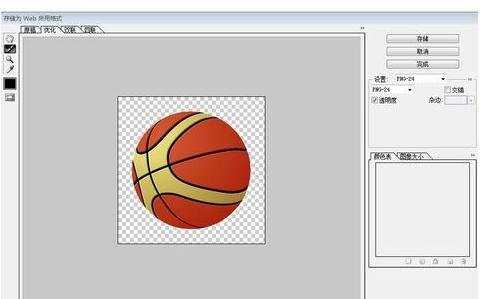
然后我们点击文件菜单,选择将图片存储为WEB所用格式!
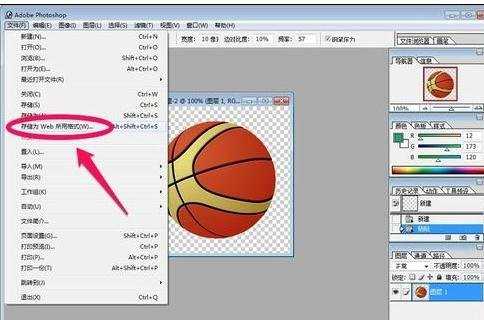
在存储为WEB所用格式窗口中,我们在右边设置为PNG格式进行保存!然后选择保存的位置!
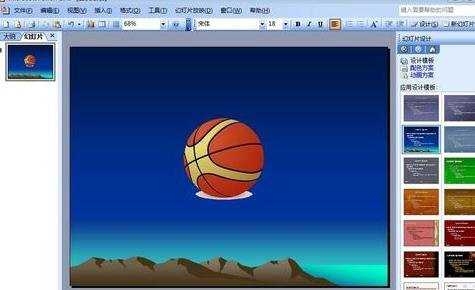
7现在我们打开其它软件比如ppt,我们把刚才处理的透明图片插入进来看一下效果!大家发现我们刚才处理的图片已经没有了其它多余的背景!小编说的方法处理时是比较简单的,希望对朋友们有帮助!
拓展
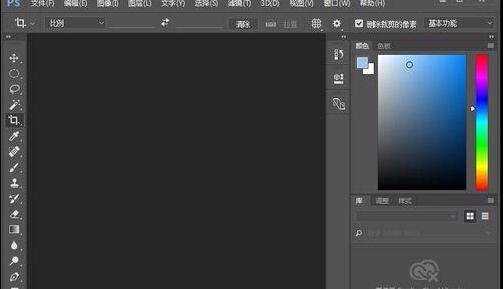
首先,打开photoshop软件。
然后我们把想要制作成透明背景的图片,用photoshop打开。
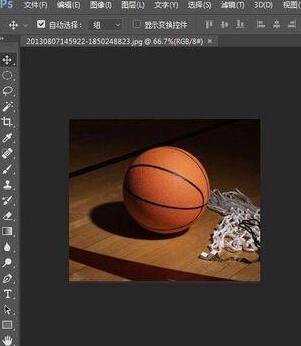
我这里举例,我只想要这个篮球的图片,其他的想变成透明,在左边的工具栏找到钢笔工具。

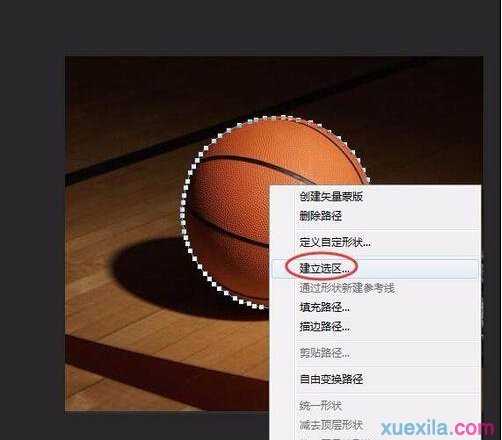
接下来,我们用钢笔工作来描出篮球的边。最好把图片放大再来描,这样描得更准确一点!

描完边之后,鼠标右击,选择建立选区。
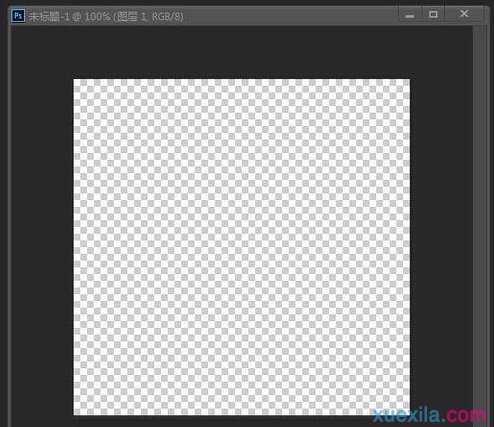
我们新建一个400乘以400的透明图层。
接下来,鼠标选择移动工具,把篮球拖到新建的透明背景图片上。
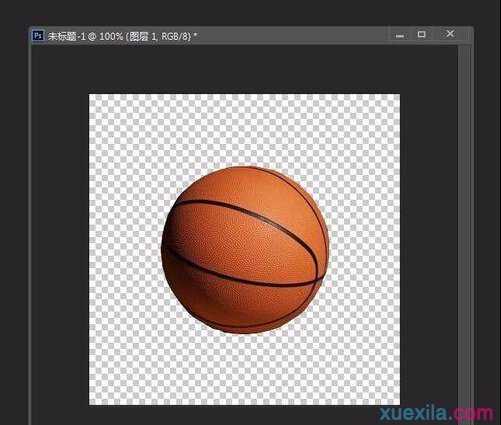
我们把它另存为png格式。
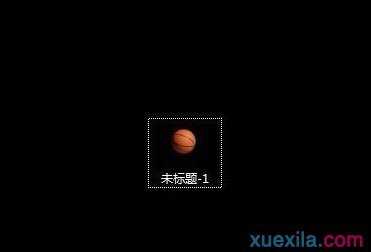
这样,我们的篮球就变成透明背景了,这样把这张图片插入PPT,就只看到一个篮球了。
Photoshop透明背景制作教程的评论条评论