
photoshop红章字体制作方法
发布时间:2016-12-11 13:51
相关话题
用PS制作红色印章效果文字,可以用来制作logo等。那么这种红色印章效果文字在PS中是怎样做出来的呢?下面是小编为大家整理的photoshop红章字体制作方法,仅供大家参考~
photoshop红章字体制作方法如下:
启动Adobe Photoshop CC

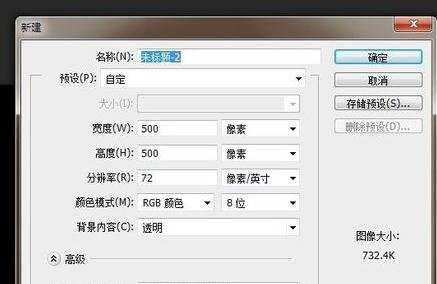
21:ctrl+n 新建一文档。文档名称命名为红色印章 效果,文档尺寸为 500x500
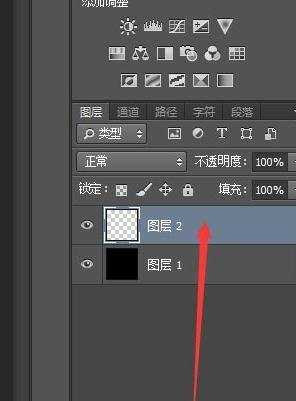
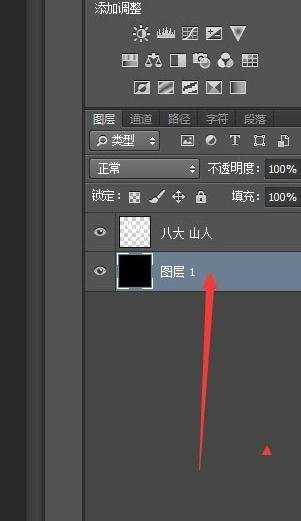
2:给文档暂时填充黑色背景

3ctrl + shift +n 新建文字图层2
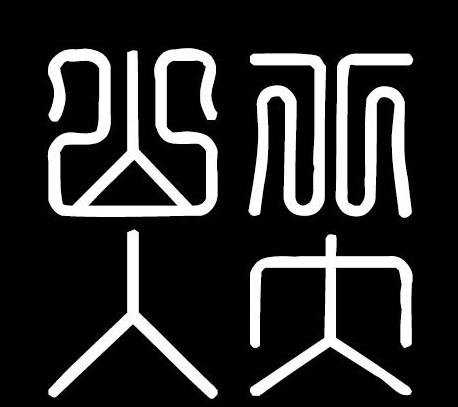
4在文字图层上输入文字,颜色为白色,字体最好为篆体
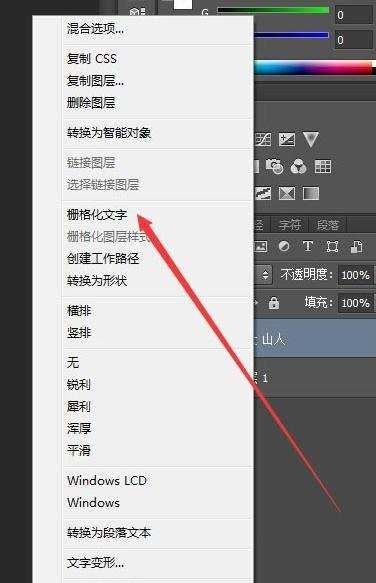
5选择 文字 图层,点击右键。 在弹出的菜单中 选择 栅格化 文字
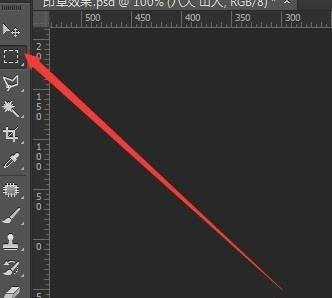
6选择 矩形 工具,按住 shift 键,画出如图所示的一个方框

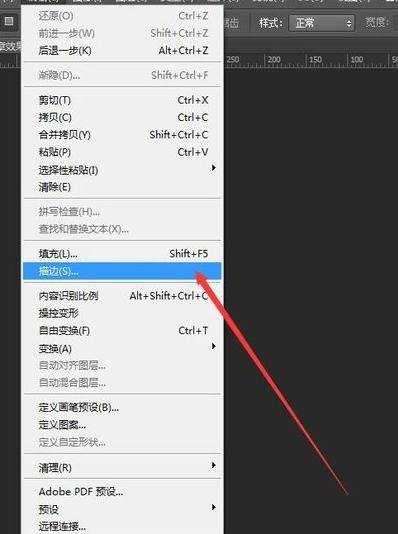
1:点击 编辑 -》 描边
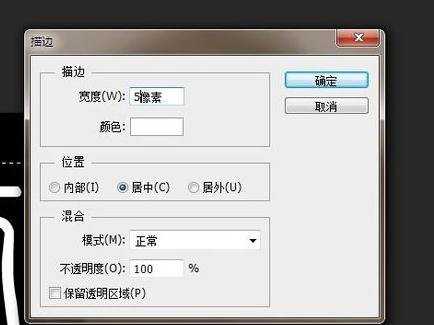
2:在弹出的窗口中 按下图参数设置
1:保留选区
2:点击 选择 -》修改 -》扩展
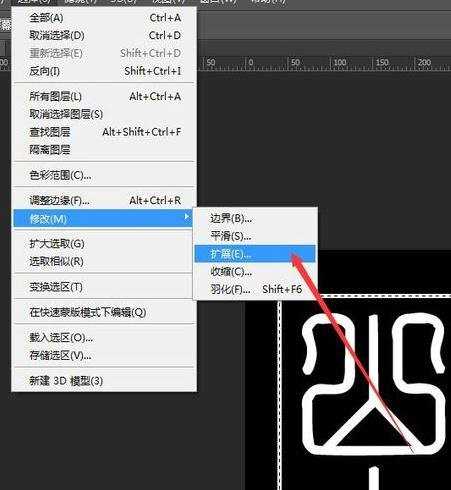
在弹出的菜单中按如下设置

1:保留选区
2:选择背景图层
1:ctrl+i反选,
2:按delte键删除

1:填充背景图层为红色
2:合并所有可见图层

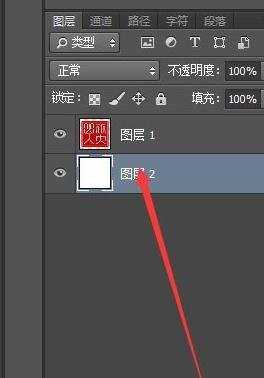
ctrl+shift+n新建一图层,填充白色,放置底层
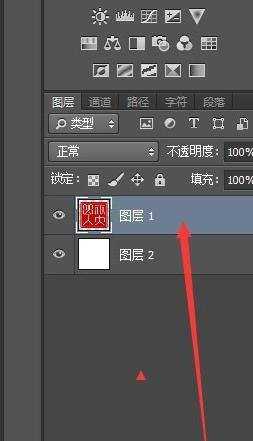
选中 文字图层
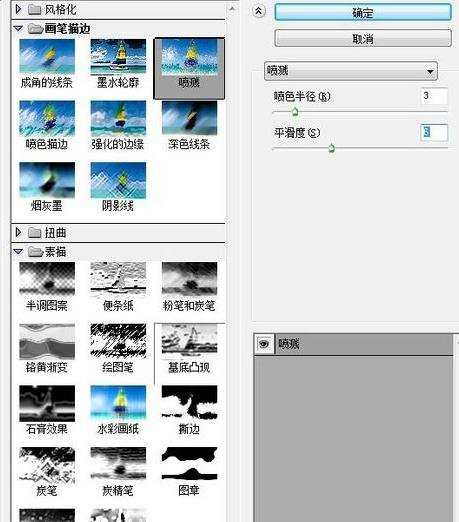
选择 滤镜 -》画笔描边 -》喷溅,参数设置如图所示
此时效果为

photoshop红章字体制作方法的评论条评论