台式机sata光驱怎么安装
发布时间:2017-05-23 16:59
虽然现在很多人组装台式机都选择了不要光驱,但是光驱在我们的日常生活中作用还是有的,下面就让小编给大家说一下台式机sata光驱的安装方法。
台式机sata光驱安装方法
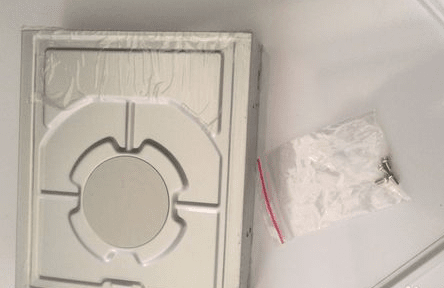
准备好十字螺丝刀,拆开光驱外包装,取出刻录机、sata线、固定螺丝。
![台式机sata光驱怎么安装](http://i2.sanwen.net/doc/1610/888-16102Q53J1.png)
![台式机sata光驱怎么安装](http://i2.sanwen.net/doc/1610/888-16102Q53J1-50.png)
2断掉台式机的电,取掉所有外部连线,卸掉固定螺丝,把机箱两边的挡板拆掉。
![台式机sata光驱怎么安装](http://i2.sanwen.net/doc/1610/888-16102Q53J2.png)
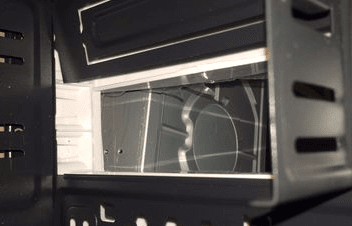
确定主机要安装光驱的位置,一般位于主机箱正面上部一个类似矩形的方格处,同时里面的位置也定位好,如图。
![台式机sata光驱怎么安装](http://i2.sanwen.net/doc/1610/888-16102Q53J6.png)
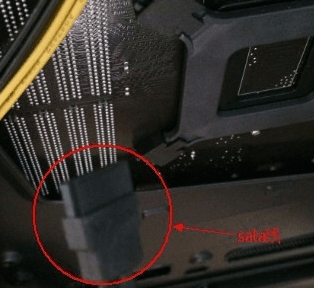
找到电源线插头,将线理顺插头放置在要安装光驱位置的附近,取出sata线,和其它的线理顺一起走线,一头放置在光驱位置附近,一头走线到主板sata线附近,如图:
![台式机sata光驱怎么安装](http://i2.sanwen.net/doc/1610/888-16102Q53J7.png)
![台式机sata光驱怎么安装](http://i2.sanwen.net/doc/1610/888-16102Q53J7-50.png)
把安装位置的铁片取掉,方法是握住铁片上面里外翻折,直到铁片断裂脱下来。
![台式机sata光驱怎么安装](http://i2.sanwen.net/doc/1610/888-16102Q53J7-51.png)
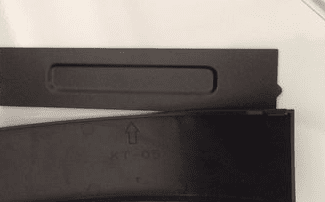
光驱位置机箱外壳的小挡板(一般是塑料的)取下来,机箱前端上部就空了,如图。
![台式机sata光驱怎么安装](http://i2.sanwen.net/doc/1610/888-16102Q53K1.png)
![台式机sata光驱怎么安装](http://i2.sanwen.net/doc/1610/888-16102Q53K2.png)
![台式机sata光驱怎么安装](http://i2.sanwen.net/doc/1610/888-16102Q53K2-50.png)
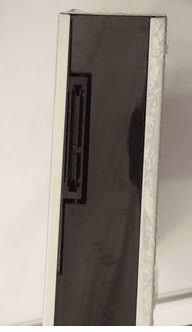
把光驱接口朝里,外部正着从机箱前部放入到机箱里,慢慢推入到机箱里,如图。
![台式机sata光驱怎么安装](http://i2.sanwen.net/doc/1610/888-16102Q53K3.png)
![台式机sata光驱怎么安装](http://i2.sanwen.net/doc/1610/888-16102Q53K3-50.png)
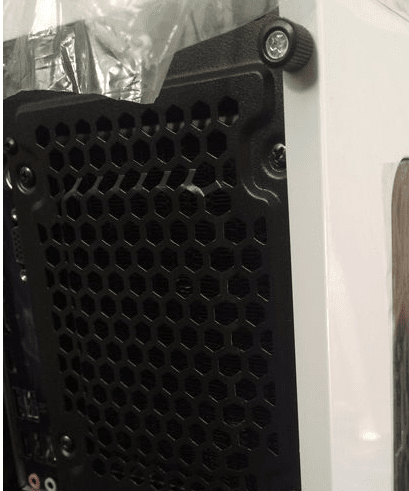
微调光驱位置直到每面两个共四个螺丝位对准螺丝孔位然后停止移动光驱。
![台式机sata光驱怎么安装](http://i2.sanwen.net/doc/1610/888-16102Q53K4.png)
![台式机sata光驱怎么安装](http://i2.sanwen.net/doc/1610/888-16102Q53K5.png)
将螺丝对准螺丝孔旋紧螺丝。
![台式机sata光驱怎么安装](http://i2.sanwen.net/doc/1610/888-16102Q53K6.png)
![台式机sata光驱怎么安装](http://i2.sanwen.net/doc/1610/888-16102Q53K6-50.png)
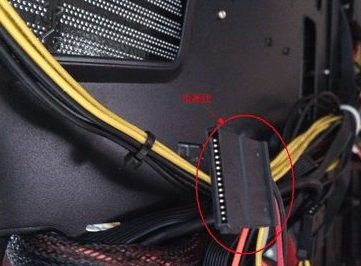
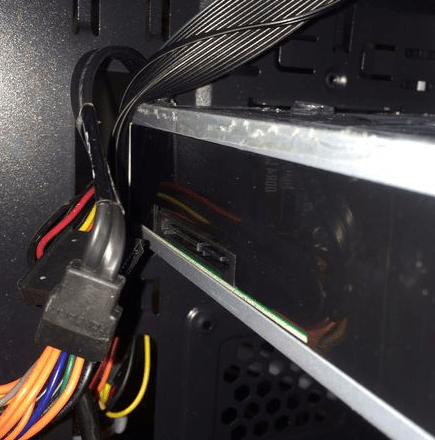
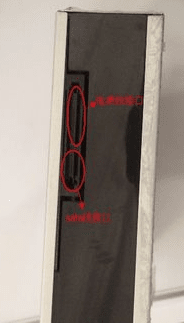
把电源线、sata线插口分别插入光驱的电源、sata口插口,如图:
![台式机sata光驱怎么安装](http://i2.sanwen.net/doc/1610/888-16102Q53K6-51.png)
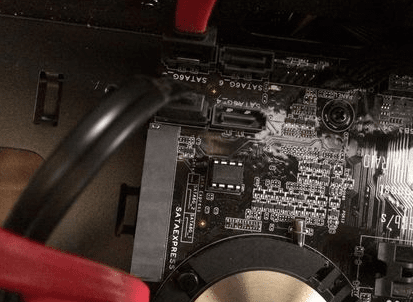
sata数据线另一端插入主板的sata口,如图:
![台式机sata光驱怎么安装](http://i2.sanwen.net/doc/1610/888-16102Q53K7.png)
检查一遍走线,装上机箱挡板,连接好外部线缆,开机打开我的电脑查看,安装成功!。
![台式机sata光驱怎么安装](http://i2.sanwen.net/doc/1610/888-16102Q53K8.png)
台式机sata光驱怎么安装的评论条评论