
cad图怎么导入word编辑器
发布时间:2016-12-13 18:04
相关话题
不少人发现,直接将CAD图插入word,是不可以进行编辑的,怎样才能利用CAD优势,同时插入图形之后,又可以在word中随时、任意地编辑呢?下面小编把方法都教给大家,一起来学习吧。
cad图导入word编辑器的方法:
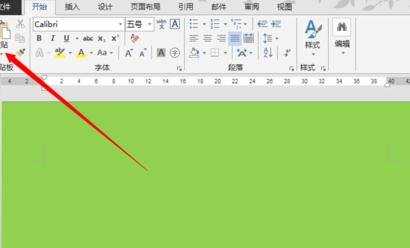
1.打开一个word,这里以word2013为例,word2007-word2013操作一样,在开始栏目下,点击“粘贴”下方的倒三角形,(word2003为编辑——选择性粘贴——图元windows图元文件)。
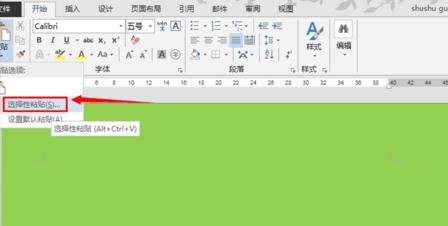
2.在弹出的粘贴选项中,点击“选择性粘贴”。
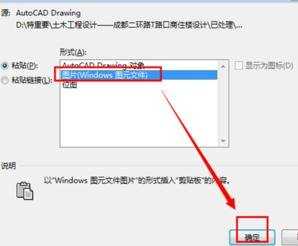
3.点击“图元windows图元文件”,选中它,然后点击“确定”按钮,这时候在cad中绘制的图形就以图元的格式成功粘贴到word中。
制作成可编辑的word图形
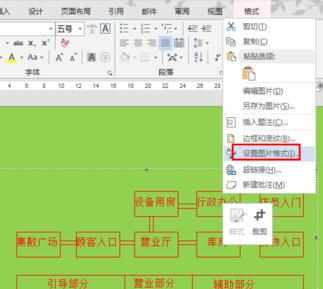
4.可以发现,这个图形是一个整体,而自己又需要随时编辑,因此,这里需要将其制作成可编辑的图形,继续下方操作。右键单击这个图形,然后点击“设置图片格式”。
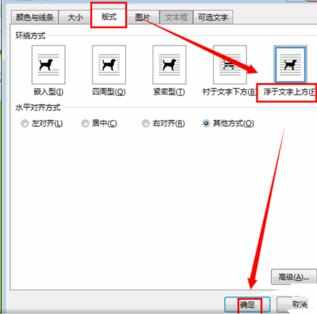
5.在设置图片格式中,点击上方的“版式”,然后点击“浮于文字上方”,最后点击“确定”关掉这个对话框。
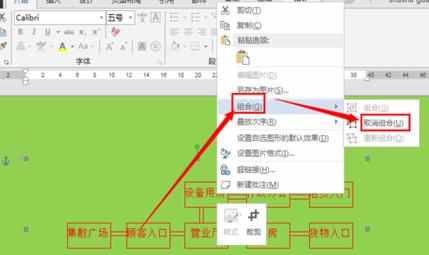
6.返回到word编辑界面,右键点击这个图形,然后点击“组合”,再点击“取消组合”。
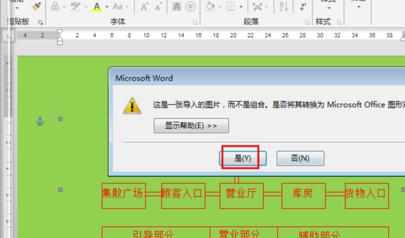
7.这时候会图示,这是一张图片而不是组合图形,直接点击“是(Y)”,将其转化为microsoft office文件。
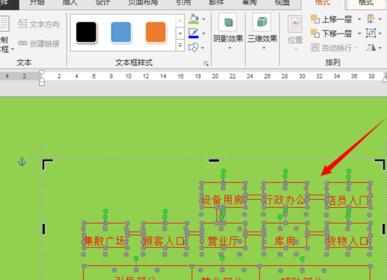
8.大功告成,这里这个图形就变成了完全和word中的文本框一样了,随时可以编辑,可以拖动,可以改变大小了。这里的作用在于,使用CAD快速、精确、美观地绘制出图形,然后粘贴到word中,进行细微的调整。
cad图怎么导入word编辑器的评论条评论