
photoshop如何制作特效文字
发布时间:2017-05-12 17:27
相关话题
大家在photoshop中可以制作很多东西,比如说一些特效的文字,下面是小编带来关于photoshop如何制作特效文字的内容,希望可以让大家有所收获!
photoshop制作特效文字的方法
第1步
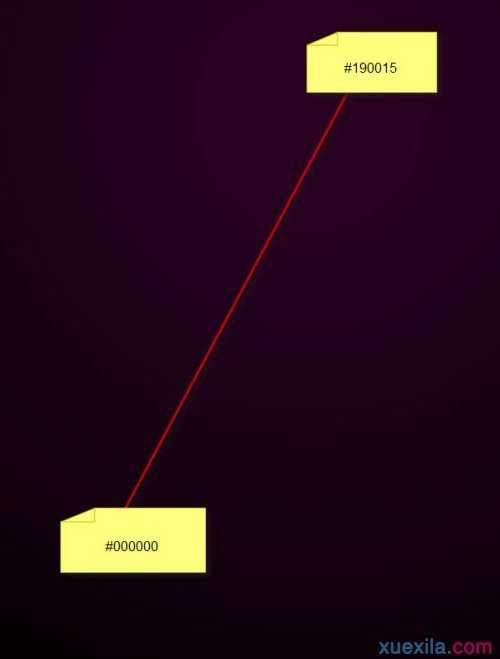
创建一个700像素*1000像素大的文档,设置背景色为黑色,用渐变工具按照下图所示的方向和颜色来填充背景图层:
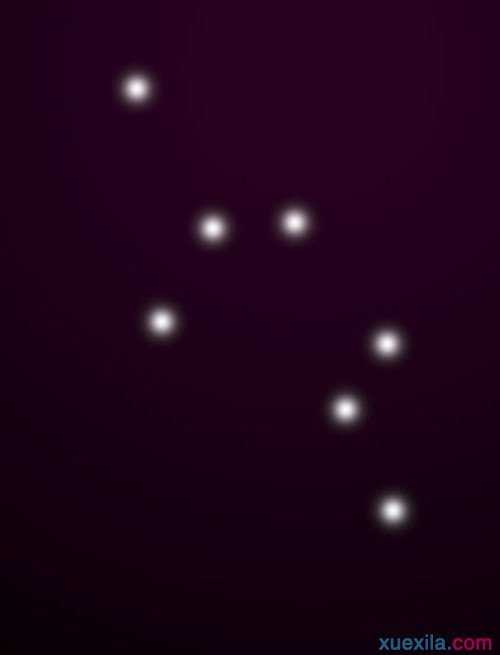
在背景上添加一些光。方法:新建一个图层,如下图所示在图层上画几个圆点:
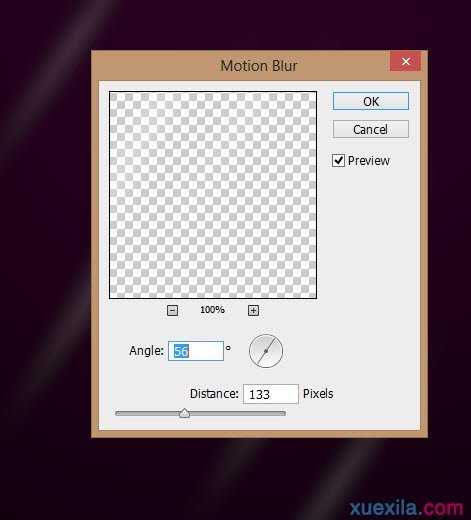
在这个圆点图层使用滤镜,选择动感模糊,设置参数如下:
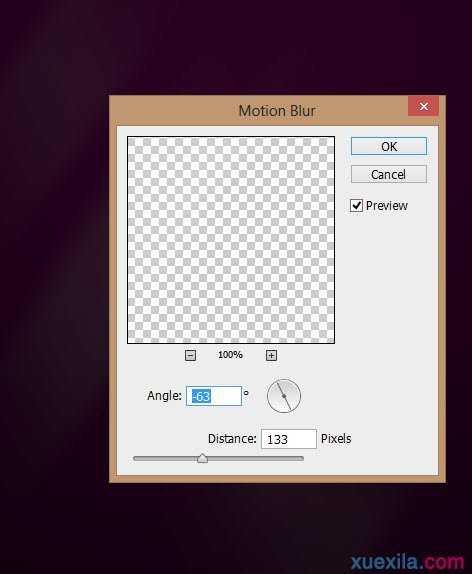
然后,再次使用动感模糊,设置另一个不同的角度:
到目前为止的效果是:

第2步
使用任何一种你想要的字体,在这个背景上输入一个字母:

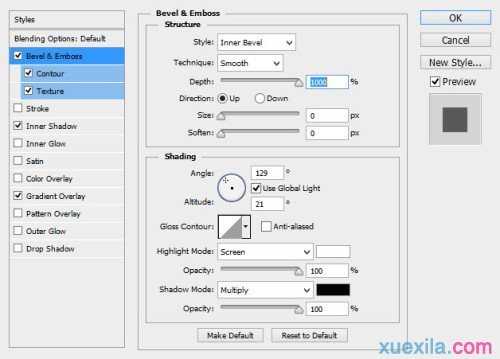
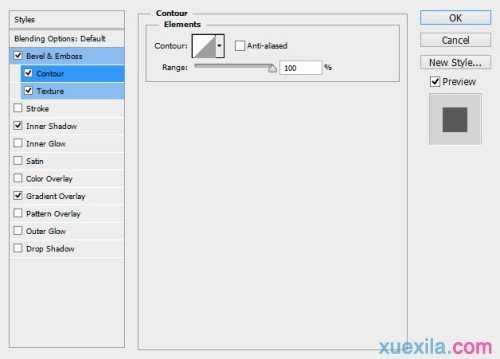
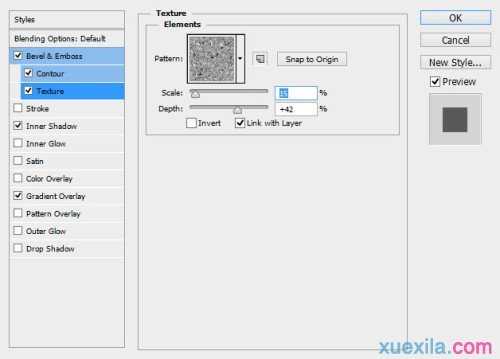
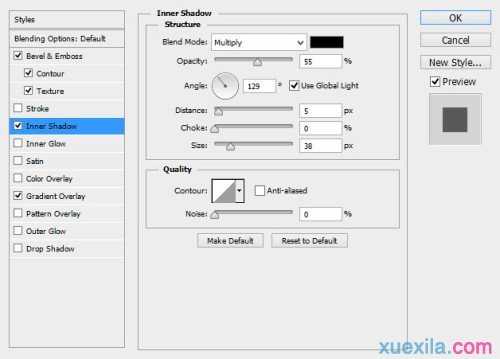
如下所示设置这个文字图层的混合选项:
斜面和浮雕
等高线
纹理
内阴影
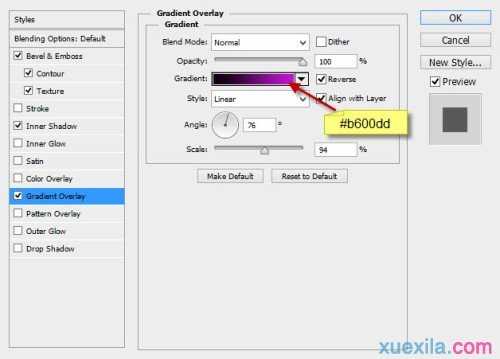
渐变叠加
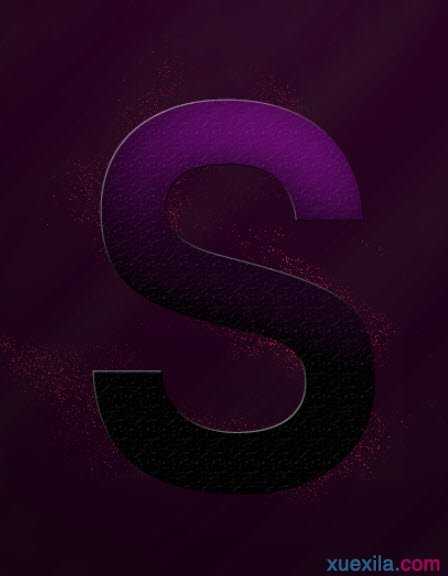
使用红色颗粒笔刷(Photoshop默认)在文字后面画一些微小的颗粒:
第3步
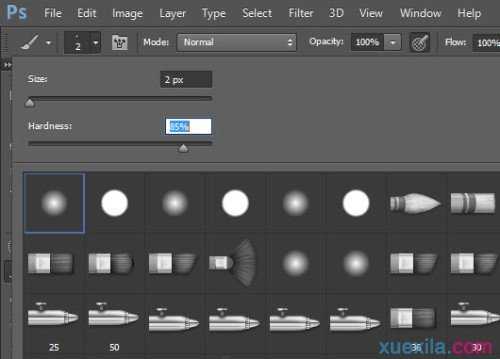
在文字周围画一些线。设置画笔工具为2px大,硬度85%:
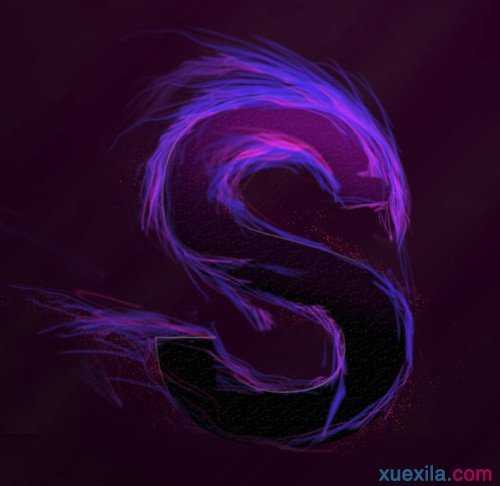
如下所示,用和文字类似的颜色,在文字周围画一些线条:

继续画更多的线条,尝试混合不同的颜色来为文字添加不同的效果:
第4步
在文字上面增加一些火焰纹理。找一张火焰素材图片,用photoshop打开,如下所示,在火焰上选择一小块选区:
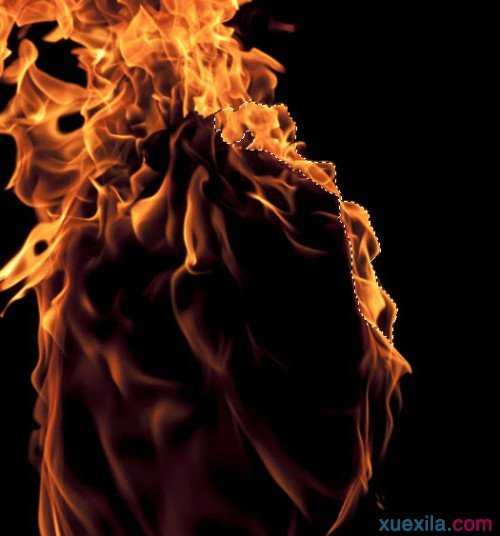
复制并粘贴这个选区到文字图层,配合文字做相应的变形,让它看起来就像是文字一部分一样:
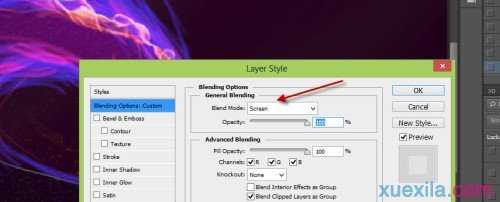
设置火焰图层的混合模式为“滤色”:
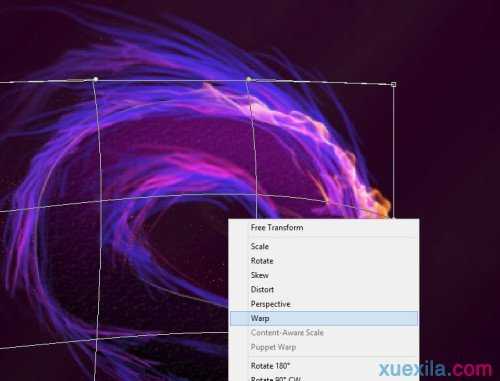
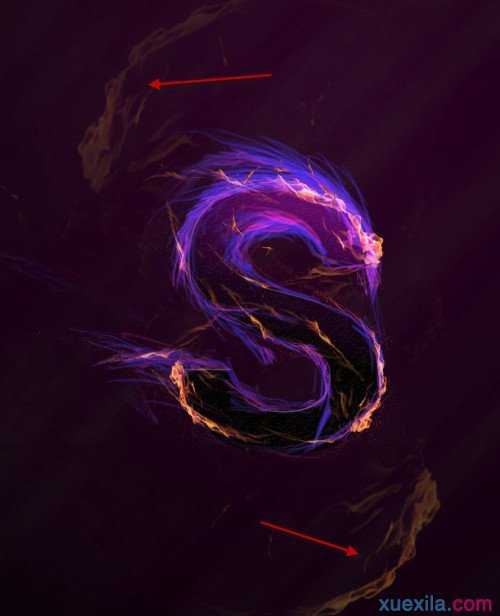
复制上面做好的火焰图层,按下图所示进行液化,使火焰变形:
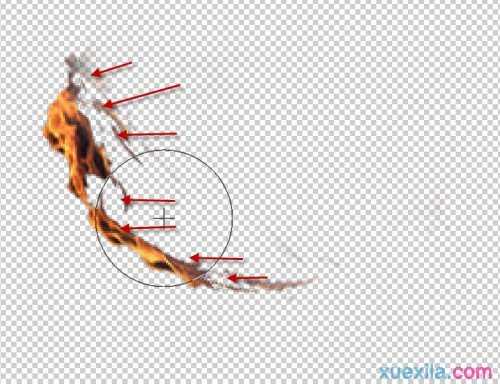
然后复制液化好的火焰图层多次,并将它们附着在文字的不同位置,如下图所示:
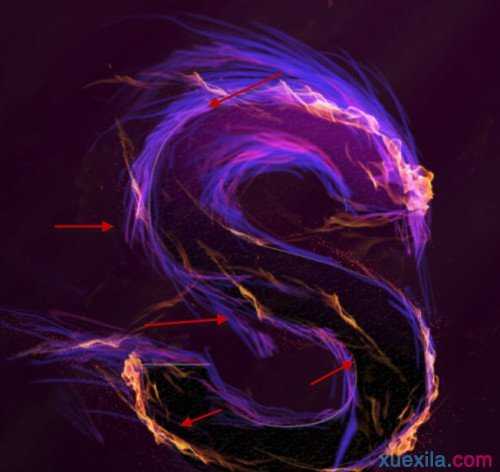
此外,也可以在文字周围添加一些火焰:
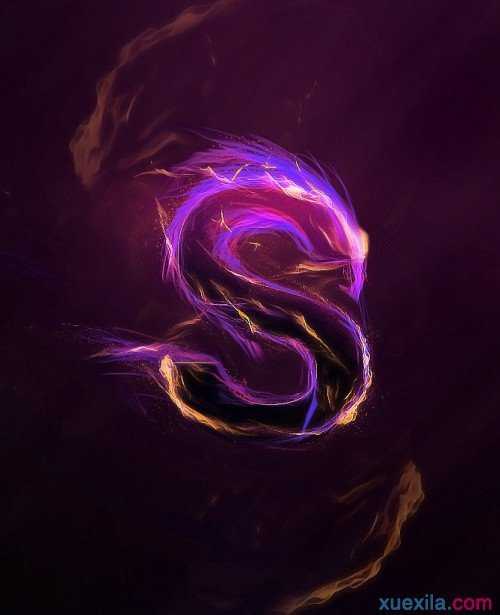
以上基本上就是本教程的全部内容!调整下颜色,最终结果:
photoshop如何制作特效文字的评论条评论