
photoshop怎样移正斜的照片
发布时间:2017-05-27 15:46
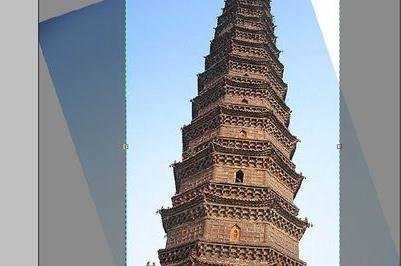
有的照片拍出来的斜的,这是因为大家姿势不对或者拍摄角度不对,如果要将照片移正可以用photoshop。很多刚学习的新手小伙伴可能还不知道,下面是小编带来关于photoshop怎样移正斜的照片的内容,希望可以让大家有所收获!
photoshop移正斜的照片的方法
打开photoshop,然后选择需要处理的图片。
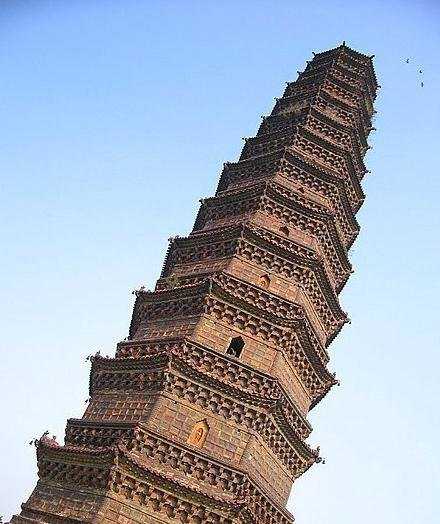
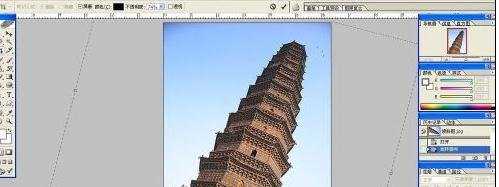
用快捷键[ctrl+r]打开标尺线如下图
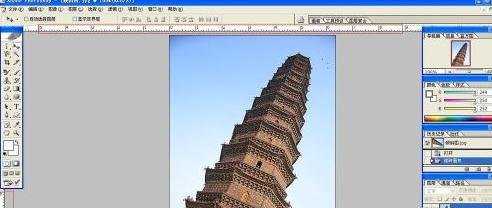
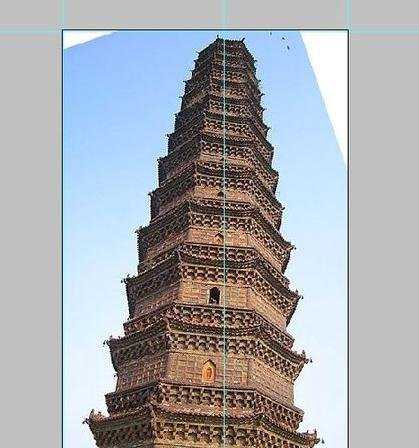
在左边常用工具栏,选择“裁剪”工具
用裁剪工具,剪切到整张图
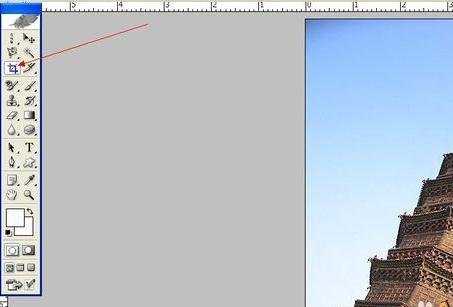
将鼠标移动到裁剪框的一脚,沿着图片倾斜的反方向旋转剪切框,直到剪切框的边线与塔楼平行为止。
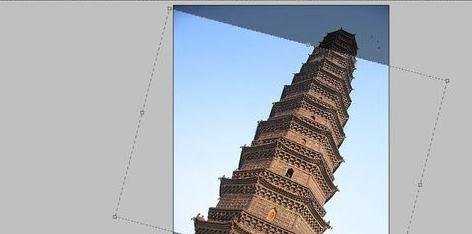
从图中可以看到,图像超过了剪切框的范围,那么按住shift键,向图像中心或者外面都可以缩小或者放大剪切框,这里我们放大剪切框,向外拉升。
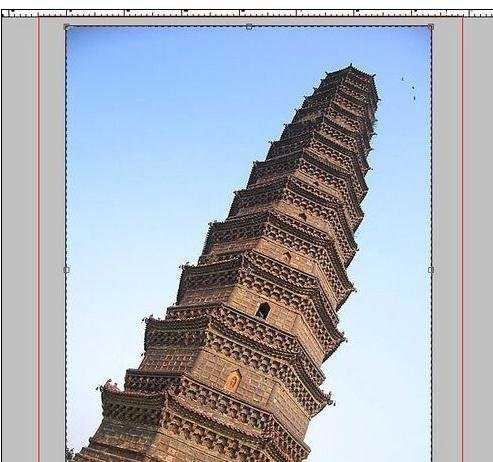
然后回车[enter],
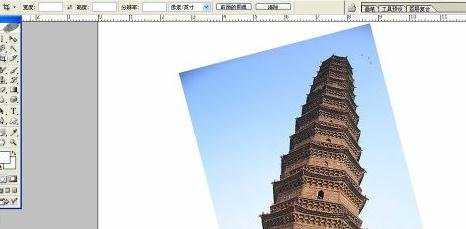
将鼠标放在左侧标(或者上标)尺内,并按下鼠标左键后向照片内拖去,这样既可在照片内生成一条辅助线。以此方法生成四条辅助线。如图:
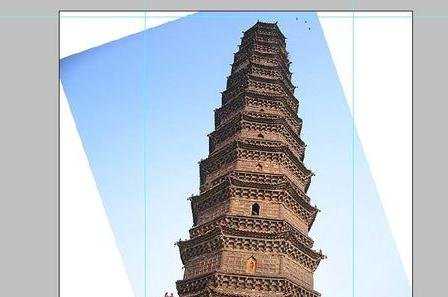
试用裁剪工具,裁剪框大小为四条线皎洁的地方。如图
然后回车【enter】,大功告成了
photoshop怎样移正斜的照片的评论条评论