
ppt2013如何设计图片镂空效果
发布时间:2017-02-23 17:24
相关话题
对于插入到ppt演示文稿的图片,我们可以对其进行各种样式的设置,例如我们可以将图片设计为镂空的视觉效果,下面就让小编告诉你 ppt2013如何设计图片镂空效果的方法。
ppt2013设计图片镂空效果的方法:
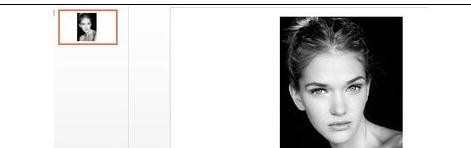
在PPT中插入一张图片,效果如下图:
紧接着插入一个长方形图形,将其设置颜色,注意边框线设置为无,效果如下图所示:
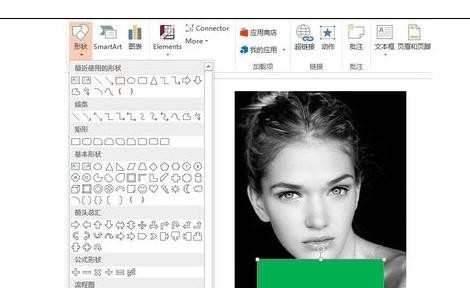
紧接着在下图中,输入文本框英文HER,并设置一个较粗的字体效果,分别选中绿色图形和字体,点击格式中的组合功能,PPT就会自动镂空文字。
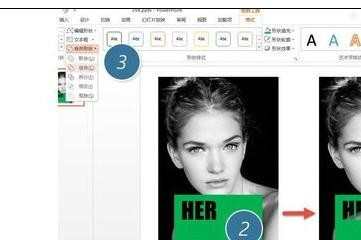
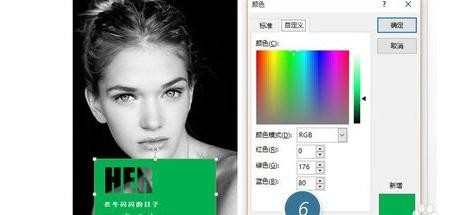
接着选中图形,在“形状填充”中选择“其他颜色填充”。(下图5处)
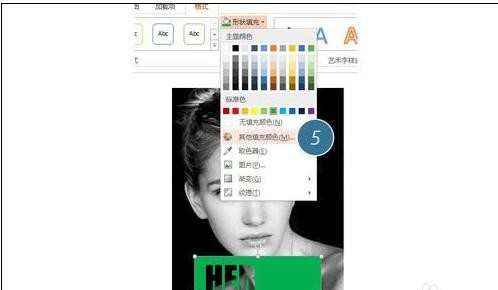
在新弹窗口中,将底部的透明度调整到18%左右即可。(下图6处)
最终效果如下:

ppt2013如何设计图片镂空效果的评论条评论