
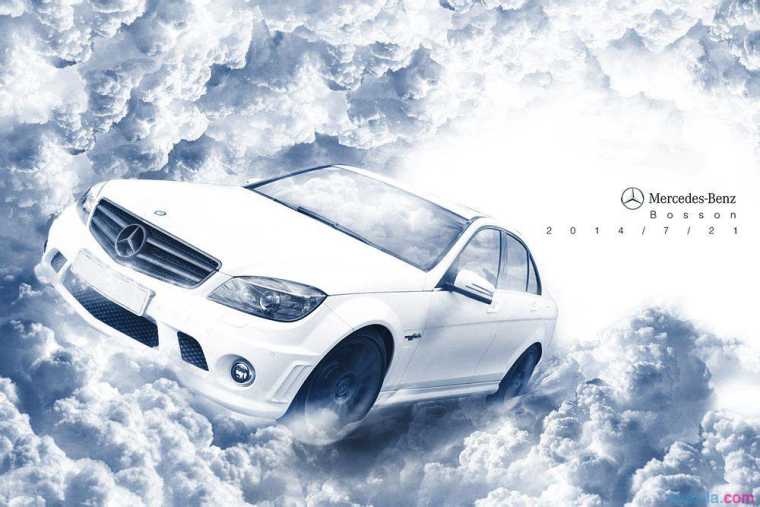
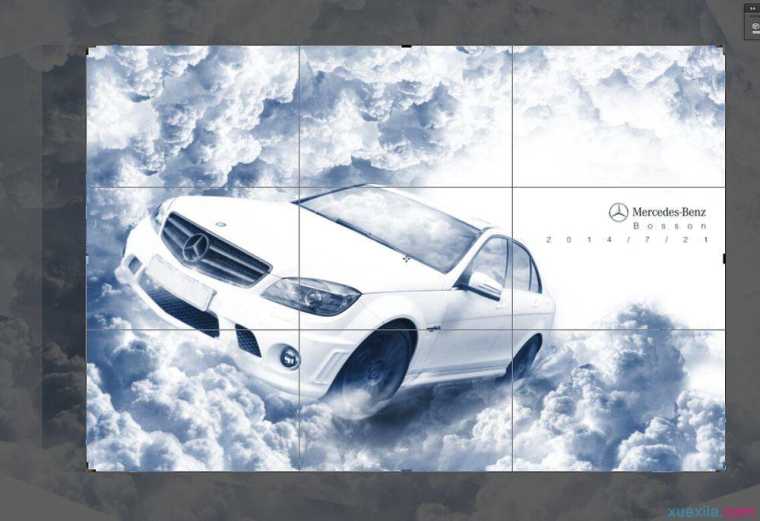
PS合成设计奔驰海报图
这个教程,有三点,个人觉得能给同学们,带来思考和学习。下面跟小编来了解一下吧!
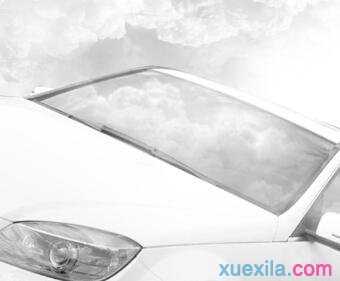
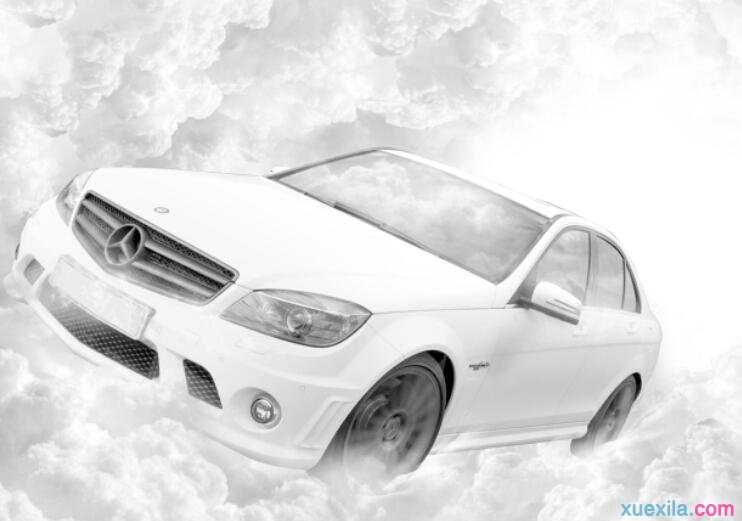
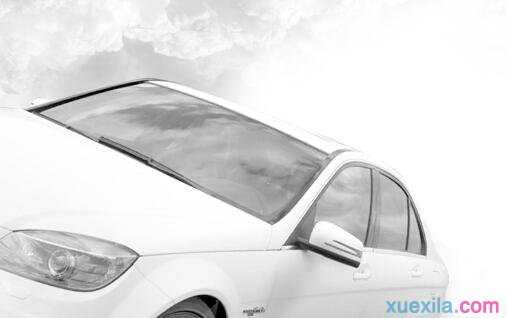
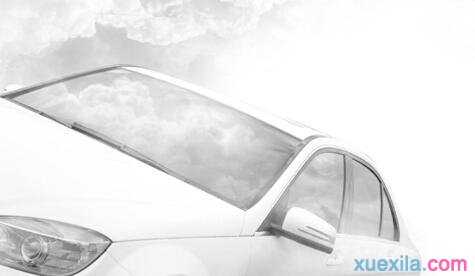
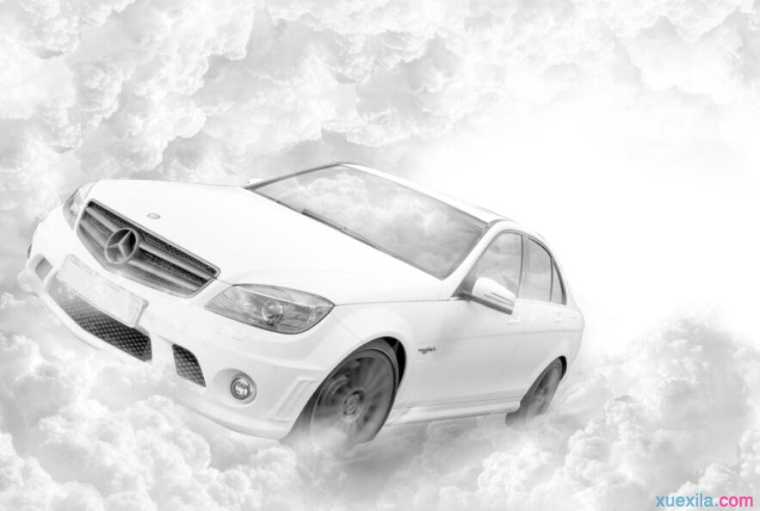
PS合成设计大气的奔驰商业海报图
核心一:抠图(这里是云朵的抠图)。你所扣内容是为画面合成服务的,不同的合成,同一种东西,抠图程度和方法也不一样。这个合成里的云朵,我是要实体的云朵来构建环境,而不能抠出那种透明的装饰用的云朵了,细节的处理,则可以用这种透明的云朵。
核心二:混合模式(这里也是云朵层的混合),不是同一种云朵素材,混合模式都是一样的。这里的云朵做混合,就用到了,滤色(常用),浅色,强光。所以要灵活点。
核心三:合成素材要做到尽量的贴合,真实,光影匹配就必须要做好了。
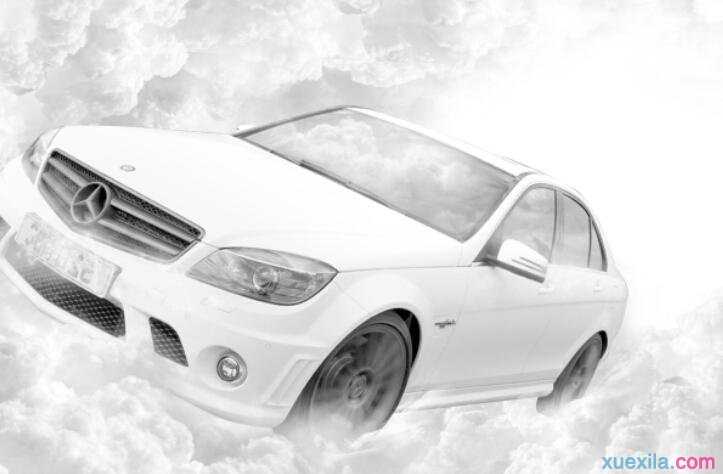
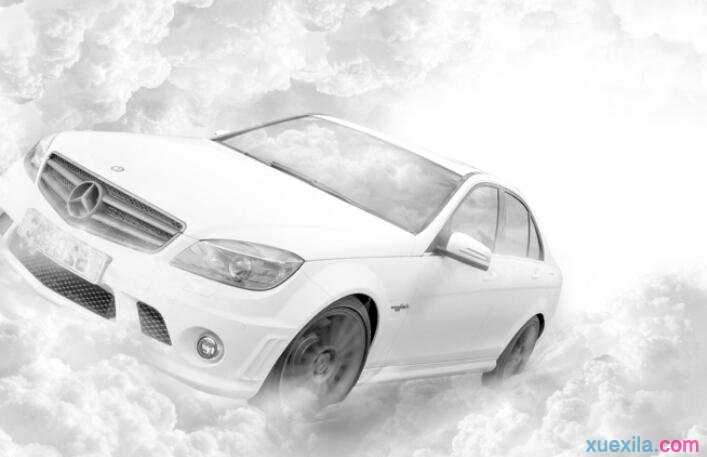
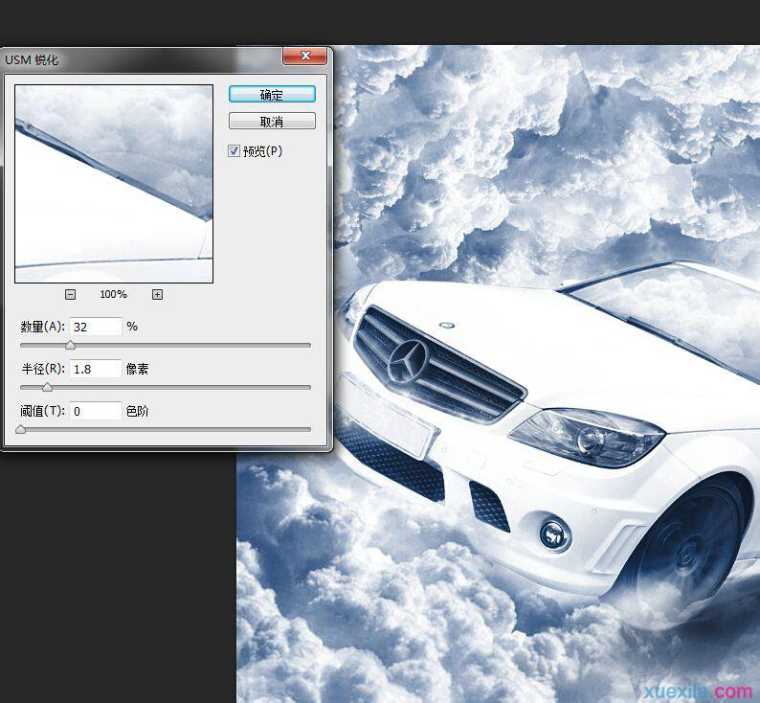
最终品:(这里最后做了32的usm锐化,加强汽车的结构)
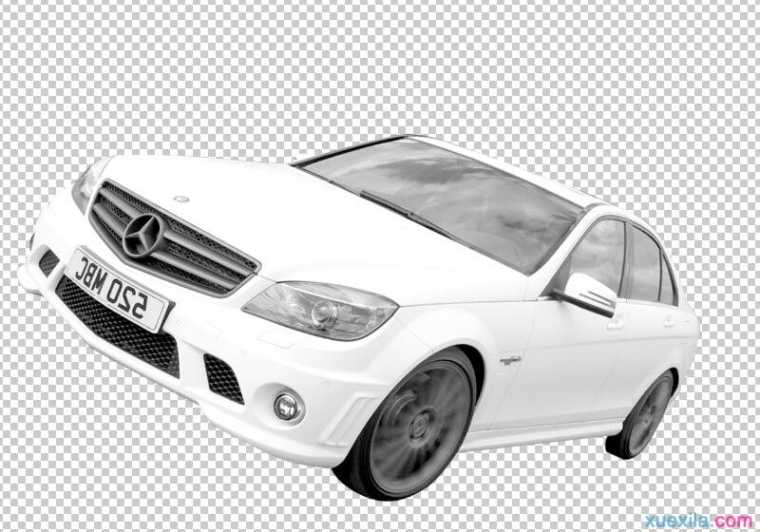
第一步,素材提取。这里我们先抠出车子。(直接钢笔)反转一下,转为智能对象备用。
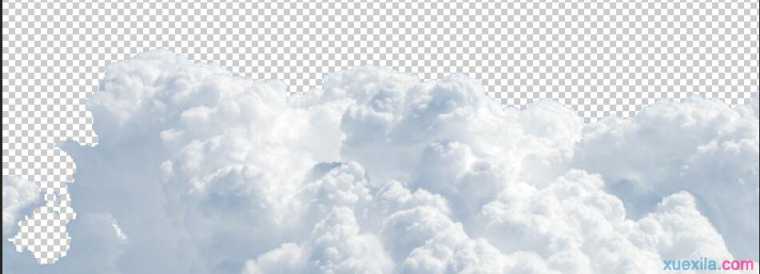
云朵抠图(这里要注意了。我们要得到那种实心的大云朵,而不是虚虚散散的浮云。同样在红色通道里面抠出,不过,如通道所示,我们要扣实心,即把云和天分离,较为明确的分离。
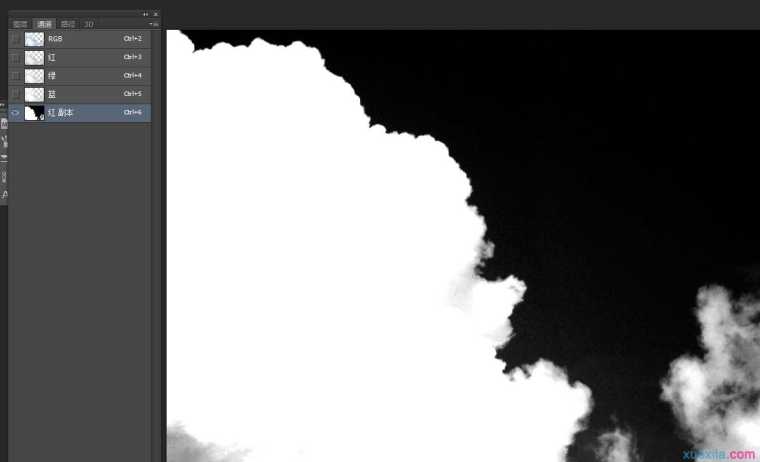
抠出来,Ctrl+Shift+U,去色处理,备用。
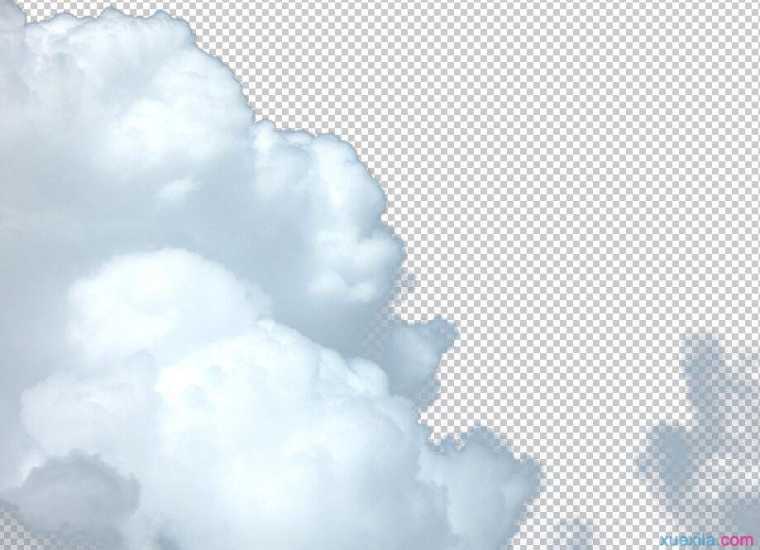
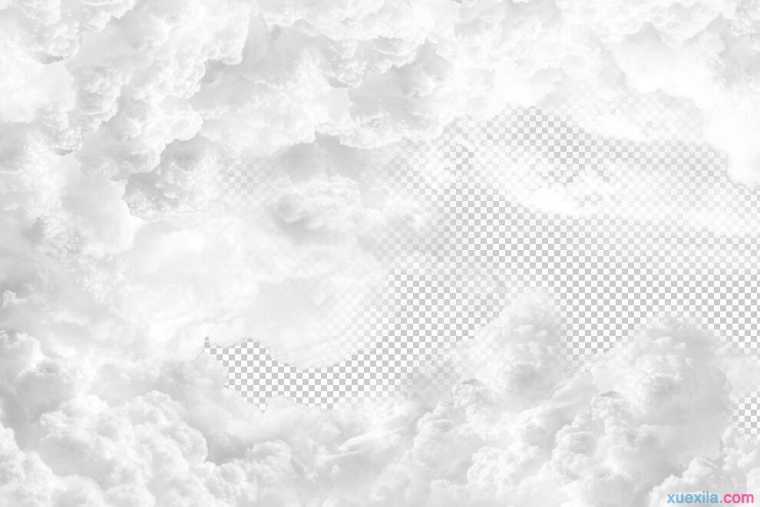
其余云素材也如是抠出:
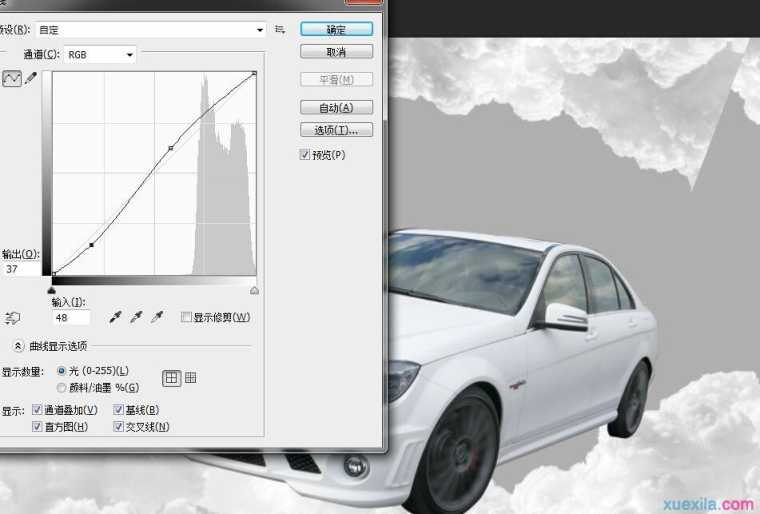
可以用曲线,对那些暗部过多的云提亮处理,让他们更加白一些,然后复制,变形,放置,蒙版擦拭,构建一个环境。
效果如图:
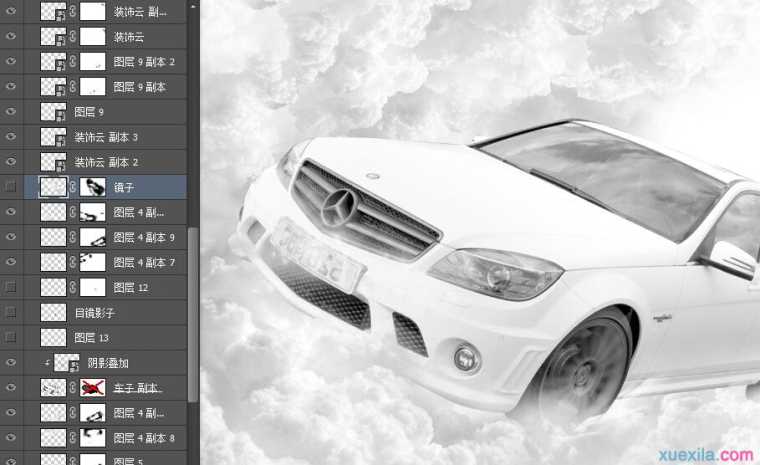
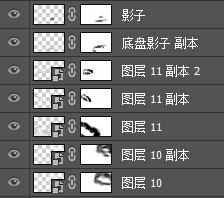
可以在最下层放一个蓝色背景来观察。这里构造的是一个左边的云层窝状,右边留白。如截图的图层所示:要灵活的分别在汽车层的上下来构建环境,让云朵和汽车发生遮挡关系。修饰蒙板的画笔就用“柔焦画笔”就可以了,质地比较接近云。
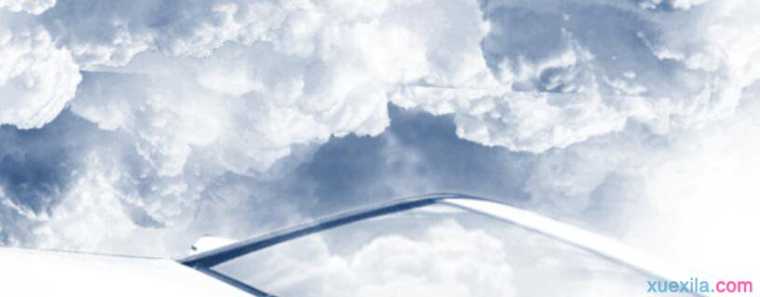
场景中的云和汽车就位置基本融合了。来处理环境关系,我们这里给汽车的玻璃添上反射的云朵画面,让它更加逼真。直接用蒙版擦拭就可以了。
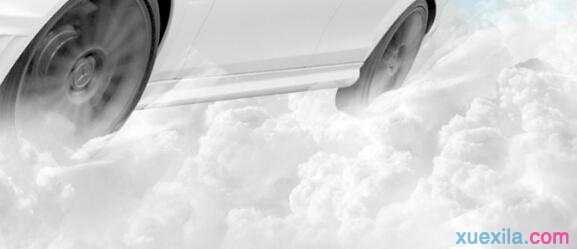
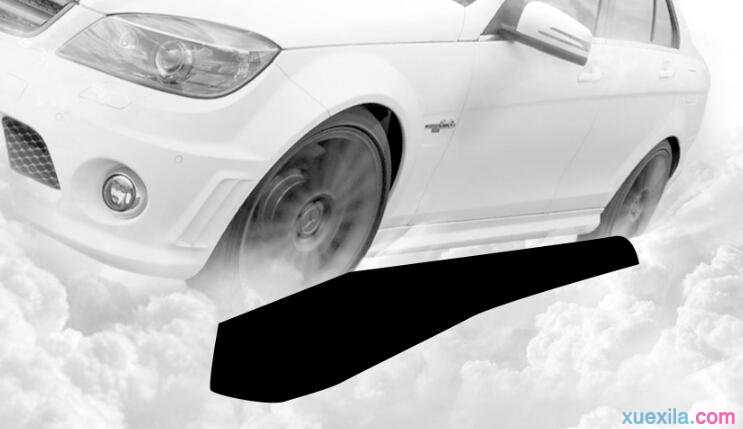
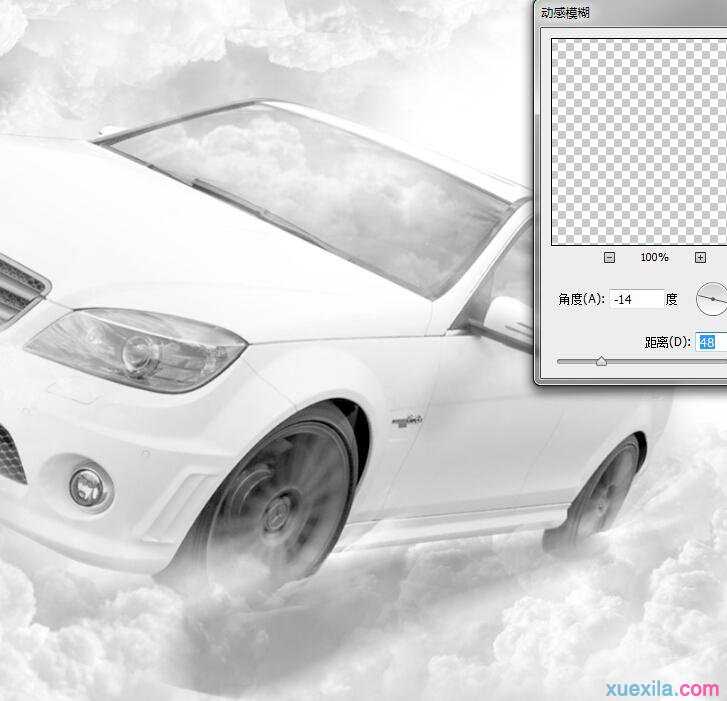
其他细节添加。车轮出溅出的云,动态的。截取一小部分变形就可以了。
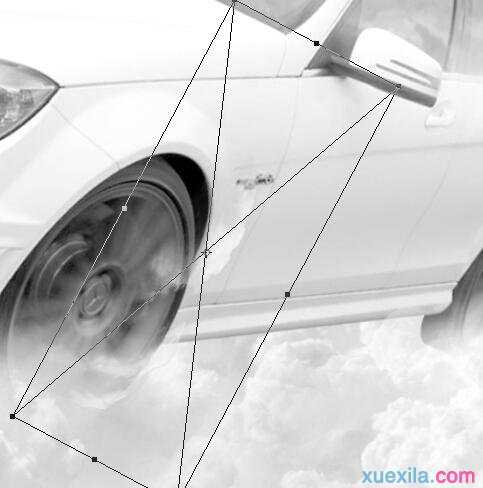
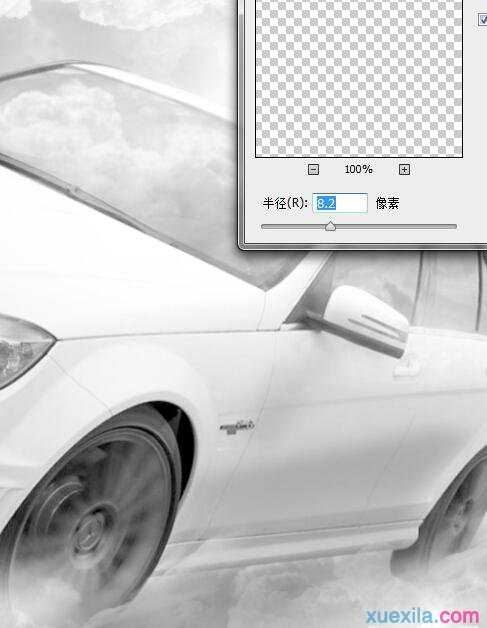
前后车轮都有。然后蒙版擦拭得自然一些。
处理完之后截图。场景都没有什么问题了,可是车辆与光源光线不匹配,显得很生硬。
接下来,就是给车子还有整个环境来做光线匹配了。我们分析到,光源肯定就是来自右边的留白处的强光了。我就要找到暗部应该在哪里。这里我们以车身举例。用钢笔勾画暗部区域,填充黑色,调节不透明度,施加高斯模糊。
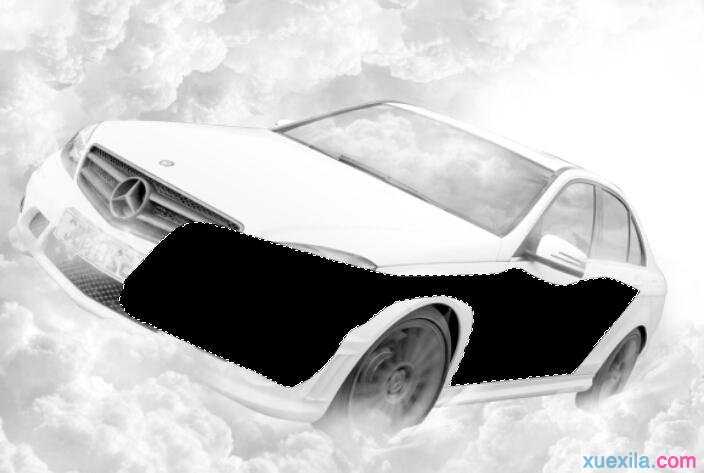
完成之后

合并图层,对车子做剪贴蒙板。
类似的,这里还有后视镜的投影。
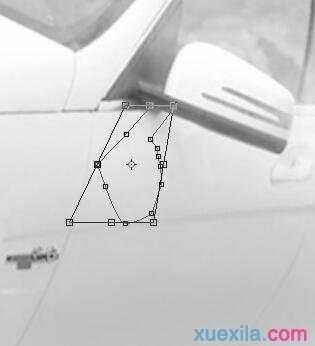
方法是一样的。处理之后:
是不是顺眼多了呢。然后就是车子与环境云朵的匹配了。这里在最上层,新建图层,方法类似的。来添加右边车身对于地盘下云朵的影响。
这里还给侧边添了一些暗部。
多余的部分可以进行选区控制,蒙版来擦拭。效果如下:
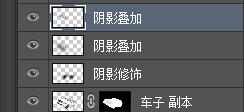
这些步骤,并不是一次完成的。因为要做高斯模糊,和透明度调节的数值不一样,最好每次都新建图层。混合模式为正片叠底。
这样简单的光线匹配就完成了。结果如下:
接下来就是调色的部分了。这里思路是,提高对比度,毕竟白色的车身显得比白云更加白了。调色,要用蒙板来控制。这里我就直接截图了。我们主要调节的是云,车身就记得保护起来。
调色完成之后。如图。
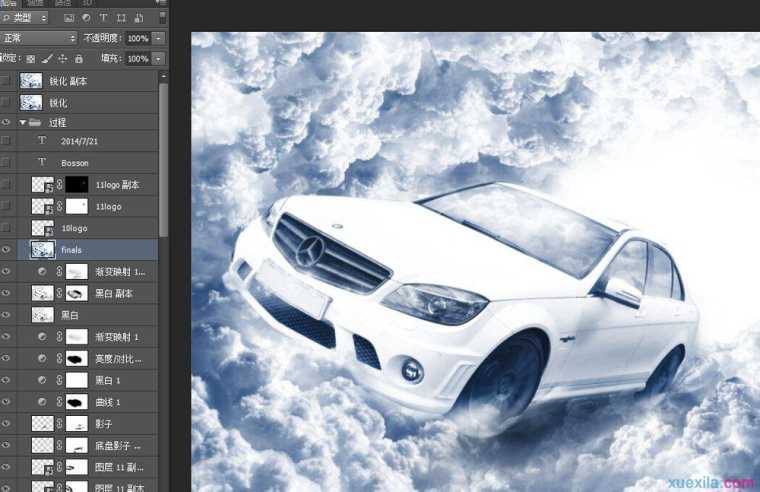
这里就完成了百分之九十的工作了。我们接下来就是放大检查瑕疵,剪裁,添加logo和文本,做锐化就可以了。这里的锐化数值,我提到了32,算是较高了。车辆的线条结构就更加清晰了。看到了横着的图层线了么?修复工具搞定。
最后就ok了。谢谢看完哦~
PS:
1. 当我们没有现成的素材时,就需要找素材来创建新素材。这里对于抠图以及混合模式就有更高的要求,不过做多了,经验会告诉你怎么进行下一步的。
2. 做复杂的图像合成时,尽量的去做逼真的细节和光线匹配,让作品更加出彩。这个案例,我们在车轮处的动态云朵,制作了一下简单变形,这是不可以的。
3. 对于蒙版控制要养成习惯,让画面干净起来,调节更加的有针对性和精确性。
PS合成设计奔驰海报图的评论条评论