
怎样使用photoshop快速抠图
发布时间:2017-06-08 14:50
相关话题
在photoshop里面抠图的方法其实不少,我们还是需要快速来抠图,但是很多同学还不太清楚。那么接下来下面是小编整理的一些关于怎样使用photoshop快速抠图,供您参阅。
使用photoshop快速抠图的方法
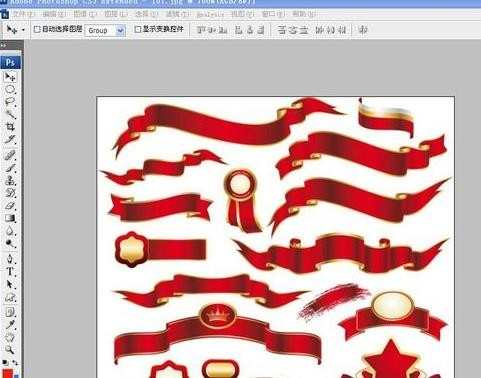
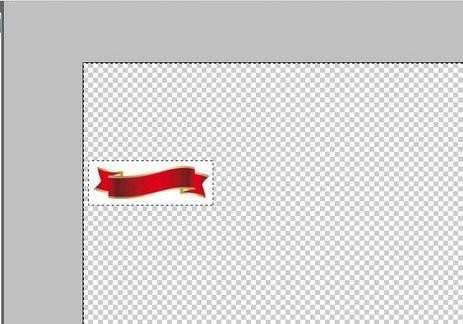
首先我们先导入需要抠的素材的图片到PS
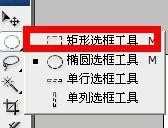
接着点击选框工具或者按键盘上面的M键,这里汤圆要跟大家说的是,如果你是学PS或者今后要把PS运用到工作当中的话,熟记PS快捷键能让你事半功倍,汤圆在这张图片中根据具体情况选择的是矩形选框工具
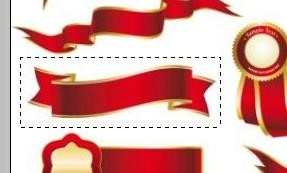
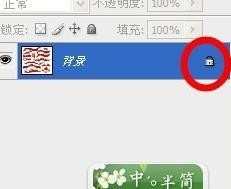
之后画一个框选中自己需要的素材,按键盘上面的shift + ctrl + I 反选,双击图层框里面小锁头解锁图层,在弹出窗口点击确定即可

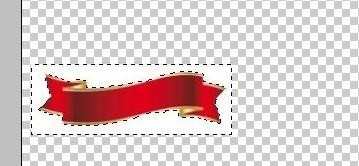
下一步我们点击键盘上面 delete 键,把不需要的素材删掉,接着按ctrl + D 取消选区
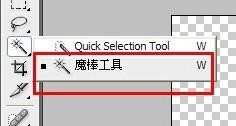
接着在工具栏点击魔棒工具或者按W选择该工具,然后点击背景空白部分,按delete快速删除背景,接着按ctrl + D 取消选区
然后我们点击图层栏上面的图标,选中素材,按V快捷键选择移动工具移动素材到我们需要编辑的展板或者邀请函上面,这样子就可以实现快速抠图了,是不是很方便呢

怎样使用photoshop快速抠图的评论条评论