
PS滤镜制作圆点阵列人物头像照片
发布时间:2017-03-21 15:05
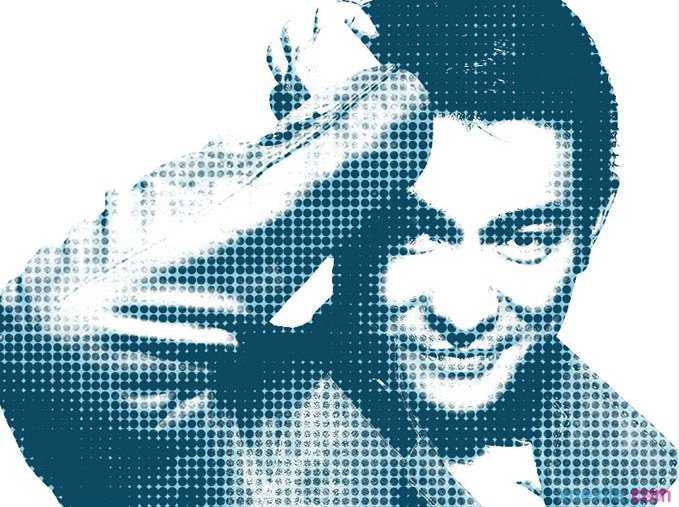
效果图的制作思路非常简单:首先在通道里面提取人像的暗部选区;然后在图层里面保持选区,并给图层添加蒙版;最后在蒙版状态用色彩半调滤镜增加点状效果,至于颜色可以按自己喜欢调整。下面跟小编去看看最终效果:
PS滤镜制作圆点阵列人物头像照片
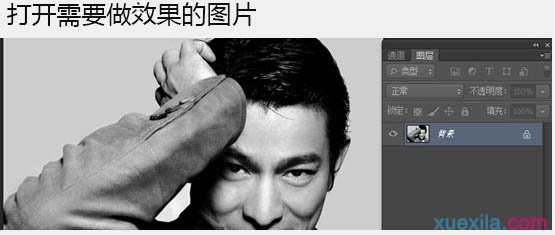
一、Photoshop打开需要做效果的图片。
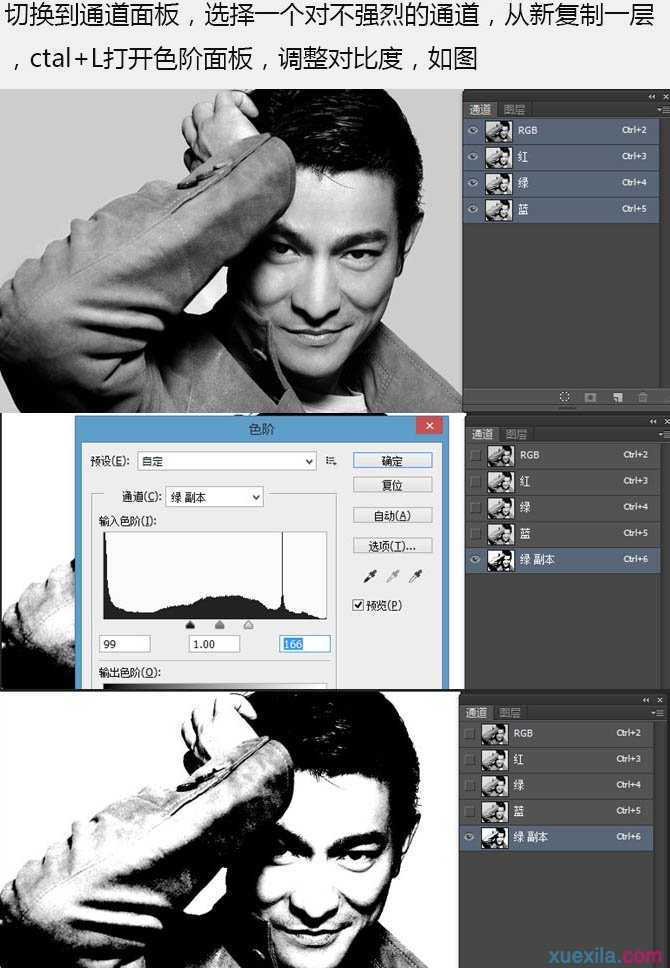
二、切换到通道面板,选择一个对比不强烈的通道,重新复制一层,Ctrl + L 打开色阶面板,调整对比度,如下图。
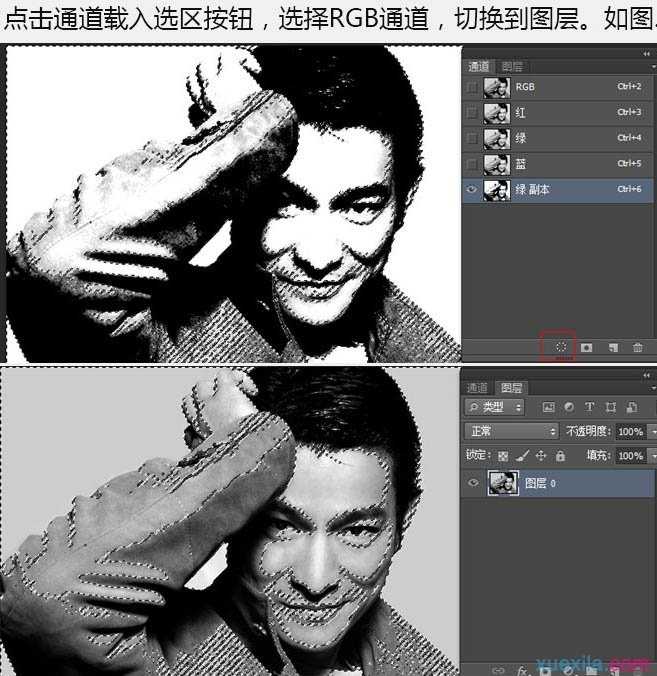
三、点击通道载入选区按钮,选择RGB通道,切换到图层,如下图。
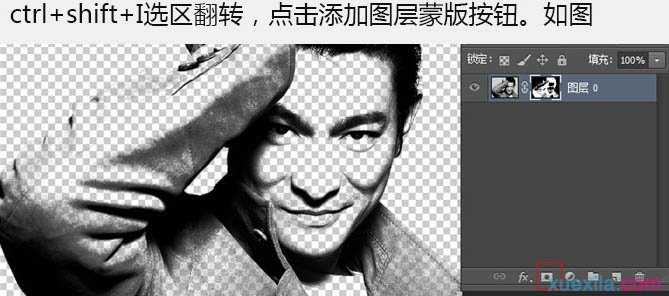
四、Ctrl + Shift + I 反选选区,点击添加图层蒙版按钮,如下图。
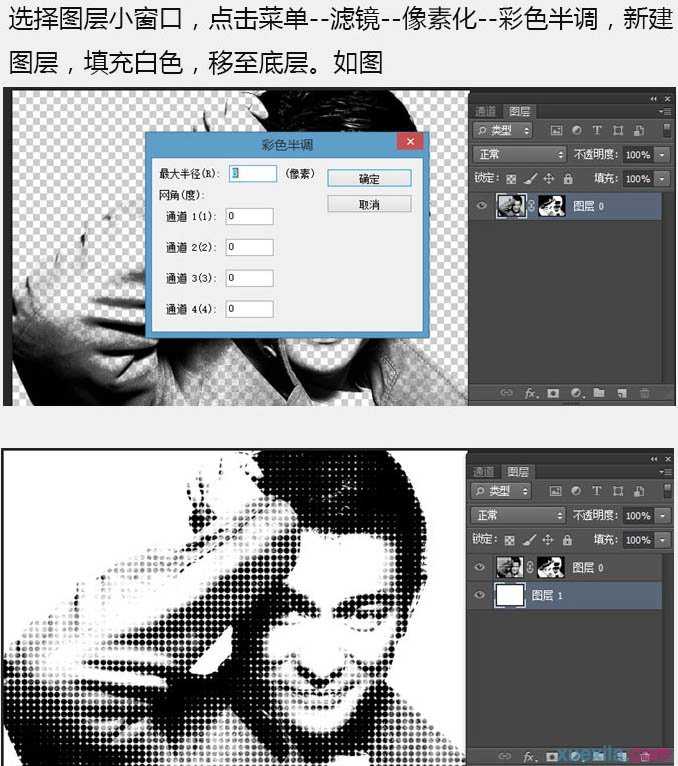
五、选择图层小窗口,点击菜单:滤镜 > 像素化 > 彩色半调,新建图层填充白色,移至底层,如下图。
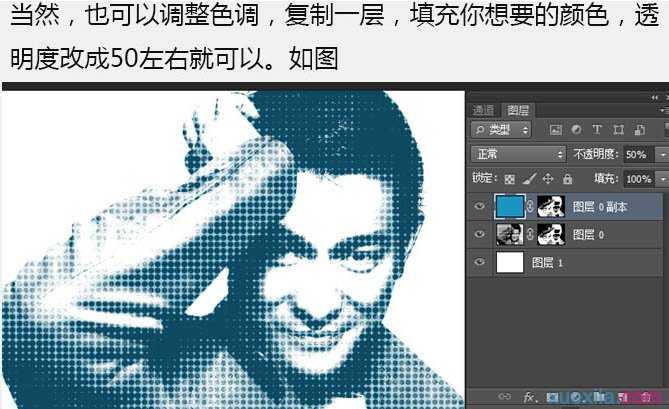
六、当然也可以调整色调,复制一层,填充你想要的颜色,透明度改成50%左右就可以。
最终效果:
PS滤镜制作圆点阵列人物头像照片的评论条评论