
Fireworks调整人像照片色调
发布时间:2017-03-21 08:56
说起照片处理大家就会想到Photoshop,其实Fireworks中也有很多工具可以帮助我们快速调整照片色调的哦,今天咱们就一块来看看fireworks如何快速调整人像照片色调,下面我们介绍详细的调整步骤。
Fireworks调整人像照片色调
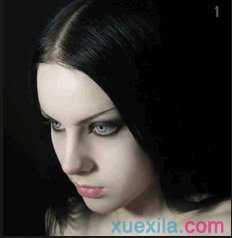
在Fireworks中打开一张我们准备处理的图片:
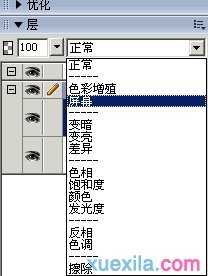
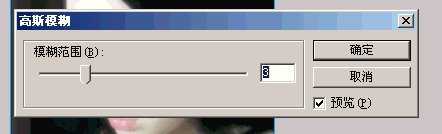
新建一层,将图片复制粘贴在改层,设置其为屏幕模式,并进行高斯模糊,参数为3。

接下来克隆你刚刚的那个图层。
设置成饱和度模式,同时用滤镜色相/饱和度,参数如下:
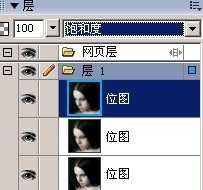
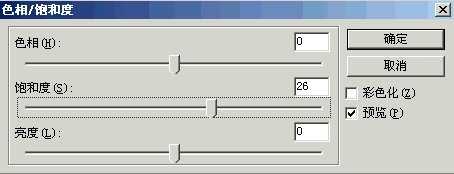
我这里饱和度设置为了26,原文为60,但我觉得效果不太好。
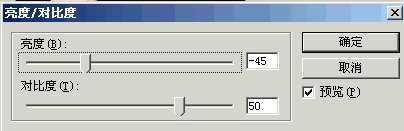
再克隆原来的图片,选择色彩增值模式,同时用亮度对比度滤镜。

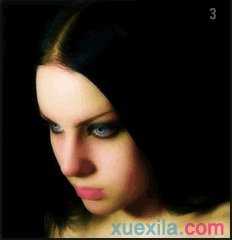
最后得到如下结果:

Fireworks调整人像照片色调的评论条评论