
布艺小木马制作教程
发布时间:2017-04-08 14:11
诞节也是不例外啦,学校也都会装饰的很漂亮,家长也要为圣诞节装饰尽力呢,这里我们来制作的漂亮布艺小马玩偶就可以挂在圣诞树上面装饰。下面学习来小编为你带来布艺小木马制作教程,希望大家喜欢!
布艺小木马制作材料
不织布、填充棉、丝带、小珠子、白纸、剪刀、铅笔、针线
布艺小木马制作步骤
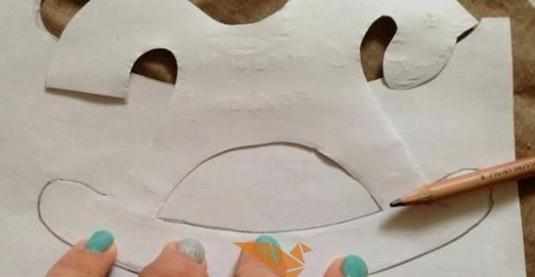
第1步:先在白纸上面画出小马来,然后再剪裁不织布会更加有自信啦

第2步:因为小马的下面的弧形部分跟上面的部分用的布是不同的,所以要将下面的部分单独再画出来剪下来
第3步:下面来描到不织布上面
第4步:在不织布上面画出来
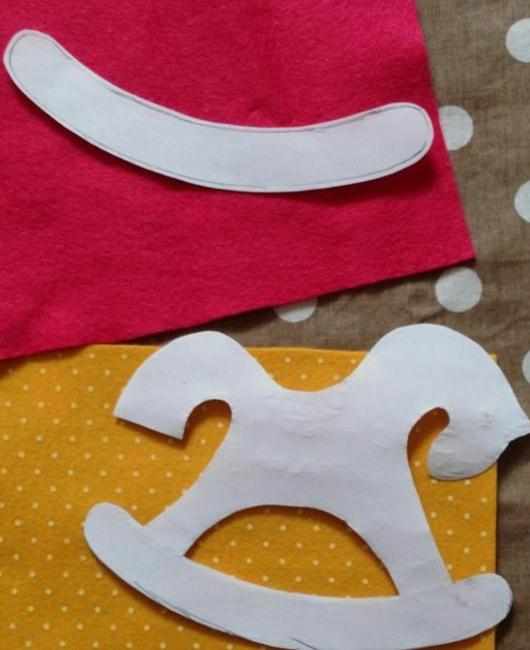
第5步:然后剪下来

第6步:用针线来缝上眼睛

第7步:尽量两边缝的对称

第8步:将丝带剪成合适的长度然后对折
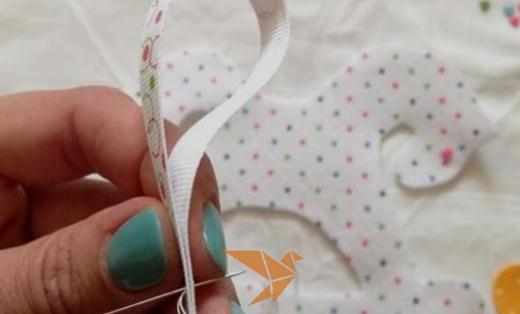
第9步:下面我们要将丝带缝在一边的小马的背部
第10步:这样来先缝好

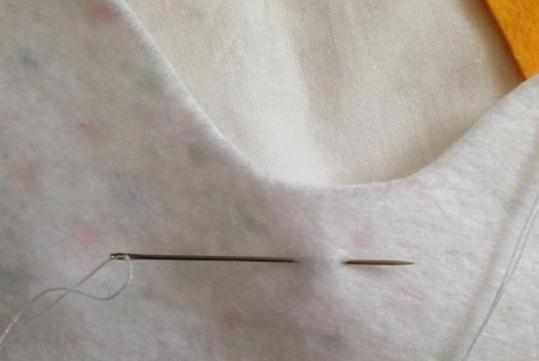
第11步:两层的小马都缝起来

第12步:然后就要将两层小马缝起来了

第13步:在底部的边上缝好

第14步:里面不要忘记放填充棉

第15步:然后来继续缝上面小马的部分

第16步:耐心的将边上缝好,然后塞好填充棉

第17步:漂亮的小马吊饰就做好啦

第18步:另外一面的颜色是不同的哟,是不是更有特色呢?

看了“ 布艺小木马制作教程 ”还会看:
1.不织布手工制作布艺马玩具图解教程
2.diy手工布艺马的教程
3.布艺马玩具图解教程图解
布艺小木马制作教程的评论条评论