
在Photoshop中制作通透逼真的紫色玻璃字体
相关话题
这篇教程教PS文字效果学习者们使用PS制作装着葡萄酒的玻璃文字,教程制作出来的文字效果非常棒,个人学习之后非常的喜欢,不敢独享。推荐过来和朋友们一起分享学习了,同时,这是一个来自国外的教程,翻译了一下文字,界面没修改,大家将就着看吧,同时也告诫PS学习者们,该是学学英文的时候了。这些基本的还是要学习一下!好了,先来看看最终的效果图吧:
在Photoshop中制作通透逼真的紫色玻璃字体

具体的制作步骤如下:
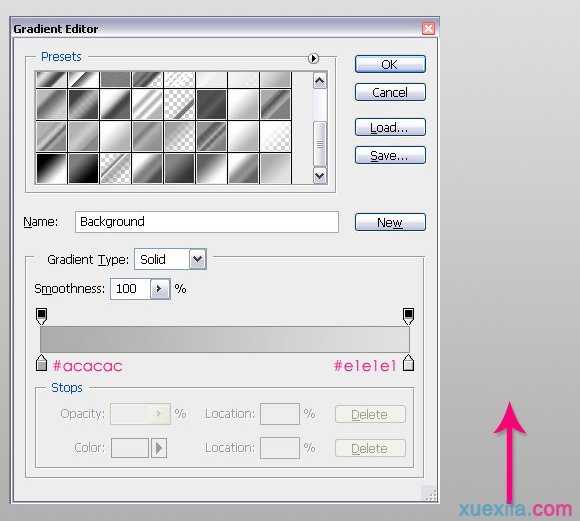
步骤1、首先建立一个1500px 1000px的新文件。填充背景色为渐变色 #acacac,和 #e1e1e1。 如下图
步骤2、现在,输入文本”psdtuts”此处为字体为”Cooper Std”。可自行更改字体,只要你觉得有效果。字体颜色为# dbdbdb,大小300px。 复制文字图层,重命名,如图
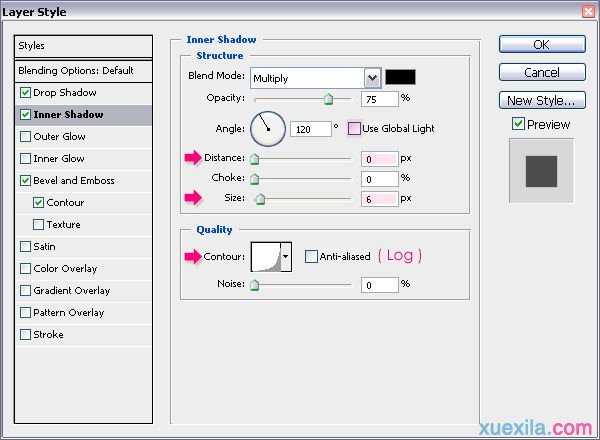
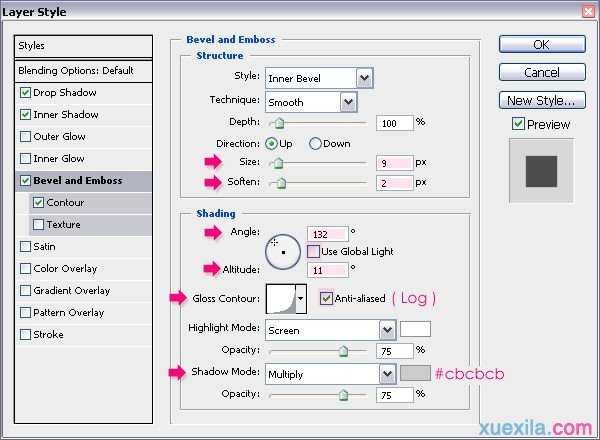
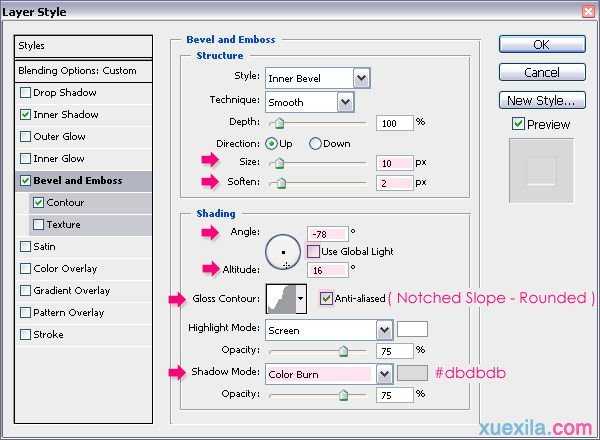
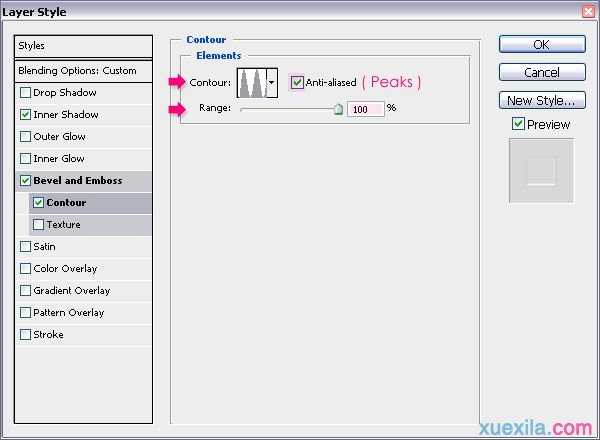
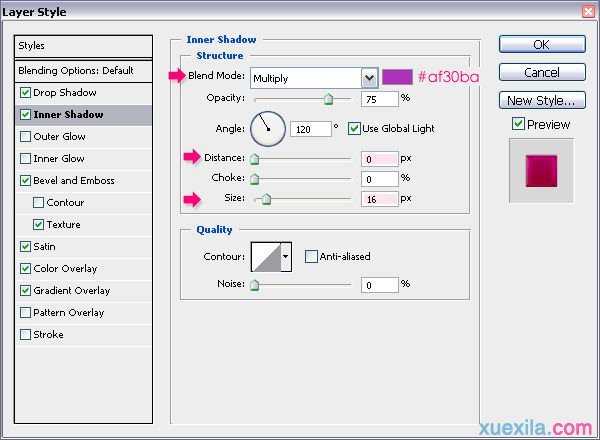
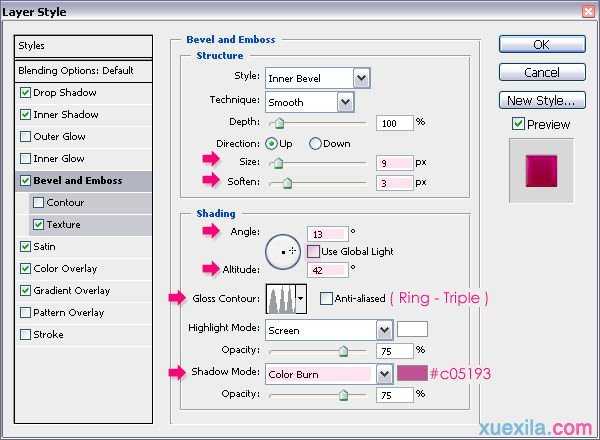
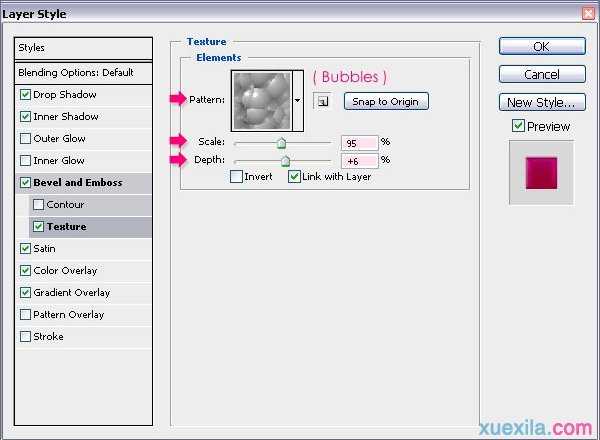
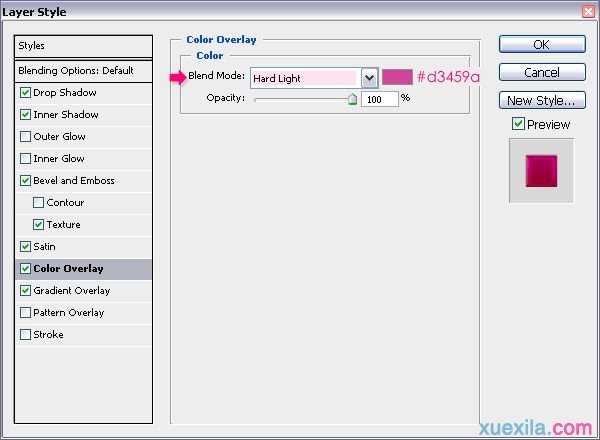
步骤3、双击图层(Psdtuts – bottom),添加图层样式,如下图Multilpy =正片叠加Inner Bevel =内斜面Smooth =光滑

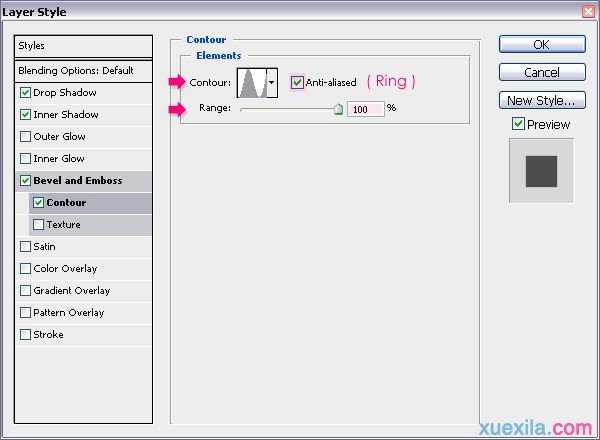
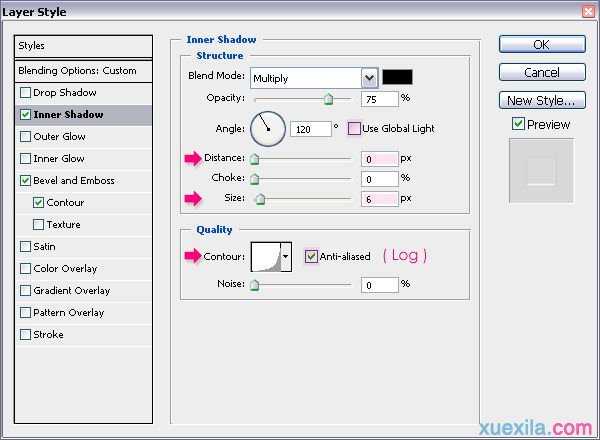
步骤4、点击图层(Psdtuts – top),改变其填充值为0%然后双击它,添加图层样式,如下图

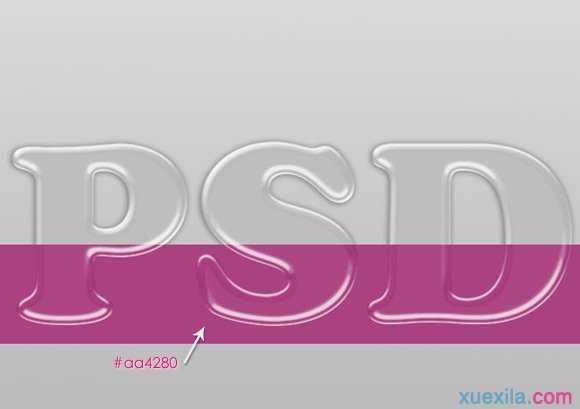
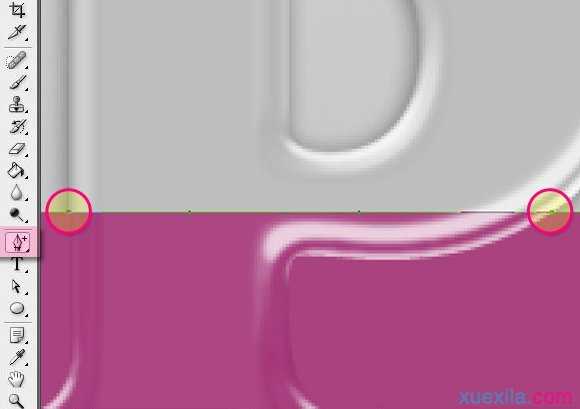
步骤5、使用矩形工具,画一个长方形,涵盖文本下部分,颜色为#aa4280。 矩形存在于’Psdtuts – bottom’ 和’Psdtuts – top’之间
步骤6、选择”添加锚点工具”,在长方形的边缘添加锚点
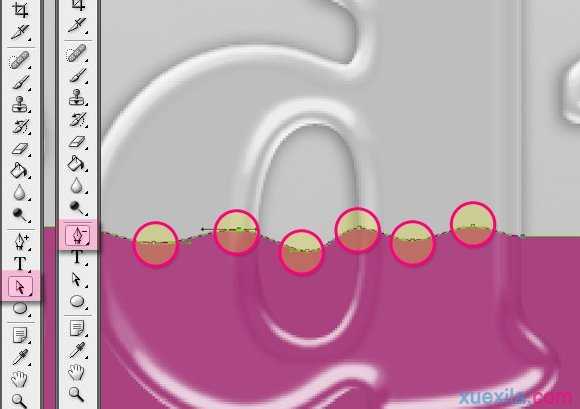
步骤7、添加锚点后,利用”直接选择工具”来选择那些点,并上下移动,由此来制作液体的形状。 也可以使用”删除锚点工具”,清除任何不必要的点。
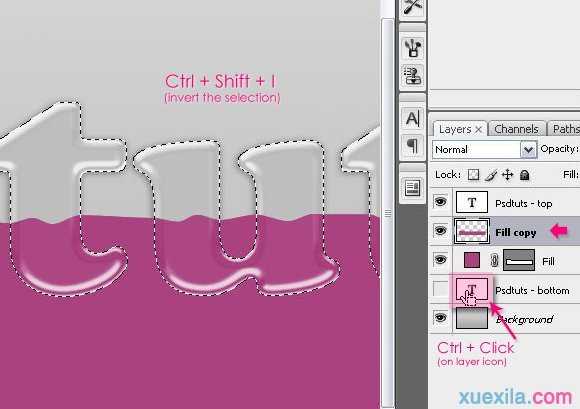
步骤8、复制该图层,然后栅格化图层 选中栅格化后的图层,按住CTRL,鼠标点击文本图层(效果如下图所示) 再反选(Ctrl+shift+I)之后点击Delete删除。
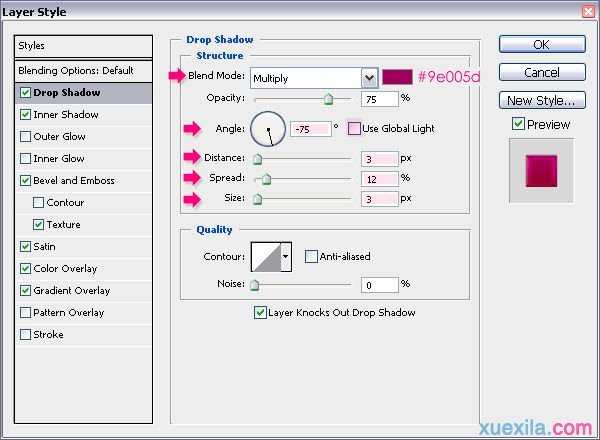
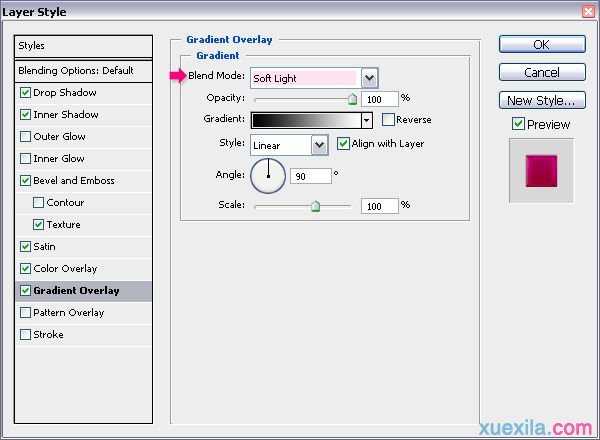
步骤9、点击该图层,添加图层样式,如下图

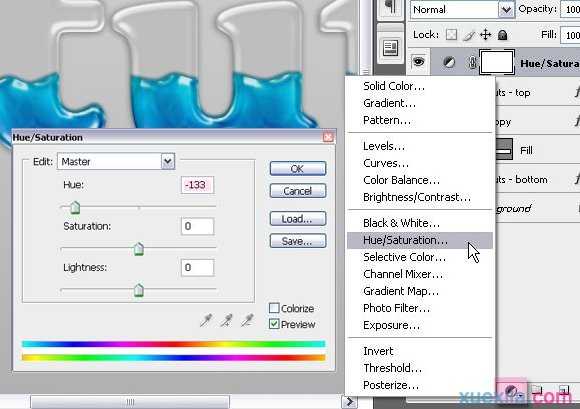
步骤10、到这里就算是完成了,当然你也可以利用色相/饱和度来简单的调整颜色
完成图:
在Photoshop中制作通透逼真的紫色玻璃字体的评论条评论